The Best Fluffy Pancakes recipe you will fall in love with. Full of tips and tricks to help you make the best pancakes.
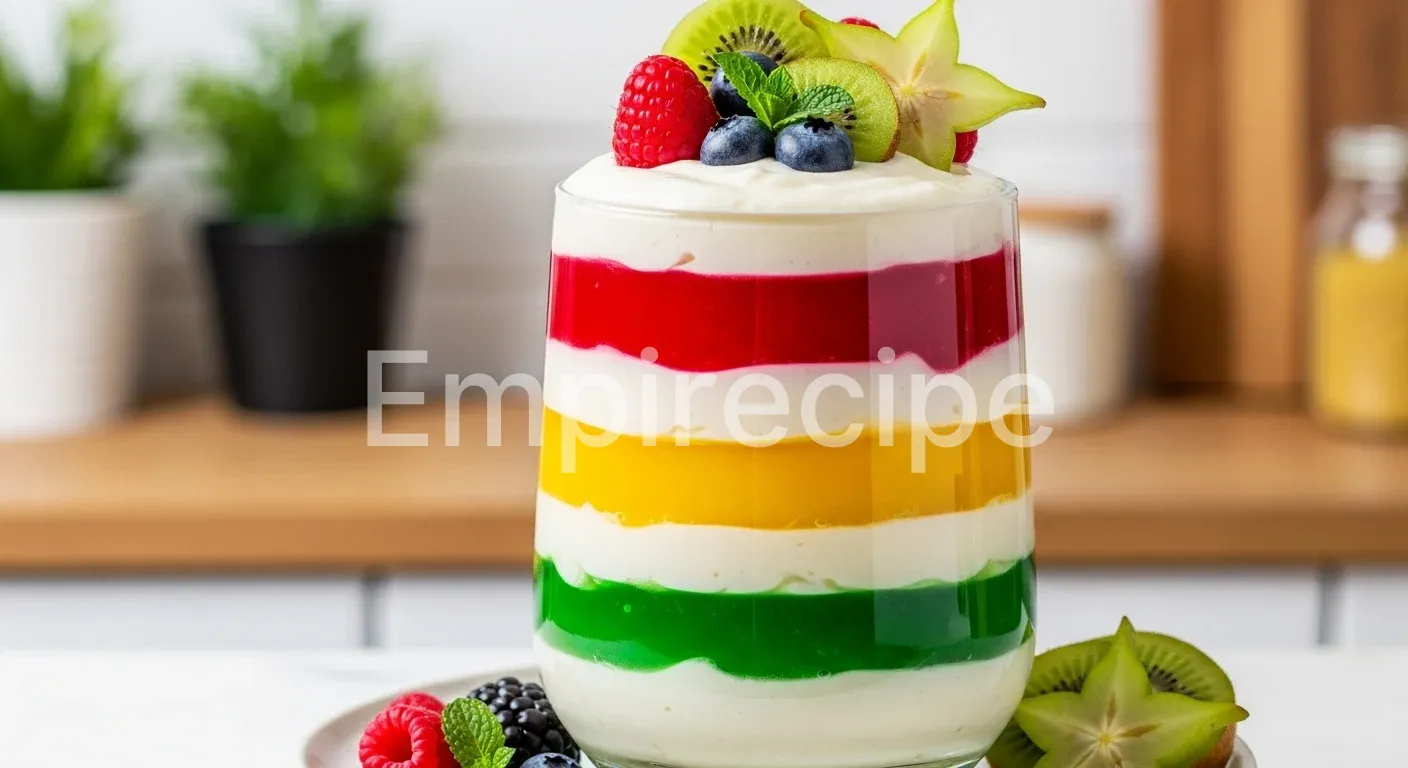
Welcome to my vibrant world of colors! Today, we explore the iconic Ribbon Jello Recipe. This dessert combines creamy textures with fruity bursts.
It looks like a rainbow in a dish. My version uses plant-based magic to keep it eco-friendly. Let us dive into this wobbly, delicious masterpiece together!
Table of Contents
Why You’ll Love This Ribbon Jello Recipe
- Vibrant rainbow layers impress every guest instantly.
- Light, plant-based ingredients feel great.
- Simple steps create professional-looking results.
- Fruity flavors blend perfectly with creamy notes.
Ingredients You’ll Need
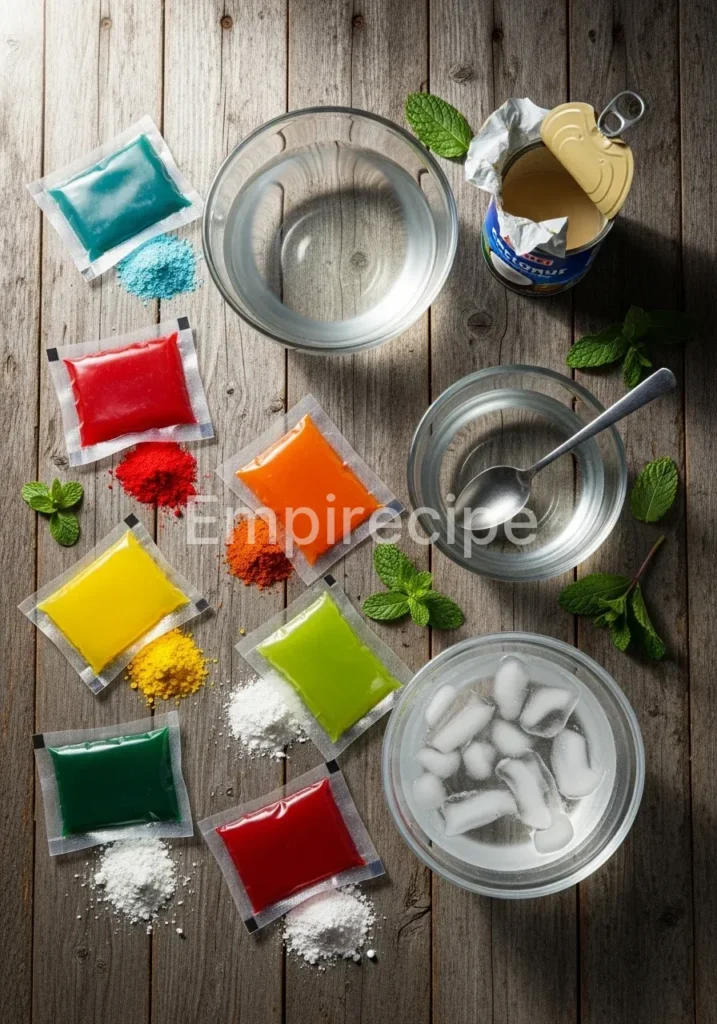
To make a truly spectacular Ribbon Jello Recipe, I always recommend sourcing the highest quality ingredients. As Hana, I love using organic fruit juices and plant-based gelling agents to keep things sustainable and kind to our planet. The contrast between the translucent fruit layers and the opaque creamy layers defines this classic dish.
| Ingredient | Quantity | Purpose |
| Fruit-flavored Agar-Agar (various colors) | 4 packages (3 oz each) | Provides color and structure |
| Boiling Water | 6 cups | Dissolves the gelling agent |
| Cold Water | 2 cups | Helps set the fruit layers |
| Coconut Condensed Milk (Plant-based) | 14 oz can | Creates the creamy white layers |
| Unflavored Plant-based Gelatin/Agar powder | 2 tablespoons | Sets the creamy layers |
| Fresh Mint Leaves | For garnish | Adds a pop of green freshness |
Substitutions & Variations
Note: This video is for demonstration purposes and may use a slightly different method.
In my kitchen, flexibility is key to preventing waste and staying creative. If you cannot find specific plant-based gelatin for your Ribbon Jello Recipe, agar-agar is your best friend. It sets much firmer and stays stable at room temperature, which is perfect for outdoor parties.
Instead of coconut condensed milk, you can use sweetened soy cream or even a thick cashew cream for a nutty twist. For a natural approach, use concentrated beet juice for red layers and turmeric-infused pineapple juice for yellow ones. These healthy swaps ensure your Ribbon Jello Recipe remains wholesome and vibrant without artificial dyes.
If you’re looking for more flexibility in your kitchen, consider using a fantastic alternative like Mom’s Ribbon Gelatin. This recipe offers a great solution for those who want to experiment with different vegan ingredients while keeping the essence of this delightful dessert.
Equipment You’ll Need
- One 9×13 inch glass baking dish (essential for seeing those beautiful layers).
- A large whisk to ensure no lumps remain.
- Several heat-proof mixing bowls for different colors.
- A measuring cup with a precise pouring spout.
- Sufficient refrigerator space to keep the dish level.
- Silicone spatula for clean edges.
Step-by-Step Instructions
- Prepare your workspace and clear a level shelf in your refrigerator. A level surface ensures your Ribbon Jello Recipe has perfectly straight, professional lines.
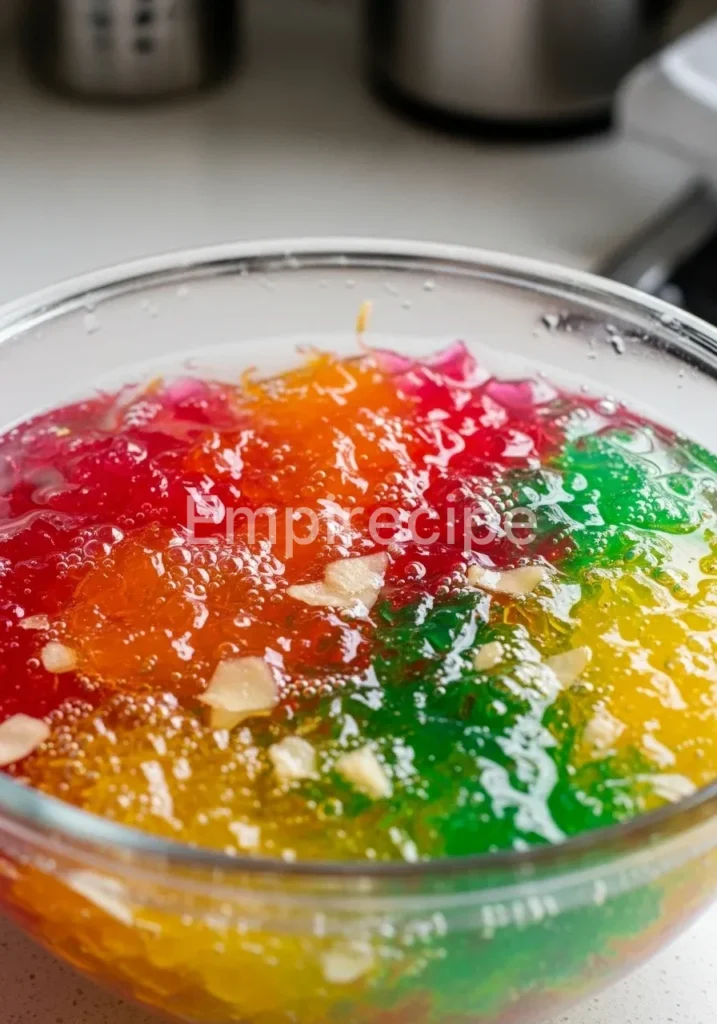
- Start with your first color layer. Dissolve one package of fruit-flavored agar-agar in 1 cup of boiling water. Whisk vigorously for two minutes until completely clear. Add 1/2 cup of cold water to the mixture and stir gently.
- Pour this first mixture into your glass dish. Place it in the refrigerator for about 15 to 20 minutes. You want it set enough to support the next layer but still slightly tacky to the touch so the layers bond together.
- While the first layer sets, prepare the “creamy” base for the alternating stripes. In a separate bowl, dissolve 2 tablespoons of unflavored plant-based gelatin in 1 cup of boiling water. Once dissolved, whisk in the coconut condensed milk until the mixture is smooth and silky.
- Measure out about 1 cup of this creamy mixture. Slowly and carefully pour it over the back of a spoon onto the first set layer. This prevents the liquid from breaking through the bottom layer of your Ribbon Jello Recipe.
- Chill the creamy layer for 15 minutes. Repeat the process with your next color of fruit agar-agar. Remember to always let each layer cool slightly before pouring so you do not melt the layer beneath it.
- Continue alternating between colorful fruit layers and white creamy layers. This rhythmic process is almost meditative and results in a stunning visual gradient.
- Once you have poured the final layer, let the entire Ribbon Jello Recipe set in the refrigerator for at least 4 to 6 hours. For the best texture and clean cuts, leaving it overnight is the most effective strategy.
- To serve, dip the bottom of the dish in warm water for 10 seconds. Use a sharp, thin knife to cut the dessert into squares or diamonds. Wipe the knife between every single cut to keep the colors from smudging.
To ensure your layers are perfectly aligned, you’ll want to prepare your workspace properly. For a unique twist on layered dishes, check out this Zucchini Ribbon Lasagna Soup, which combines layers in a savory context.
Pro Tips for Success
Achieving the perfect Ribbon Jello Recipe requires patience and a few technical tricks. First, always use a spoon to break the fall of the liquid when pouring. This technique, called “shielded pouring,” preserves the integrity of the previous layer.
Second, watch out for bubbles. If you see small air bubbles on the surface, gently pop them with a toothpick or a kitchen torch before the layer sets. This ensures your Ribbon Jello Recipe looks crystal clear and professional.
Third, keep your remaining mixtures at room temperature. If they start to thicken too much before it is their turn to be poured, simply give them a quick 10-second zap in the microwave to loosen them up again. Finally, ensure your refrigerator is actually cold; a temperature around 38°F (3°C) is ideal for quick setting times.
Storage & Reheating Tips
This Ribbon Jello Recipe is a cold dessert and should never be reheated, as it will simply melt into a puddle of liquid! To store leftovers, cover the dish tightly with eco-friendly beeswax wrap or a reusable lid. Keep it in the coldest part of your refrigerator.
It will stay fresh and bouncy for up to 5 days. I do not recommend freezing this Ribbon Jello Recipe. Freezing alters the cellular structure of the gelling agent, leading to a grainy texture and significant water loss upon thawing.
If you are prepping for a party, you can easily make this two days in advance. In fact, the flavors often meld together beautifully after 24 hours.
Maintaining the integrity of your Ribbon Jello is crucial, especially regarding storage. For those interested in broader gelatin creations, explore this delicious Rainbow Gelatin Recipe that showcases another vibrant approach to using gelatin.
What to Serve With This Recipe
Since this Ribbon Jello Recipe is quite sweet and creamy, I love pairing it with contrasting textures and flavors. A crisp, citrus-heavy fruit salad works wonders to balance the richness of the coconut layers. I often serve it alongside a platter of roasted nuts or a light, savory kale salad with a lemon vinaigrette.
If you want to stay in the dessert realm, a dollop of unsweetened almond whipped cream and a few fresh raspberries add a sophisticated touch. For a summer gathering, pair it with chilled hibiscus tea or a sparkling mint limeade. These pairings highlight the playful nature of the Ribbon Jello Recipe while keeping the overall meal feeling light and energized.
Frequently Asked Questions (FAQ)
Can I make this Ribbon Jello Recipe sugar-free?
Yes, you certainly can! You can find many high-quality sugar-free gelatin alternatives or use pure fruit juices sweetened with stevia or monk fruit. For the creamy layers, substitute the condensed milk with a mixture of heavy coconut cream and a keto-friendly sweetener. Just ensure the ratios remain the same so the Ribbon Jello Recipe sets properly.
How do I get perfectly clean layers without them mixing?
The secret is temperature and timing. Each layer must be cool to the touch (but still liquid) before you pour it over the set layer. If the liquid is too hot, it will melt the layer below.
Furthermore, always use the “back of the spoon” method to diffuse the pressure of the pour. This is the most reliable way to maintain the Ribbon Jello Recipe aesthetic.
Why did my layers separate when I tried to slice it?
This usually happens if the previous layer was allowed to get too cold or too dry before the next one was added. If a layer sets for hours and develops a “skin,” the next layer won’t stick. Try to pour the next layer as soon as the previous one is firm enough to not break. If you wait too long, lightly score the surface with a fork to help the Ribbon Jello Recipe layers bond.
The Ribbon Jello Recipe is a visually stunning dessert that combines multiple layers of colorful jello with creamy textures. This delightful treat often incorporates various fruit flavors and creative designs, making it a popular choice for celebrations and gatherings. Learn more about this charming dish in this informative article.
Final Thoughts
Creating this Ribbon Jello Recipe fills my heart with creative joy. It represents the perfect fusion of color, taste, and sustainable choices. I love how the layers dance together on the plate. Share this bouncy treat with your loved ones and watch their faces light up with every bite!
Nutrition Information (per serving)
This Ribbon Jello Recipe provides a light yet satisfying end to any meal. Using plant-based milks reduces saturated fats compared to traditional dairy versions, while agar-agar provides a small boost of prebiotic fiber.
| Macro | Amount per Serving |
| Calories | 145 kcal |
| Total Fat | 4g |
| Carbohydrates | 26g |
| Sugars | 22g |
| Protein | 2g |
| Fiber | 1g |
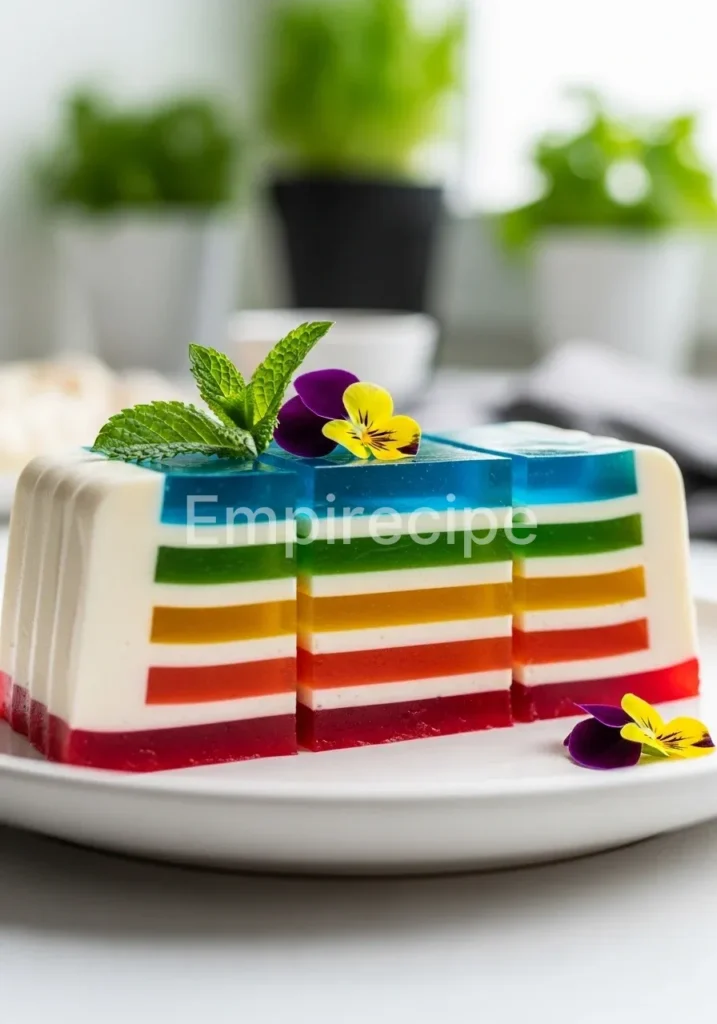
Ribbon Jello Recipe
A colorful, plant-based dessert featuring layers of fruity gelatin and creamy coconut layers, resembling a vibrant rainbow.
Ingredients
Method
- Prepare your workspace and clear a level shelf in your refrigerator.
- Dissolve one package of fruit-flavored agar-agar in 1 cup of boiling water and whisk for two minutes until clear.
- Add 1/2 cup of cold water to the mixture and stir gently.
- Pour the mixture into your glass dish and refrigerate for 15-20 minutes.
- Prepare the creamy base by dissolving 2 tablespoons of unflavored plant-based gelatin in 1 cup of boiling water.
- Whisk in the coconut condensed milk until smooth.
- Measure out 1 cup of the creamy mixture and pour it over the back of a spoon onto the first set layer.
- Chill the creamy layer for 15 minutes.
- Repeat the process alternating with colorful fruit layers and creamy layers.
- Once completed, let the entire dish set in the refrigerator for at least 4-6 hours or overnight.
- To serve, dip the bottom of the dish in warm water for 10 seconds and use a sharp knife to cut the dessert into squares or diamonds.
Notes
Ensure each layer is cool before pouring the next to prevent melting layers. Store leftovers properly and do not freeze.