The Best Fluffy Pancakes recipe you will fall in love with. Full of tips and tricks to help you make the best pancakes.
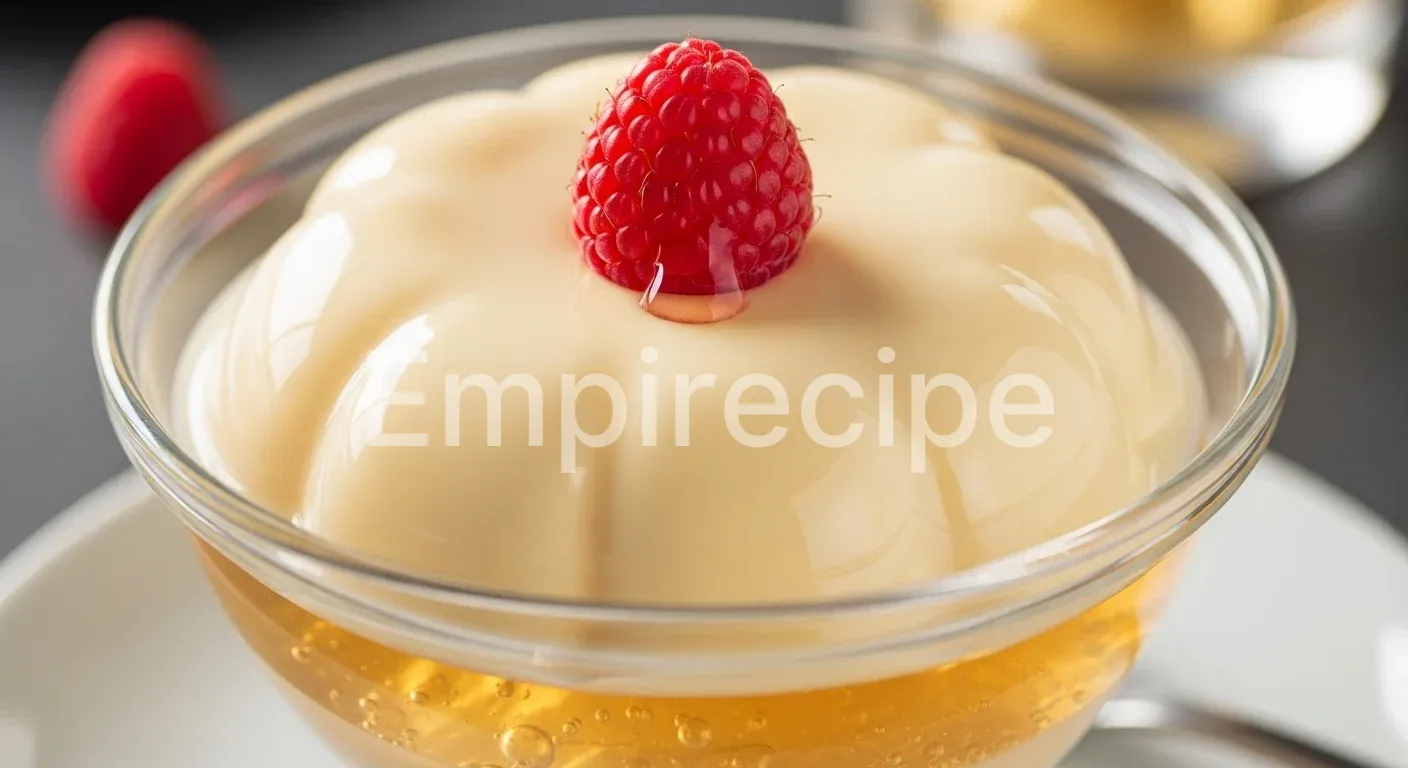
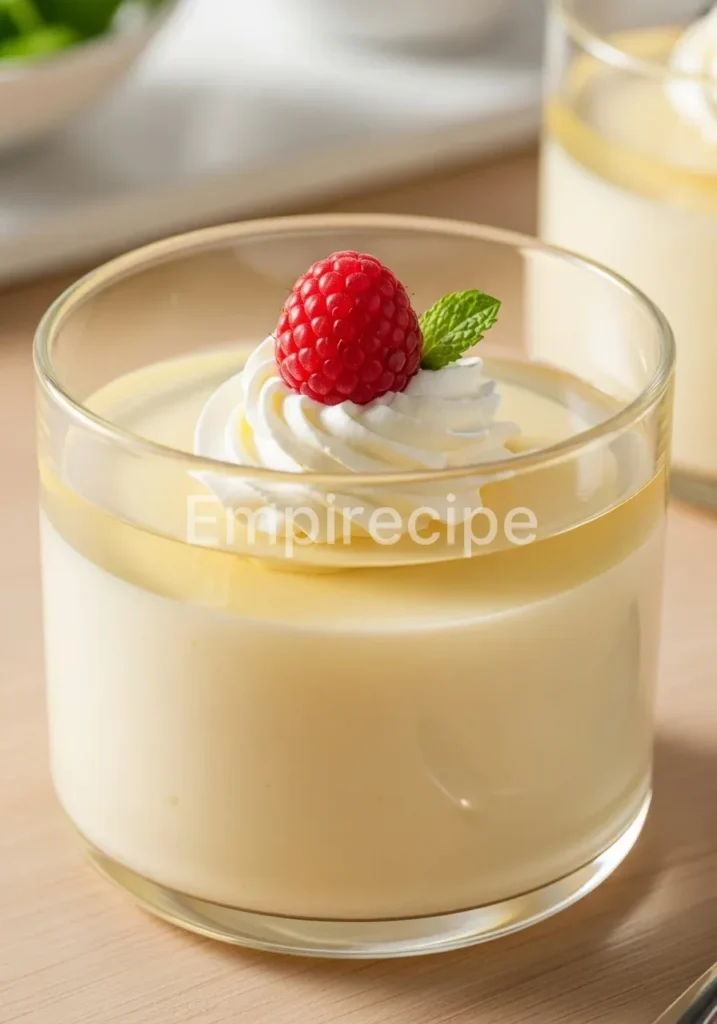
This Creamy Gelatin Snack offers a velvet texture. It satisfies cravings instantly. Precision yields the best results.
I recommend high-quality gelatin. Do not skip the blooming phase. This snack fuels your body efficiently. Enjoy the process.
Table of Contents
Why You’ll Love This Creamy Gelatin Snack
- Unmatched velvety texture for the refined palate.
- High-protein nutritional profile for muscle recovery.
- Rapid preparation using modern kitchen tools.
- Zero refined sugars for optimal metabolic health.
Ingredients You’ll Need

Success with a Creamy Gelatin Snack depends entirely on the quality of your raw materials. Do not use cheap, flavored powders filled with artificial dyes. I demand grass-fed bovine gelatin for its superior amino acid profile and better setting strength.
For the liquid base, choose a high-fat dairy or a thick plant-based alternative like full-fat coconut milk to ensure the emulsification holds. Your choice of sweetener should be heat-stable to maintain the flavor integrity during the warming process. Every gram matters when you are engineering a snack of this caliber.
| Ingredient | Quantity | Technical Note |
|---|---|---|
| Grass-fed Gelatin Powder | 3 Tablespoons | 225 Bloom strength preferred |
| Whole Milk or Coconut Milk | 2 Cups | Must be full-fat for texture |
| Heavy Cream | 1 Cup | Enhances the lipid profile |
| Natural Vanilla Extract | 1 Tablespoon | Cold-pressed for aroma |
| Monk Fruit or Allulose | 1/3 Cup | Adjust based on glycemic goals |
| Sea Salt | 1 Pinch | To balance the sweetness |
Substitutions & Variations
[ra_display_video url=”https://www.youtube.com/watch?v=44tr3gPfevo”]
If you prefer a plant-based Creamy Gelatin Snack, you must swap the animal gelatin for agar agar. However, be warned: agar agar sets much firmer and requires boiling to activate, unlike the gentle warming required for collagen. For those avoiding dairy, cashew cream provides a magnificent viscosity that mimics traditional heavy cream.
You can also experiment with flavor extracts like almond or peppermint, but always maintain the fat-to-liquid ratio to preserve the structural integrity of your Creamy Gelatin Snack. My favorite technical variation involves adding a shot of espresso for a caffeinated version that hits like a gourmet panna cotta.
If you’re exploring plant-based options for your gelatins, consider trying out our Creamy Orange Gelatin. It offers a delightful alternative while ensuring you don’t compromise on taste.
Equipment You’ll Need
To produce a professional-grade Creamy Gelatin Snack, you need more than just a bowl. I utilize a digital kitchen scale for ingredient precision because volume measurements are notoriously unreliable. A heavy-bottomed stainless steel saucepan is essential for even heat distribution; hot spots will ruin the gelatin’s gelling ability.
You also need a high-speed blender or a powerful immersion blender to ensure the fats and the gelatin matrix are perfectly homogenized. Finally, use high-quality silicone molds for the setting phase. Silicone allows for a clean release, preserving the aesthetic edges of your Creamy Gelatin Snack without the need for messy greasing techniques.
Step-by-Step Instructions
- The Bloom Phase: Pour one cup of cold milk into a shallow bowl. Sprinkle the gelatin powder evenly over the surface. Do not dump it in a pile. Let it sit for 10 minutes to hydrate the protein granules. This is the foundation of a Creamy Gelatin Snack.
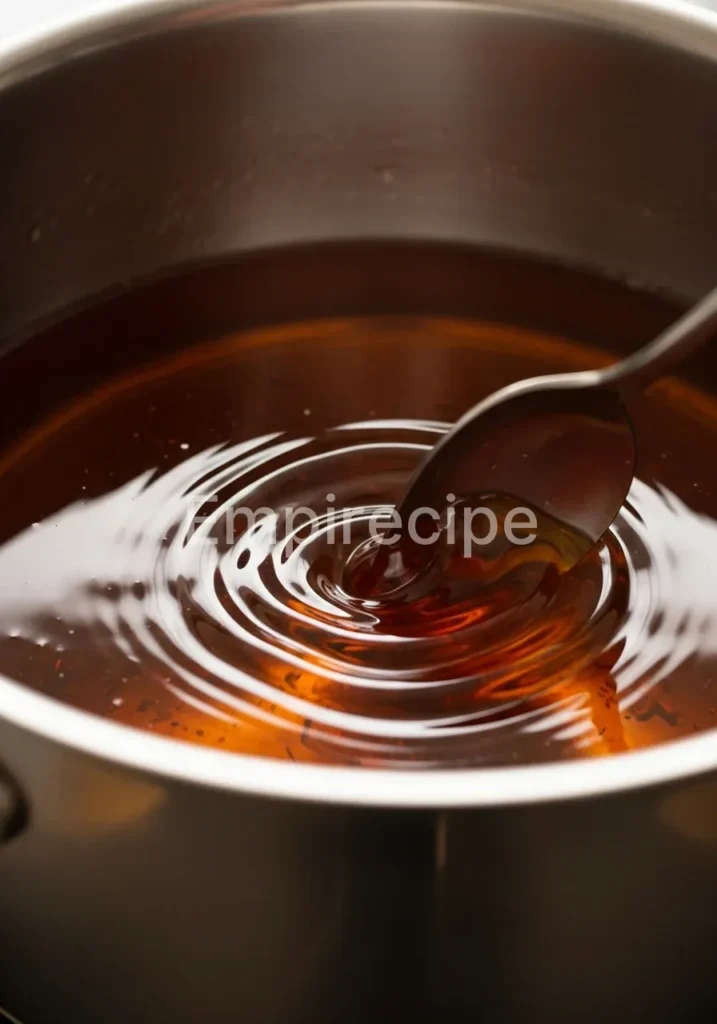
- Thermal Integration: Place the remaining milk and heavy cream in your saucepan over medium-low heat. Bring the mixture to exactly 160°F (71°C). Do not let it boil, as excessive heat can degrade the gelatin’s structural proteins.
- Dissolving the Matrix: Add the bloomed gelatin into the warm liquid. Use a whisk to stir continuously until every granule has dissolved. At this stage, your Creamy Gelatin Snack should look like a thin, uniform syrup.
- Sweeten and Flavor: Whisk in your sweetener, vanilla, and salt. Ensure the sweetener is fully incorporated and no crystals remain at the bottom of the pan.
- Homogenization: Transfer the mixture to a blender. Pulse for 30 seconds on high speed. This incorporates air and ensures the fat molecules are evenly distributed, which is the secret to a truly Creamy Gelatin Snack.
- The Set: Pour the liquid into your silicone molds or a glass dish. Allow it to cool at room temperature for 20 minutes before moving it to the refrigerator. Chill for at least 4 hours, though 6 hours is optimal for the protein bonds to reach maximum stability.
To perfect your creamy gelatin preparation, you might want to check out our guide on Creamy Strawberry Gelatin, which walks you through essential steps for achieving a superior texture.
Pro Tips for Success
Mastering the Creamy Gelatin Snack requires an understanding of molecular gastronomy. The “Bloom” rating of your gelatin indicates its firmness; if you find your snack too soft, increase the powder by 10% in your next batch. Temperature control is your most powerful tool.
If you overheat the gelatin beyond 180°F, you risk breaking the peptide chains, which results in a rubbery texture rather than a creamy one. Always bloom in cold liquid; warm liquid causes the outside of the granules to hydrate too quickly, trapping dry powder inside and creating lumps. Furthermore, if you are using acidic ingredients like citrus or pineapple, be aware that their enzymes can prevent the Creamy Gelatin Snack from setting.
Always heat acidic juices first to denature those enzymes before adding them to your gelatin base. Finally, remember that the cooling rate matters. A slow cool at room temperature before refrigeration prevents “weeping” or syneresis, where moisture separates from the gel.
Storage & Reheating Tips
A Creamy Gelatin Snack is inherently stable, but it is sensitive to odors. Store your snack in an airtight container to prevent it from absorbing the scents of other foods in your refrigerator. It will stay fresh and maintain its structural integrity for up to 5 days.
Do not freeze this recipe; freezing destroys the delicate protein-fat matrix, resulting in a grainy, watery mess upon thawing. If you find the snack has become too firm after a few days, you cannot “reheat” it back to a solid state easily.
However, you can gently melt it back into a liquid over low heat and re-set it if you need to change its shape or incorporate it into another dessert. Precision storage ensures every bite of your Creamy Gelatin Snack remains as perfect as the day you made it.
For those interested in variations of gelatin snacks, our detailed page on Creamy Gelatin Snack covers tips on storage and consistency, ensuring your snacks remain delicious over time.
What to Serve With This Recipe
Balance the richness of the Creamy Gelatin Snack with acidic or crunchy pairings. I recommend serving it alongside a sharp berry coulis or fresh raspberries to cut through the fat. For a texture contrast, top it with toasted macadamia nuts or a sprinkle of cacao nibs.
If you are serving this as part of a larger meal, it pairs exceptionally well after a light lunch of roasted vegetables or a crisp kale salad. The clean protein profile of the Creamy Gelatin Snack makes it a functional follow-up to a high-performance meal. If you want to get bold, add a light dusting of sea salt and a drizzle of high-quality balsamic glaze to elevate the snack into a sophisticated culinary experience.
Frequently Asked Questions (FAQ)
Why is my gelatin snack not setting?
The most common reason a Creamy Gelatin Snack fails to set is either insufficient blooming or overheating the mixture. If you did not let the gelatin hydrate in cold liquid first, the proteins cannot form a proper matrix. Additionally, ensure you are using the correct ratio of liquid to powder. If you added too much liquid, the structure will be too weak to hold its shape.
Can I use low-fat milk for this recipe?
Technically, you can use low-fat milk, but I advise against it. The fat in whole milk and heavy cream provides the “creamy” element of the Creamy Gelatin Snack. Without that lipid content, the snack will feel more like a standard water-based jelly and will lack the luxurious mouthfeel that defines this specific technical challenge.
How do I get the snack out of the mold perfectly?
If you are using silicone molds, simply pull the edges away from the Creamy Gelatin Snack to break the vacuum seal, then press from the bottom. If you are using glass or ceramic, dip the bottom of the container in warm water for 5-10 seconds. This slightly melts the outermost layer of the snack, allowing it to slide out onto a plate with minimal resistance.
A creamy gelatin snack is a versatile dessert that offers a unique blend of texture and flavor, often utilizing high-quality gelatin for an elevated experience. These snacks can be enriched with various ingredients and flavors, making them suitable for different dietary preferences, and can be explored further in the world of culinary arts.
Final Thoughts
Mastering the Creamy Gelatin Snack proves that precision pays off. You have created a high-performance fuel that tastes like a luxury dessert. Respect the science of the set.
Use these techniques to impress guests or optimize your own recovery. It is bold, simple, and perfect.
Nutrition Information (per serving)
This Creamy Gelatin Snack provides a balanced macro profile suitable for low-carb and high-protein lifestyles.
| Nutrient | Amount | Daily Value (%) |
|---|---|---|
| Calories | 185 kcal | 9% |
| Protein | 12g | 24% |
| Total Fat | 14g | 18% |
| Net Carbohydrates | 3g | 1% |
| Sodium | 85mg | 4% |
Creamy Gelatin Snack
This Creamy Gelatin Snack offers a velvet texture and satisfies cravings instantly, using high-quality ingredients for optimal results.
Ingredients
Method
- Bloom the gelatin: Pour one cup of cold milk into a shallow bowl. Sprinkle gelatin powder evenly over the surface and let sit for 10 minutes.
- Heat the remaining milk and heavy cream: In a saucepan over medium-low heat, bring the mixture to exactly 160°F (71°C).
- Dissolve the gelatin: Add the bloomed gelatin to the warm liquid and whisk continuously until dissolved.
- Sweeten and flavor: Whisk in your sweetener, vanilla, and salt until fully incorporated.
- Homogenize: Transfer the mixture to a blender and pulse on high for 30 seconds.
- Set: Pour into silicone molds or a glass dish, let cool at room temperature for 20 minutes, then refrigerate for at least 4 hours.
Notes
Be sure to use high-quality ingredients for the best results. Avoid using low-fat milk or cheap gelatin. For a plant-based snack, substitute the gelatin with agar agar.