The Best Fluffy Pancakes recipe you will fall in love with. Full of tips and tricks to help you make the best pancakes.
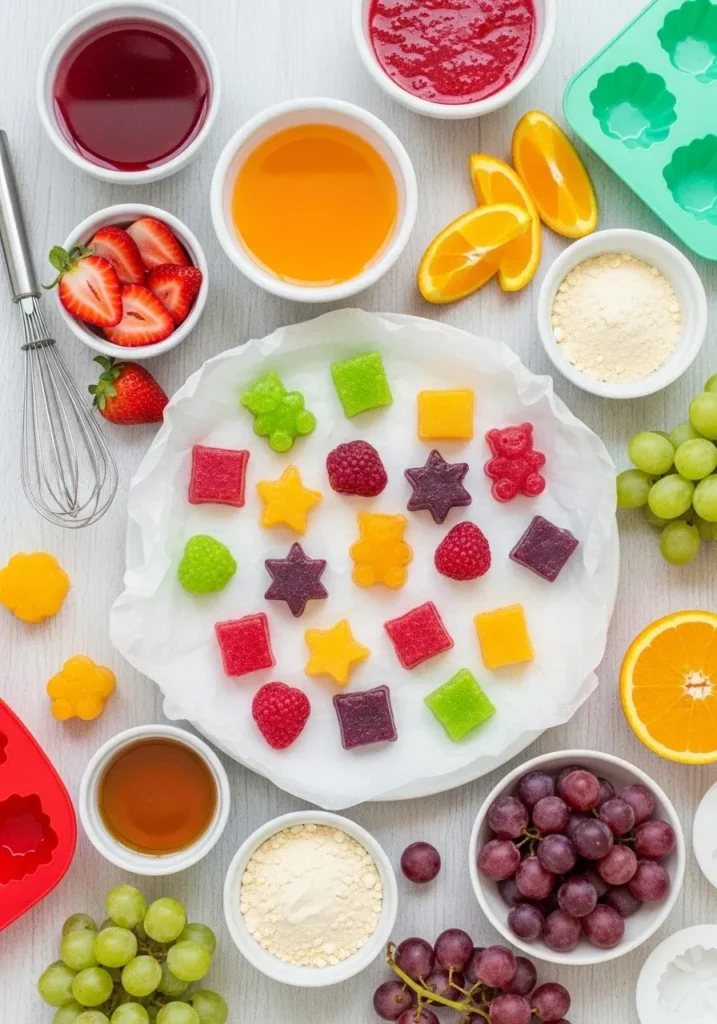
Welcome to my vibrant kitchen corner! Today, we explore the wobbling wonders of homemade fruit snacks. Mastering the gelatin recipe ingredients allows you to craft healthy treats without artificial dyes.
These gummies burst with natural flavor. You will love how simple it is to transform fresh juice into a sophisticated dessert. Let’s dive into these gelatin recipe ingredients together!
Table of Contents
Why You’ll Love These Gelatin Recipe Ingredients
- Bursting with vibrant, natural fruit flavors and colors.
- Quick and easy process perfect for busy, creative kitchens.
- Clean ingredients support a healthy and active lifestyle.
- Eco-friendly alternative to store-bought plastic-wrapped snacks.
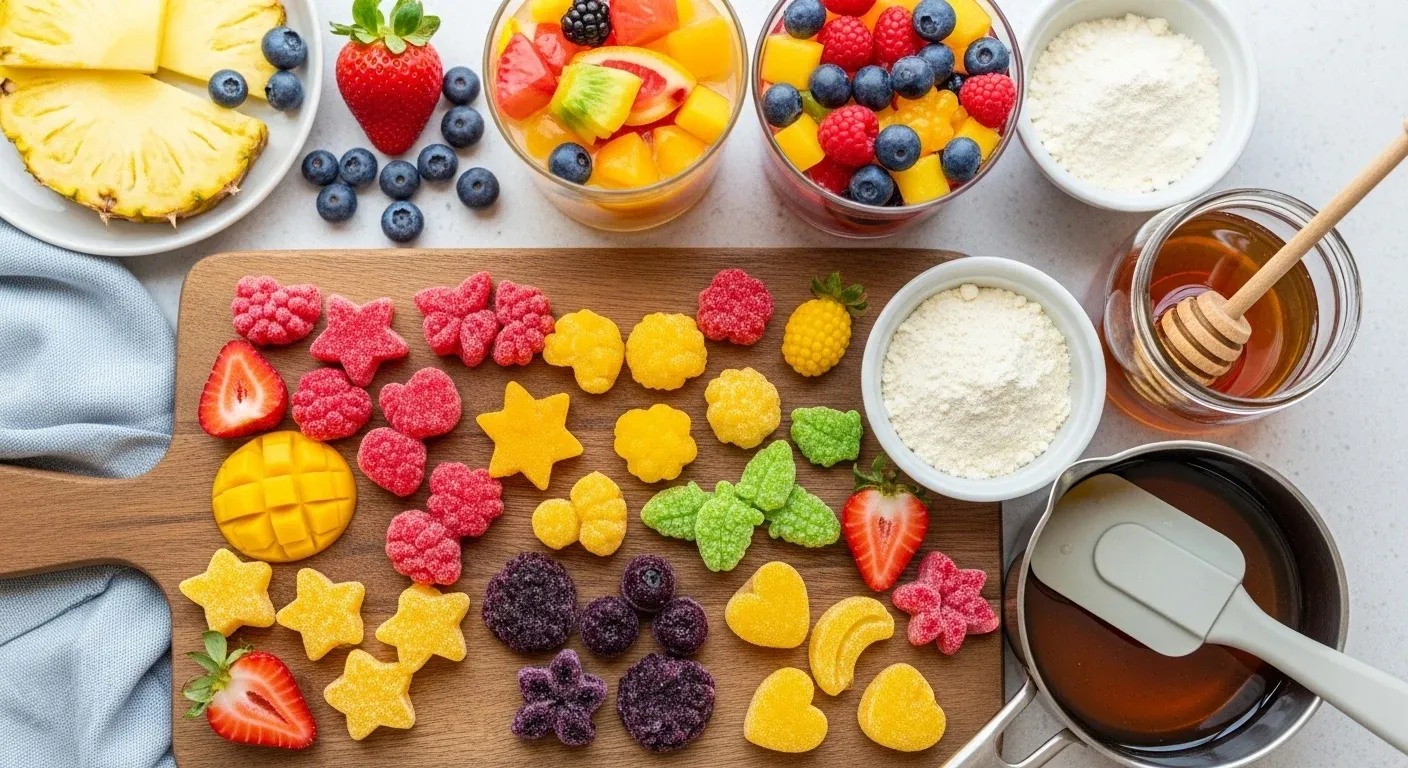
Ingredients You’ll Need
Sourcing high-quality gelatin recipe ingredients makes a significant difference in the final texture and nutritional value of your dessert. I always prioritize organic and sustainable sources to ensure my kitchen remains eco-friendly and health-conscious. For this base recipe, we focus on purity and brightness. Here is what you need to gather for your masterpiece:
- Fruit Juice: Two cups of fresh, cold-pressed fruit juice serve as your flavor foundation. I love using pomegranate, orange, or tart cherry for their intense pigments.
- Gelatin Powder: You need three tablespoons of high-quality, grass-fed gelatin powder. This is the star of our gelatin recipe ingredients list, providing that iconic bounce.
- Natural Sweetener: Two tablespoons of maple syrup or raw honey add a touch of sweetness without using refined sugars.
- Lemon Juice: One tablespoon of freshly squeezed lemon juice brightens the flavors and acts as a natural preservative.
- Infusions (Optional): A sprig of fresh mint or a pinch of ground ginger can elevate the profile through creative flavor fusion.
Furthermore, the temperature of your liquid plays a crucial role. Always start with cold juice to ensure the gelatin hydrates properly. This process, known as blooming, prevents lumps and creates a silky-smooth finish.
If you choose to use fruit purees instead of clear juices, your snacks will have a more opaque, jam-like appearance. Both options are delicious, so feel free to experiment with what you have in your pantry to reduce food waste.
Substitutions & Variations
[ra_display_video url=”https://www.youtube.com/watch?v=WhUp1qxDzVI”]
In my plant-based explorations, I often look for ways to adapt traditional gelatin recipe ingredients for different dietary needs. While traditional gelatin comes from animal sources, you can easily swap it for agar-agar. Agar-agar is a sea-vegetable derivative that sets firmly at room temperature.
If you use agar, remember that a little goes a long way; typically, you only need one teaspoon of agar powder for every cup of liquid. Additionally, you can substitute maple syrup with agave nectar or stevia for a lower-glycemic option. For a creamy twist, replace half of the fruit juice with full-fat coconut milk to create a tropical panna cotta style treat.
If you’re looking to adapt your favorite gelatin recipes for specific dietary needs, consider experimenting with a homemade gelatin recipe for weight loss. This alternative not only caters to your health goals but also maintains the texture you love.
Equipment You’ll Need
Having the right tools ensures a stress-free experience in the kitchen. You do not need fancy gadgets to achieve professional results, but a few basics will help you maintain consistency. First, a small saucepan is essential for gently heating your liquids.
I recommend a stainless steel pan for even heat distribution. Second, a fine-mesh whisk helps incorporate the powder into the juice without creating air bubbles. Third, silicone molds are a game-changer for easy removal.
If you do not have molds, a glass baking dish works perfectly; you can simply slice the set gelatin into squares. Finally, keep a glass measuring cup handy for precise pouring, which prevents spills and keeps your workspace tidy and eco-friendly.
Step-by-Step Instructions
- Pour one cup of cold fruit juice into your small saucepan.
- Sprinkle the gelatin recipe ingredients, specifically the powder, evenly over the surface of the cold liquid.
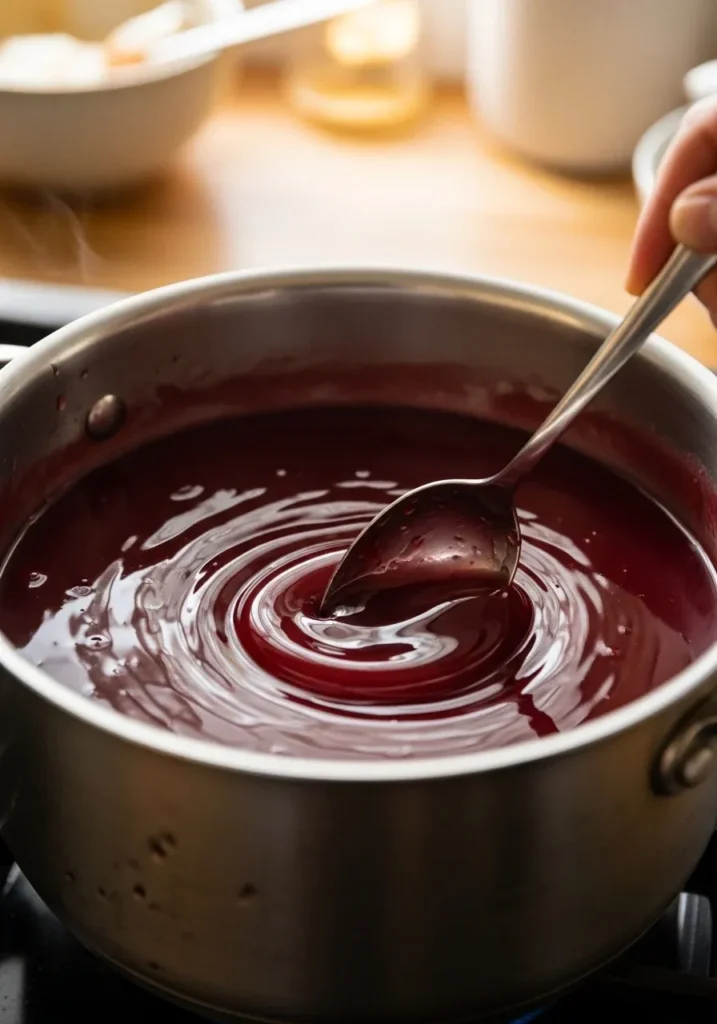
- Let the mixture sit for five minutes to allow the gelatin to bloom and absorb the moisture.
- Turn the heat to low and whisk the mixture constantly until the gelatin dissolves completely.
- Add the remaining cup of juice, the sweetener, and the lemon juice to the pan.
- Continue whisking over low heat for another two minutes, ensuring you do not let the liquid reach a boil.
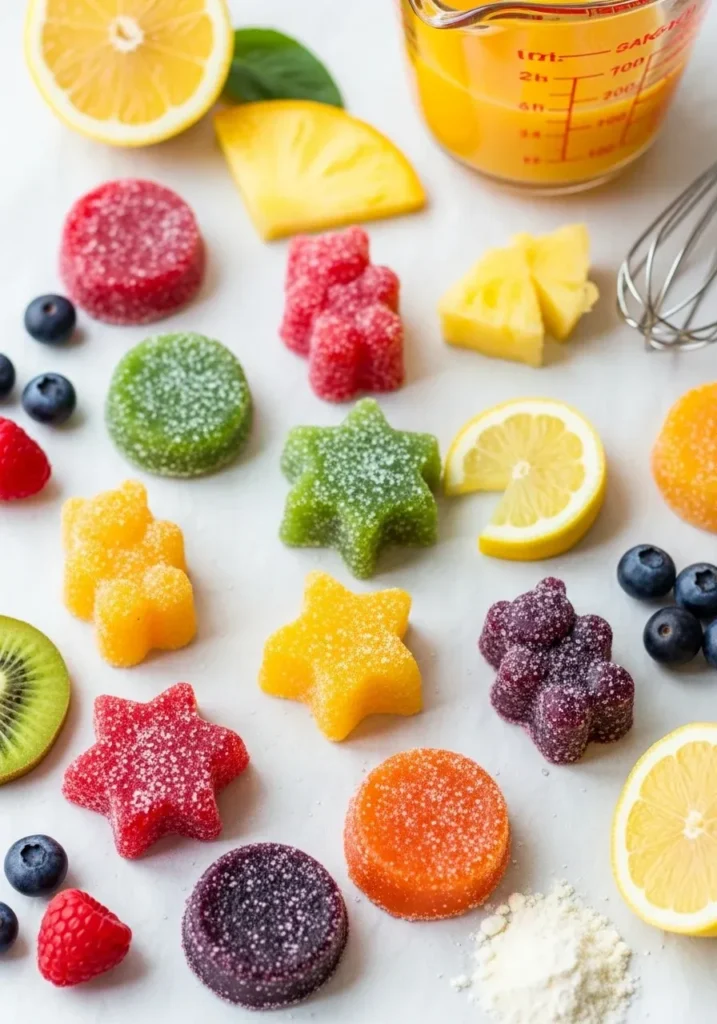
- Remove the pan from the heat and carefully pour the mixture into your silicone molds or glass dish.
- Place the molds in the refrigerator and let them set for at least three to four hours.
- Once firm, gently pop the treats out of the molds and enjoy your colorful creation!
For a rich and creamy variation of your gelatin dish, try adding gelatin recipe with condensed milk. This addition transforms a simple dessert into an indulgent treat that’s sure to impress your guests.
Pro Tips for Success
To master the art of the perfect set, you must handle your gelatin recipe ingredients with care. One common mistake is overheating the mixture. High heat can weaken the protein bonds in the gelatin, resulting in a soft or runny texture.
Consequently, always keep your stove on a low setting and remove the pan as soon as the granules disappear. Another professional tip involves the juice selection. Avoid using fresh pineapple, kiwi, or papaya.
These fruits contain enzymes called proteases that break down protein, which will prevent your gelatin from ever setting. If you crave these flavors, use bottled or canned versions, as the pasteurization process deactivates those enzymes. For the clearest aesthetic, skim off any foam that rises to the top of the liquid before pouring it into your molds.
Storage & Reheating Tips
Proper storage ensures your treats remain fresh and bouncy for days. Place your finished snacks in an airtight glass container to prevent them from absorbing refrigerator odors. They will stay fresh for up to one week.
If you are prepping these for school lunches or picnics, keep them in a cool bag with an ice pack, as they can soften if left in direct sunlight. Regarding reheating, you should generally avoid it. Gelatin melts easily when exposed to heat.
However, if you want to repurpose a set batch into a different mold, you can gently melt it down in a double boiler over very low heat until it becomes liquid again. Never use a microwave for this process, as it often creates “hot spots” that ruin the delicate texture.
To explore a variety of creative options, check out our collection of gelatin recipes dessert. These recipes will inspire you to use gelatin in fun and delicious ways.
What to Serve With This Recipe
These vibrant treats are versatile enough to accompany many healthy meals. I love serving these fruit gems alongside a crisp kale salad with a citrus vinaigrette. The sweetness of the gelatin balances the earthy greens beautifully.
For a sophisticated brunch, pair them with roasted root vegetables or a savory chickpea scramble. The contrast between the cool, jiggly texture and the warm, roasted flavors creates a delightful sensory experience.
If you are hosting a garden party, arrange the gelatin shapes on a platter with fresh berries and sprigs of rosemary for an eco-chic presentation. They also make a fantastic light dessert after a heavy meal, acting as a refreshing palate cleanser that leaves you feeling energized rather than weighed down.
Frequently Asked Questions (FAQ)
What are the best gelatin recipe ingredients for beginners?
Beginners should start with clear, filtered juices like apple or white grape. These juices have a high sugar content naturally, which helps the gelatin set more reliably. Furthermore, using a high-quality powdered gelatin rather than sheets is often easier for those just starting out, as the measurements are more straightforward and the blooming process is more visible.
Can I use natural gelatin recipe ingredients to make layers?
Absolutely! To create a rainbow effect, prepare one color at a time. Pour the first layer and let it set in the fridge for about twenty minutes until it is tacky but not fully firm.
Then, gently pour the next cooled layer over the back of a spoon to avoid disturbing the base. Repeat this process for as many colors as you like for a stunning, festive look.
How do I fix mistakes with my gelatin recipe ingredients?
If your mixture fails to set after four hours, you likely used too much liquid or one of the “enzyme” fruits mentioned earlier. Do not worry! You can pour the liquid back into a pot, add an extra teaspoon of bloomed gelatin, and reheat it gently.
Once dissolved, pour it back into the molds. This anti-waste approach ensures you never have to throw away your hard work.
Gelatin is a protein derived from collagen, found in animal connective tissues, often used as a gelling agent in cooking. Understanding the basic gelatin recipe ingredients can help you create a variety of flavorful and healthy dishes.
Final Thoughts
Embracing the fun of these treats brings a sparkle to your kitchen. By choosing quality gelatin recipe ingredients and vibrant juices, you nourish your body while delighting your senses. Remember to experiment with herbs to keep your recipes creative and eco-friendly! Happy wobbling, everyone!
Nutrition Information (per serving)
| Nutrient | Amount |
|---|---|
| Calories | 45 kcal |
| Protein | 6 g |
| Carbohydrates | 5 g |
| Sugars | 4 g |
| Fat | 0 g |
| Sodium | 15 mg |
gelatin recipe ingredients
Homemade fruit snacks made with fresh fruit juice and natural ingredients, resulting in a healthy dessert without artificial dyes.
Ingredients
Method
- Pour one cup of cold fruit juice into your small saucepan.
- Sprinkle the gelatin powder evenly over the surface of the cold liquid.
- Let the mixture sit for five minutes to allow the gelatin to bloom.
- Turn the heat to low and whisk the mixture until the gelatin dissolves completely.
- Add the remaining cup of juice, the sweetener, and the lemon juice to the pan.
- Continue whisking over low heat for another two minutes.
- Remove the pan from the heat and pour the mixture into your silicone molds or glass dish.
- Place the molds in the refrigerator and let them set for at least three to four hours.
- Once firm, gently pop the treats out of the molds.
Notes
Ensure to use cold juice for proper blooming of gelatin. Avoid fresh pineapple, kiwi, or papaya to prevent setting issues.