The Best Fluffy Pancakes recipe you will fall in love with. Full of tips and tricks to help you make the best pancakes.
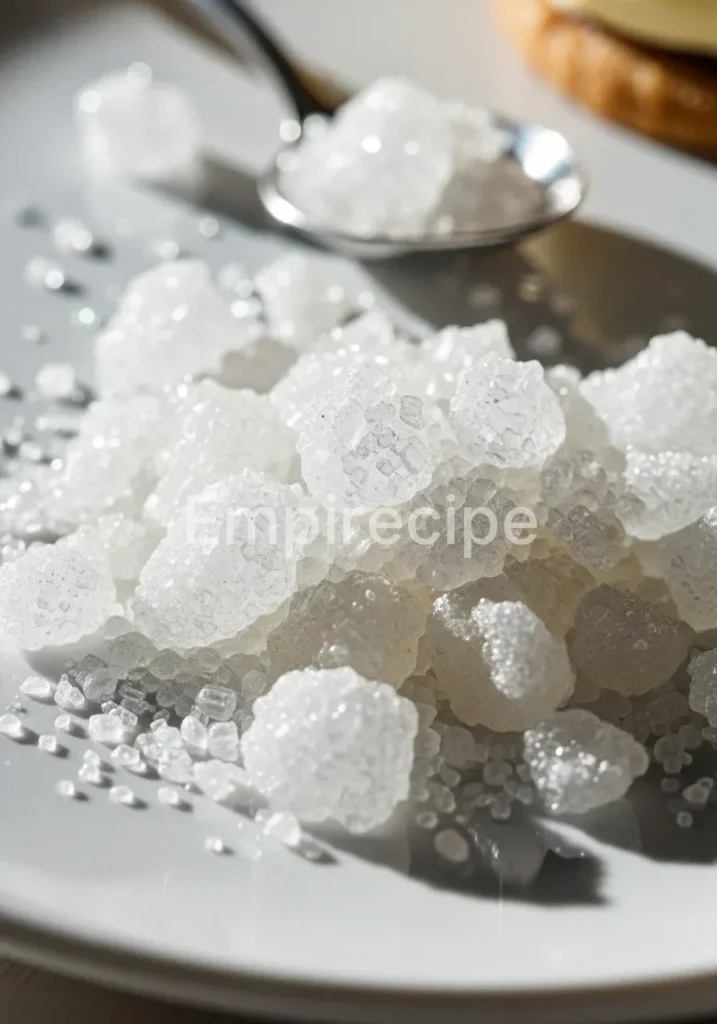
Sparkling Sugar adds a professional finish to any dessert. It provides a distinct, crystalline crunch that elevates texture immediately. You can master this technique easily in your own modern kitchen.
Precision ensures every crystal catches the light perfectly. This guide focuses on technical accuracy and bold results. Stop buying expensive pre-made jars and start crafting your own high-quality version today.
Table of Contents
Why You’ll Love This Sparkling Sugar Recipe
- Textural Precision: Achieve a bold, architectural crunch that adds structural contrast to soft pastries.
- Total Customization: Control the intensity of the pigment and the grit size for specific culinary applications.
- Clean Labeling: Eliminate artificial preservatives and metallic-tasting dyes found in commercial decorative toppings.
Ingredients You’ll Need
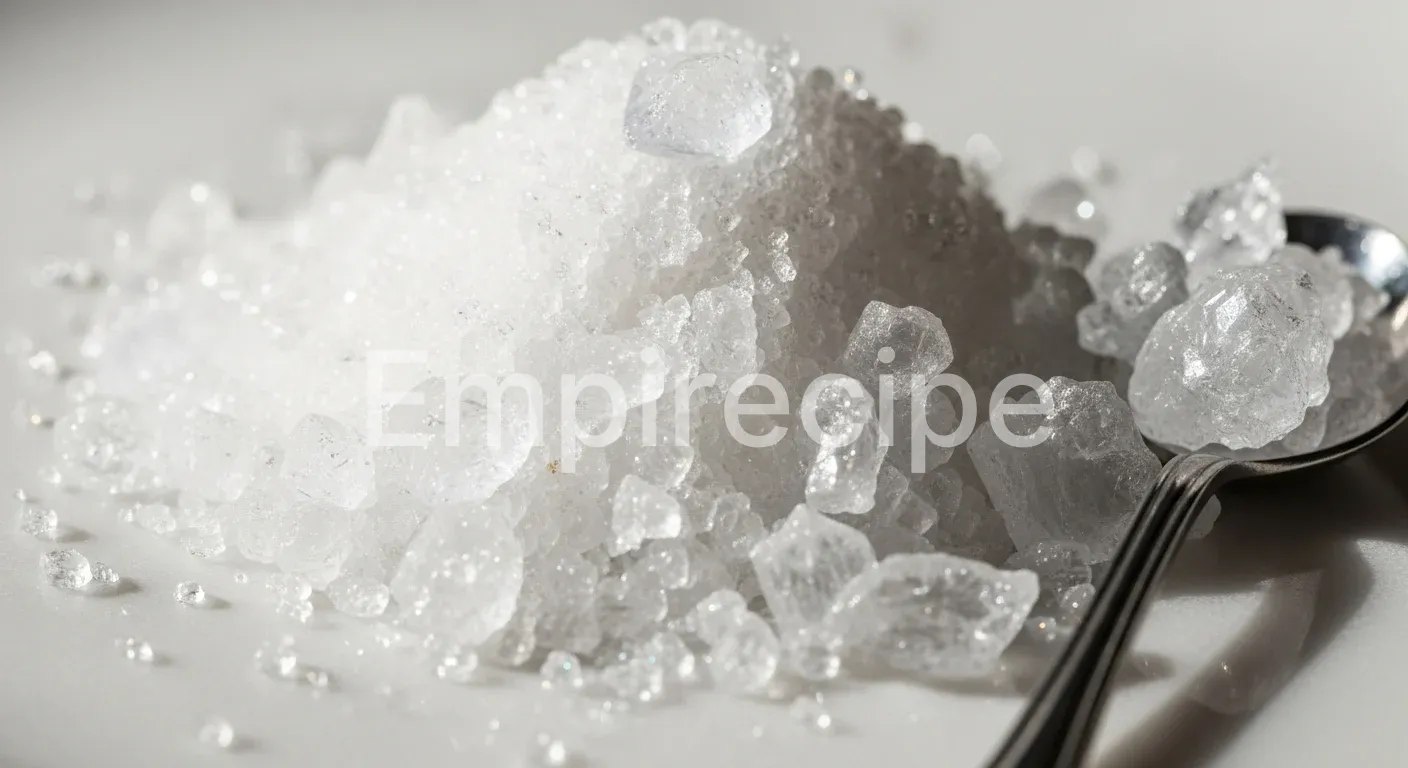
Quality determines the final refraction of your crystals. To create a high-end Sparkling Sugar, you must select ingredients with low moisture content.
- Extra-Coarse Granulated Sugar: Use a high-purity sucrose with large, defined crystal faces for maximum light reflection.
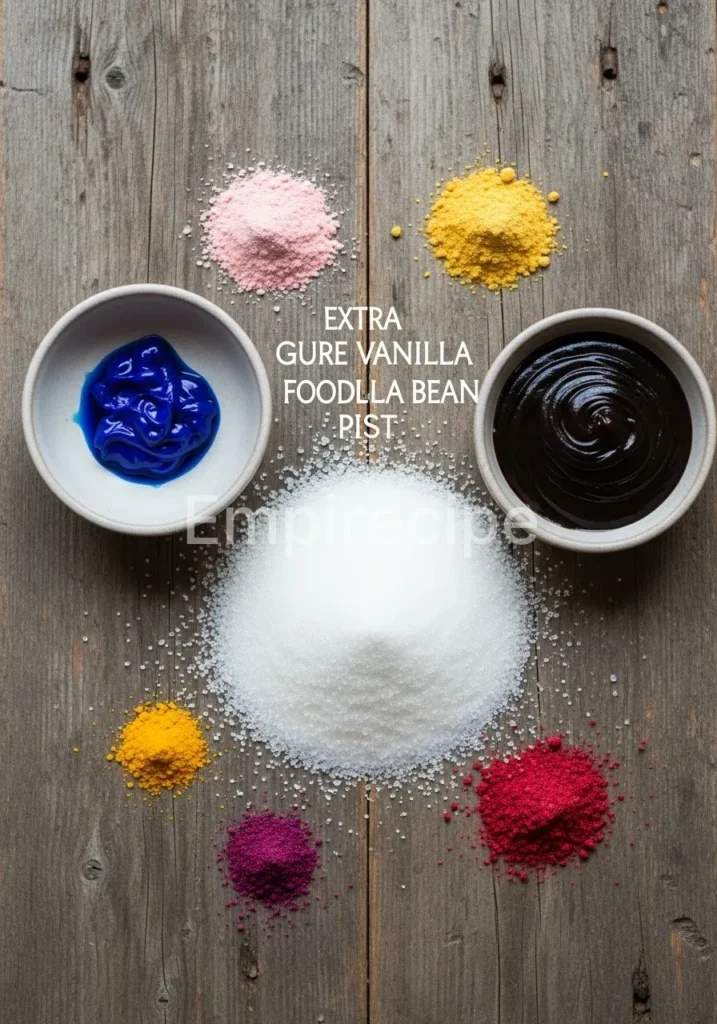
- Gel-Based Food Coloring: Choose high-viscosity pigments to prevent the sugar from dissolving during the mixing phase.
- Pure Vanilla Bean Paste (Optional): Adds a microscopic layer of flavor without introducing excessive water.
- Natural Fruit Powders: Use freeze-dried raspberry or blueberry powder for an organic color alternative.
Substitutions & Variations
Note: This video is for demonstration purposes and may use a slightly different method.
For a health-conscious approach, you can substitute the base sucrose with erythritol or xylitol to create a keto-friendly Sparkling Sugar. These sugar alcohols maintain a similar crystalline structure, though they possess a slightly different thermal conductivity.
If you prefer natural dyes, concentrated beet juice or spirulina extract offers a bold palette without synthetic additives. Always ensure your liquid substitutes are highly concentrated to maintain the Sparkling Sugar integrity; excess liquid will turn your structural crystals into a saturated syrup, ruining the desired effect.
For those interested in a health-conscious alternative, exploring a keto-friendly option can be enlightening. Check out this Easy Sparkling Holiday recipe for innovative ideas on substituting ingredients while maintaining a delightful crunch.
Equipment You’ll Need
To achieve professional-grade results, you need equipment that allows for even distribution and controlled dehydration.
- Stainless Steel Mixing Bowl: Prevents static cling and maintains a neutral temperature during the agitation process.
- Fine-Mesh Sieve: Crucial for separating fused crystals and ensuring a uniform particle size distribution.
- Silicone Spatula: Allows for aggressive folding without fracturing the delicate crystalline edges.
- Baking Sheet with Silpat: Provides a non-stick surface for the drying phase, ensuring easy removal.
- Precision Digital Scale: Use this to measure pigments accurately for repeatable color batches.
Step-by-Step Instructions
- Calibration of Base Material: Weigh out 200 grams of coarse sugar. Ensure the workspace is at a low humidity level to prevent premature clumping of your Sparkling Sugar.
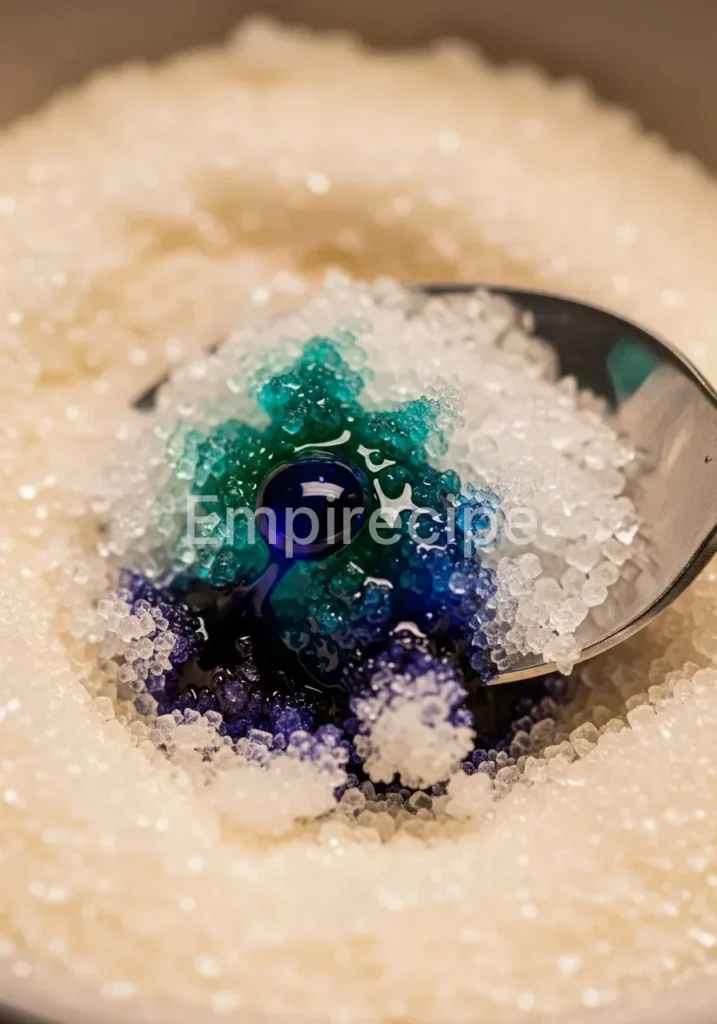
- Pigment Integration: Add a microscopic drop of gel coloring to the center of the bowl. Using the “rubbing” technique with your spatula, work the pigment into the crystals. This mechanical action ensures every facet of the Sparkling Sugar receives an even coating.
- Flavor Infusion: If using vanilla or citrus oils, incorporate them at this stage. Use only oil-based essences to protect the sucrose lattice from dissolving.
- Dehydration Phase: Spread the damp mixture onto a silicone mat in a thin, single layer. Set your oven to its lowest possible setting (usually around 140°F/60°C) or use a food dehydrator. Heat the Sparkling Sugar for 10 to 15 minutes to evaporate all residual moisture.
- Fracture and Sift: Once dry, the sugar may form small clusters. Gently press these with the flat side of a spatula. Pass the final Sparkling Sugar through a sieve to remove any undersized “dust” and keep only the premium large crystals.
When preparing your base material, precise measurement is crucial to achieving the right texture for your Sparkling Sugar. To further enhance your baking, consider making a special dessert like this Valentine’s Day Roll Cake, which showcases the beauty of Sparkling Sugar.
Pro Tips for Success
Technical mastery of Sparkling Sugar requires an understanding of hygroscopy. Sugar is naturally attracted to water molecules in the air. To maintain the bold “sparkle,” you must work quickly in a dry environment. If your crystals look dull, it is likely because the surface has partially dissolved and recrystallized into a flat matte finish.
Another expert technique involves the “layering” of colors. You can create a holographic effect by mixing two different batches of Sparkling Sugar—for instance, a gold-tinted batch and a silver-tinted batch. When combined, the light hits the different metallic pigments at various angles, creating a sophisticated visual depth that a single color cannot achieve.
Furthermore, always monitor the temperature during the drying process. If the heat exceeds 320°F (160°C), the sucrose will begin the caramelization process. This thermal breakdown destroys the crystal clarity and introduces unwanted amber tones into your Sparkling Sugar. Keep the heat low and the airflow high for the cleanest aesthetic results.
Storage & Reheating Tips
Store your finished Sparkling Sugar in an airtight glass jar. Plastic containers can sometimes harbor residual moisture or odors that affect the purity of the sugar. Place a small food-grade silica gel packet at the bottom of the jar to absorb any intruding humidity. This ensures your Sparkling Sugar remains free-flowing for up to six months.
If the crystals do clump together over time, do not discard them. You can “reset” the Sparkling Sugar by placing it back in a dehydrator for ten minutes. Avoid reheating in a microwave, as the localized electromagnetic waves can cause “hot spots” where the sugar melts instantly, destroying the structural integrity of the batch.
To preserve the integrity of your Sparkling Sugar for as long as possible, proper storage is essential. For a delicious application of your sparkling creation, try making a delightful Strawberry Sheet Cake that highlights this eye-catching decoration.
What to Serve With This Recipe
The beauty of Sparkling Sugar lies in its versatility across various culinary platforms. It serves as the perfect high-contrast topping for dark chocolate ganache tarts or deeply colored fruit galettes. The crystalline structure provides a sensory “pop” that cuts through the richness of heavy creams and butter-heavy pastries.
For a modern, healthy twist, use Sparkling Sugar to rim glasses for fresh enzyme-rich mocktails or to garnish a roasted beet salad where the sweetness balances the earthy nitrates of the vegetables. It also pairs exceptionally well with Greek yogurt parfaits, providing a sophisticated texture that complements the softness of the dairy and the acidity of fresh berries.
Frequently Asked Questions (FAQ)
Can I make Sparkling Sugar with liquid food coloring?
While you can use liquid coloring, it contains a high water content that may dissolve the sharp edges of your sugar crystals. For the best Sparkling Sugar results, use gel or powder-based pigments. If you must use liquid, use it very sparingly and increase the drying time to compensate for the added moisture.
How do I prevent my Sparkling Sugar from bleeding color onto the frosting?
Color bleeding occurs when the sugar absorbs moisture from the frosting. To prevent this, apply the Sparkling Sugar immediately before serving. Alternatively, you can lightly coat your crystals with a food-grade confectioner’s glaze (shellac) to create a moisture barrier, though this requires more advanced technical skill.
Is Sparkling Sugar the same as Sanding Sugar?
They are similar, but Sparkling Sugar typically refers to larger, coarser crystals that have a higher refractive index. Sanding sugar is often finer and used for general coverage, whereas this recipe focuses on the bold, jewel-like quality of larger sucrose structures designed to catch the light.
Sparkling Sugar is a unique ingredient that adds a visually appealing finish to baked goods and desserts. This crystalline sugar enhances texture and presentation, making it a favorite among professional chefs and home bakers alike, as detailed in the culinary guide on sugar.
Final Thoughts
Mastering Sparkling Sugar is a gateway to culinary precision. This technique transforms basic ingredients into an architectural finish for your desserts. By controlling the moisture and pigment, you achieve a level of craftsmanship that store-bought products simply cannot match. Enjoy the bold results.
Nutrition Information (per serving)
This data represents a standard 1-teaspoon serving of the finished product.
| Nutrient | Amount per Serving |
|---|---|
| Calories | 16 kcal |
| Total Carbohydrates | 4 g |
| Sugars | 4 g |
| Sodium | 0 mg |
| Fat | 0 g |
Note that using alternative sweeteners for your Sparkling Sugar will significantly alter these nutritional values, particularly the glycemic impact and caloric density. Always calculate based on your specific base material.
Sparkling Sugar
Sparkling Sugar adds a professional finish to any dessert. It provides a distinct, crystalline crunch that elevates texture immediately. This technique allows control over pigment intensity and grit size for customization, while eliminating artificial preservatives found in commercial alternatives.
Ingredients
Method
- Weigh out 200 grams of coarse sugar in a low humidity environment.
- Add a microscopic drop of gel coloring to the bowl and mix it into the sugar using a spatula.
- If using, incorporate oil-based essences at this stage carefully.
- Spread the mixture onto a silicone mat in a thin layer and heat in an oven at 140°F (60°C) for 10 to 15 minutes.
- Once dry, gently break apart any clusters and sift through a fine-mesh sieve.
Notes
To maintain the bold sparkle, work quickly in a dry environment. Store in an airtight glass jar with a food-grade silica gel packet to prevent moisture. If clumped, re-dehydrate for ten minutes.