The Best Fluffy Pancakes recipe you will fall in love with. Full of tips and tricks to help you make the best pancakes.
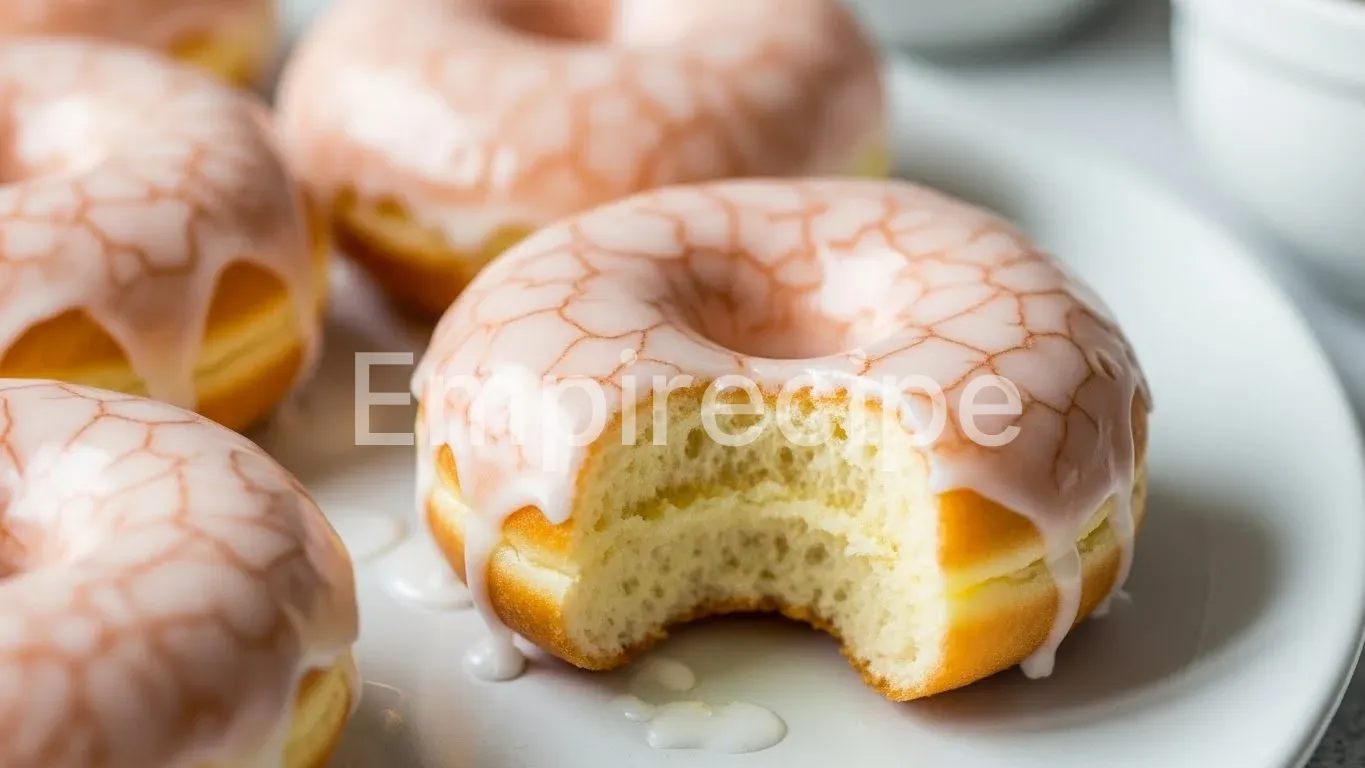
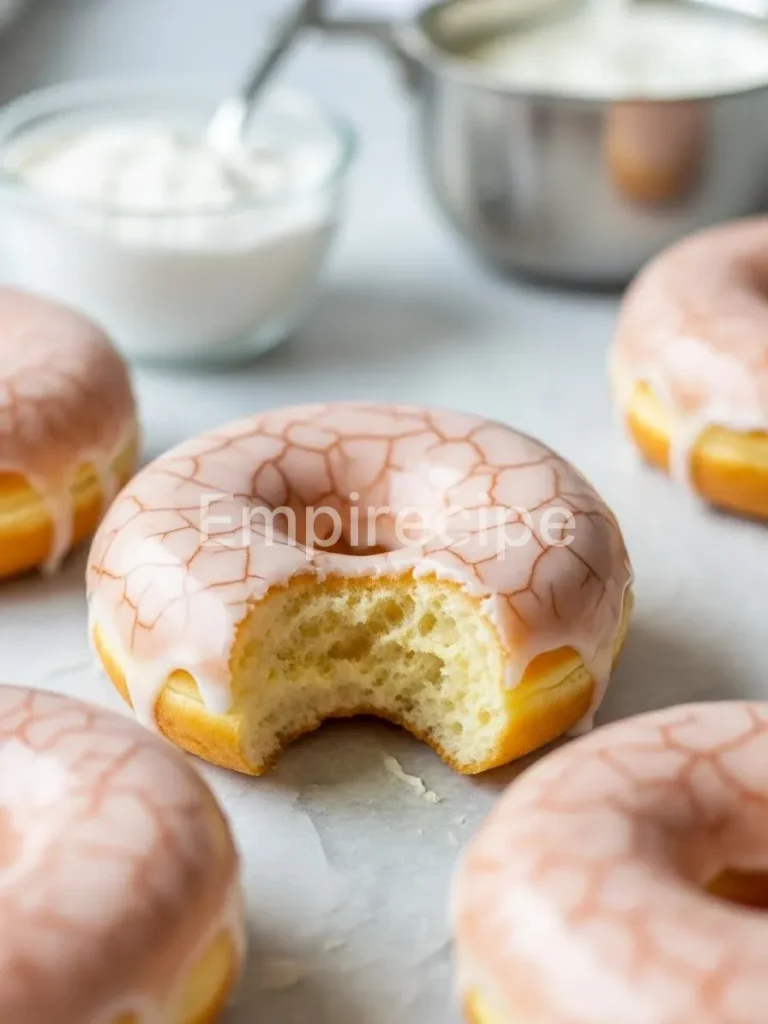
Imagine biting into a cloud-like confection, impossibly soft, airy, and coated in a delicate, crackling glaze. This isn’t just a fantasy; it’s the reality of creating your own Homemade Glazed Donuts. Forget store-bought versions that often disappoint; we’re elevating the classic.
As Adam, I’ll guide you through precise techniques to achieve unparalleled texture and flavor. Prepare for a truly transformative baking experience in your own kitchen.
Table of Contents
Why You’ll Love These Artisan Glazed Donuts
- Unmatched Freshness: Achieve a melt-in-your-mouth texture far superior to any commercial offering.
- Culinary Mastery: Develop precise dough handling and frying skills, significantly elevating your baking game.
- Customizable Delight: Easily adapt for healthier swaps, crafting truly guilt-free Homemade Glazed Donuts.
- Pure Joy: Revel in the intoxicating aroma and taste of warm, freshly made glazed donuts.
Ingredients You’ll Need
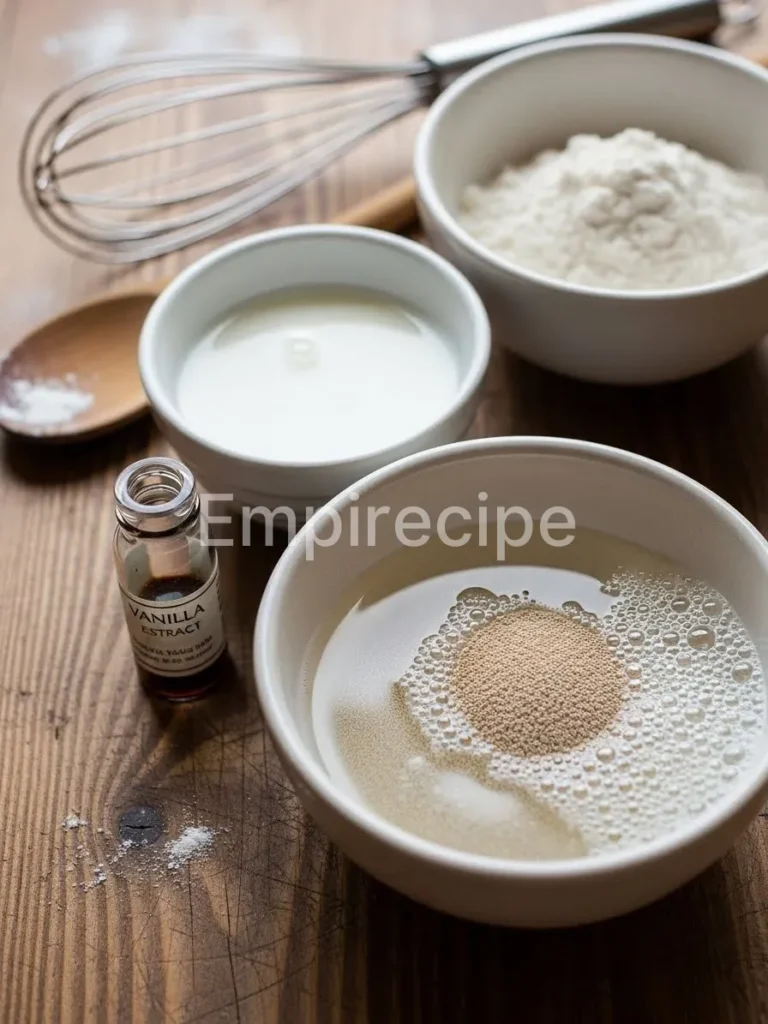
Success starts with quality ingredients. For the best Homemade Glazed Donuts, choose fresh, unbleached flour and active yeast. Precision in measurement is paramount.
- For the Donuts:
- 1 cup (240ml) whole milk, warmed (105-115°F / 40-46°C)
- 2 ¼ teaspoons (7g) active dry yeast (one standard packet)
- ¼ cup (50g) granulated sugar, plus a pinch for yeast
- 1 large egg, at room temperature
- 50g unsalted butter, melted and cooled
- 1 teaspoon pure vanilla extract
- 3 cups (360g) all-purpose flour, plus more for dusting
- ½ teaspoon fine sea salt
- Vegetable oil or canola oil, for frying (about 6-8 cups)
- For the Glaze:
- 2 cups (240g) confectioners’ sugar (powdered sugar), sifted
- ¼ cup (60ml) whole milk
- 1 teaspoon pure vanilla extract
- Pinch of salt
Substitutions & Variations
Note: This video is for demonstration purposes and may use a slightly different method.
Crafting superior Homemade Glazed Donuts also involves intelligent customization. For a healthier spin, these substitutions maintain quality without compromising flavor. Try these pragmatic adjustments:
- Whole Wheat Flour: Substitute up to 1 cup of all-purpose flour with white whole wheat flour for added fiber. Adjust liquid slightly as whole wheat absorbs more.
- Milk Alternatives: Use unsweetened almond milk or oat milk for a dairy-free version. Ensure it’s warmed correctly for yeast activation.
- Natural Sweeteners: Replace granulated sugar with coconut sugar (1:1 ratio) or reduce the amount slightly for a less sweet donut. For the glaze, use a sugar-free confectioners’ sugar blend.
- Baking instead of Frying: While frying provides the classic texture, you can bake these donuts. After proofing, bake at 375°F (190°C) for 8-10 minutes, until golden. The texture will be different, more cake-like, but still delicious.
- Spiced Glaze: Add a pinch of cinnamon or nutmeg to the glaze for an aromatic variation on your Homemade Glazed Donuts.
To elevate your Homemade Glazed Donuts, consider smart ingredient substitutions for a healthier twist. For an alternative approach, check out our recipe for Old-Fashioned Sour Cream Donuts.
Equipment You’ll Need
Precision equipment ensures consistent results. For crafting perfect Homemade Glazed Donuts, gather these essential tools:
- Large mixing bowl
- Stand mixer with dough hook attachment (optional, but highly recommended)
- Whisk and rubber spatula
- Measuring cups and spoons
- Kitchen scale (for accurate flour measurement)
- Rolling pin
- Donut cutter (or 2 concentric round cookie cutters, e.g., 3-inch and 1-inch)
- Baking sheets lined with parchment paper or silicone mats
- Heavy-bottomed pot or Dutch oven (for frying)
- Deep-fry thermometer
- Slotted spoon or spider skimmer
- Wire cooling rack set over a baking sheet
Step-by-Step Instructions
Achieving the perfect texture for your Homemade Glazed Donuts relies on meticulous adherence to these steps. Do not rush any stage, especially proofing.
- Activate the Yeast: In the bowl of a stand mixer (or a large bowl), combine the warm milk, a pinch of sugar, and yeast. Stir gently and let sit for 5-10 minutes until foamy. This confirms your yeast is active.
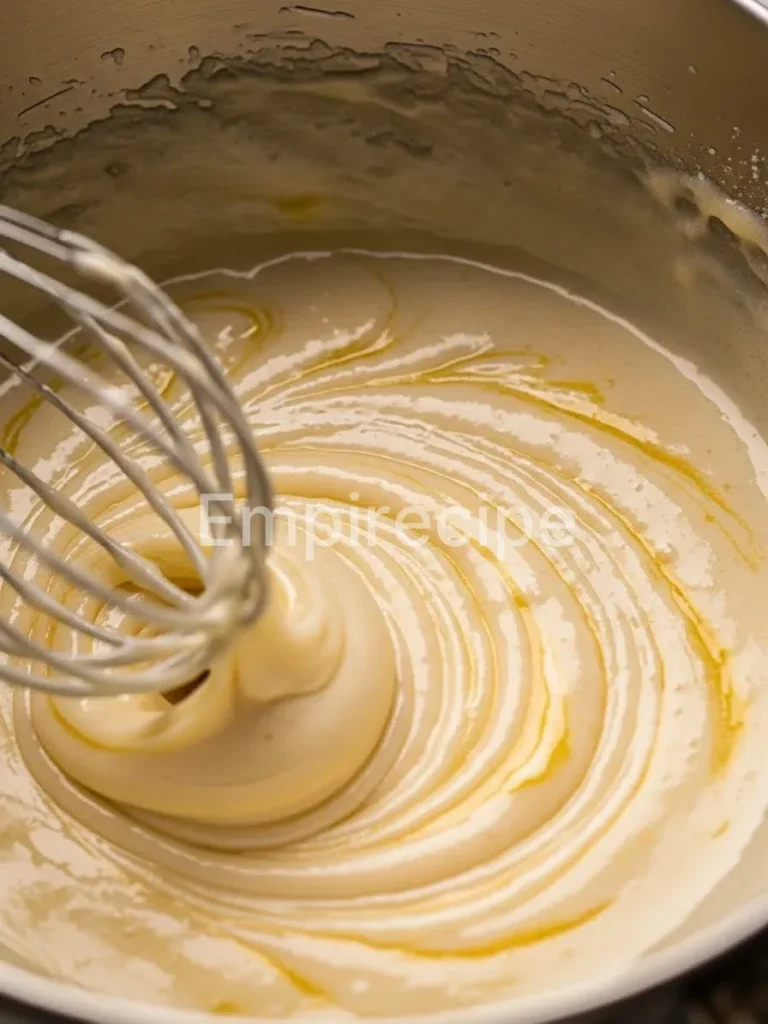
- Combine Wet Ingredients: To the activated yeast mixture, add the remaining ¼ cup granulated sugar, egg, melted butter, and vanilla extract. Whisk briefly to combine.
- Add Dry Ingredients: Gradually add the flour and salt to the wet ingredients. If using a stand mixer, attach the dough hook and mix on low speed for 8-10 minutes. If kneading by hand, mix until a shaggy dough forms, then turn onto a lightly floured surface and knead for 10-12 minutes until smooth and elastic. The dough should be slightly tacky but not sticky.
- First Proof (Bulk Fermentation): Lightly grease a clean large bowl. Transfer the dough to the bowl, turning once to coat. Cover the bowl tightly with plastic wrap or a damp kitchen towel. Let it rise in a warm place for 1-1.5 hours, or until doubled in size. This crucial step develops flavor and tenderness in your Homemade Glazed Donuts.
- Shape the Donuts: Gently punch down the risen dough to release air. Turn it out onto a lightly floured surface. Roll the dough to about ½-inch thickness. Using a donut cutter, cut out donuts and donut holes. Reroll scraps once to cut additional donuts.
- Second Proof (Final Proofing): Carefully transfer the cut donuts and holes to the prepared baking sheets, leaving ample space between each. Cover loosely with plastic wrap or a damp towel. Let them rise again in a warm place for 30-45 minutes, or until visibly puffy and light. They should be almost doubled. This second rise ensures airy Homemade Glazed Donuts.
- Prepare for Frying: While the donuts are proofing for the second time, pour 6-8 cups of vegetable oil into your heavy-bottomed pot or Dutch oven. Attach the deep-fry thermometer. Heat the oil over medium heat to 350°F (175°C). Maintaining a consistent temperature is key.
- Fry the Donuts: Carefully lower 2-3 donuts (do not overcrowd) into the hot oil using a slotted spoon. Fry for 1-2 minutes per side, until golden brown. Adjust heat as necessary to keep the oil temperature stable.
- Drain and Cool: Remove fried donuts with the slotted spoon, allowing excess oil to drip off, then transfer them to the wire cooling rack set over a baking sheet. Fry the donut holes similarly.
- Prepare the Glaze: While the donuts cool slightly (they should still be warm), whisk together the sifted confectioners’ sugar, milk, vanilla extract, and a pinch of salt in a shallow bowl until smooth.
- Glaze the Donuts: Dip each warm donut (one side or both, as preferred) into the glaze, letting any excess drip off. Place them back on the wire rack for the glaze to set. Serve your perfect Homemade Glazed Donuts immediately for the ultimate experience.
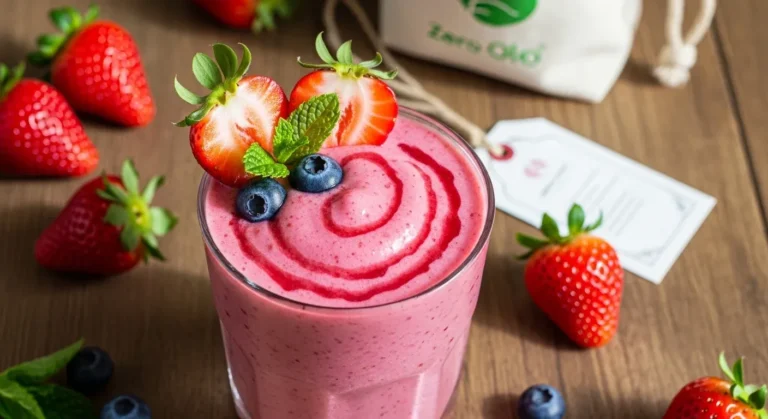
Ensuring the perfect texture for your Homemade Glazed Donuts is crucial for achieving that heavenly bite. For a delightful variation, explore the recipe for Strawberry Baked Donuts.
Pro Tips for Success
As a technical expert, I emphasize precision. These tips will elevate your Homemade Glazed Donuts from good to exceptional:
- Dough Hydration: The dough should be slightly tacky, not dry. If it’s too stiff, add a tiny bit more milk. If too sticky, a sprinkle of flour. Proper hydration leads to a tender crumb.
- Temperature Control: Use a thermometer for both the milk (for yeast activation) and the frying oil. Yeast is sensitive, and oil temperature dictates donut texture – too low, greasy; too high, burnt outside, raw inside. Aim for a consistent 350°F (175°C).
- Don’t Over-Flour: When rolling out the dough, use minimal flour on your surface and rolling pin. Excessive flour toughens the final Homemade Glazed Donuts.
- Consistent Rolling: Roll the dough to a uniform ½-inch thickness. This ensures even cooking and consistent texture across all your donuts.
- The “Windowpane Test”: After kneading, tear off a small piece of dough. You should be able to stretch it thinly enough to see light through it without tearing. This indicates proper gluten development.
- Proofing Environment: For optimal rising, place your dough in a slightly warm, draft-free environment. A turned-off oven with the light on works perfectly.
Storage & Reheating Tips
While Homemade Glazed Donuts are best enjoyed fresh, you can preserve their deliciousness with proper storage:
- At Room Temperature: Store glazed donuts in an airtight container for up to 2 days. The glaze may soften slightly.
- Refrigeration: Not recommended for glazed donuts, as it can dry them out and make them stale faster.
- Freezing (Un-Glazed): For longer storage, freeze un-glazed, freshly fried donuts. Once completely cool, arrange them in a single layer on a baking sheet to freeze solid, then transfer to an airtight freezer bag for up to 1 month.
- Reheating Frozen: Thaw frozen donuts at room temperature. You can warm them gently in a 300°F (150°C) oven for 5-7 minutes to restore some freshness before glazing.
- Reheating Glazed (Briefly): If you must reheat glazed donuts, a 10-second blast in the microwave might suffice, but be wary of the glaze melting. A brief warm-up in a toaster oven is often better.
While enjoying your Homemade Glazed Donuts fresh is a must, learning the best storage methods can help maintain their deliciousness. For another tasty option that stores well, try our Baked Blueberry Donuts.
What to Serve With This Recipe
While Homemade Glazed Donuts are a delightful indulgence, pairing them thoughtfully can balance the meal. Consider these options:
- Fresh Fruit Salad: A vibrant bowl of seasonal berries, melon, and citrus provides a refreshing contrast to the sweetness of the donuts.
- Greek Yogurt with Honey: A dollop of creamy, protein-rich Greek yogurt, drizzled with a touch of honey, offers a tangy counterpoint.
- Coffee or Tea: A strong cup of black coffee or a delicate herbal tea complements the sweetness without adding more sugar.
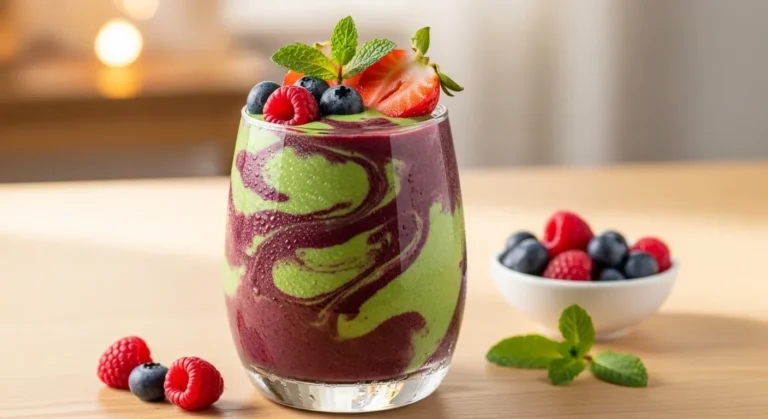
- Green Smoothie: For a truly audacious pairing, a nutrient-packed green smoothie offers a healthy balance and cleansing feel.
- Light Scrambled Eggs: If serving for breakfast or brunch, a small portion of lightly seasoned scrambled eggs provides savory protein.
Frequently Asked Questions (FAQ)
Can I make the donut dough ahead of time?
Absolutely! After the first proof, you can punch down the dough, cover it tightly, and refrigerate it for up to 24 hours. When ready to use, let it come to room temperature for about 30-60 minutes before rolling and cutting your Homemade Glazed Donuts. This slow fermentation can even enhance the flavor complexity.
Why are my Homemade Glazed Donuts greasy?
Greasy donuts usually indicate the oil temperature was too low. The dough absorbed the oil instead of cooking quickly on the surface. Ensure your oil consistently maintains 350°F (175°C) using a thermometer.
Also, avoid overcrowding the pot, as this drops the oil temperature significantly. Proper draining on a wire rack is also essential for perfect Homemade Glazed Donuts.
What if I don’t have a donut cutter?
No problem! You can use two round cookie cutters: a larger one (around 3 inches) for the outer ring and a smaller one (around 1 inch) for the center hole. If you lack cookie cutters, a wide-mouth glass or even a clean tuna can (for the outer) and a small bottle cap (for the center) can serve as effective substitutes for cutting your Homemade Glazed Donuts.
Homemade glazed donuts are a delightful treat made from dough that is typically fried and covered in a sweet glaze, offering a unique texture and flavor. If you’re interested in exploring more about this tempting confection, learn about the fascinating world of donuts.
Final Thoughts
Crafting Homemade Glazed Donuts transcends mere baking; it’s an act of culinary creation. The precision involved, the alchemy of simple ingredients transforming into something extraordinary, offers immense satisfaction. Embrace the process, from the first yeast activation to the final shimmering glaze.
You’ve not just made a treat; you’ve engineered a moment of pure, delicious joy, proving technical expertise meets delightful indulgence. These donuts truly reward your effort.
Nutrition Information (per serving)
(Based on approximately 12 donuts per batch, values are estimates and can vary)
| Nutrient | Amount |
|---|---|
| Calories | 320 kcal |
| Total Fat | 16g |
| Saturated Fat | 4g |
| Cholesterol | 35mg |
| Sodium | 180mg |
| Total Carbohydrates | 40g |
| Dietary Fiber | 1g |
| Total Sugars | 25g |
| Protein | 5g |
Homemade Glazed Donuts
Imagine biting into a cloud-like confection, impossibly soft, airy, and coated in a delicate, crackling glaze. This isn’t just a fantasy; it’s the reality of creating your own Homemade Glazed Donuts. Forget store-bought versions that often disappoint; we’re elevating the classic.
Ingredients
Method
- In the bowl of a stand mixer (or a large bowl), combine the warm milk, a pinch of sugar, and yeast. Stir gently and let sit for 5-10 minutes until foamy.
- Add the remaining ¼ cup sugar, egg, melted butter, and vanilla extract to the activated yeast mixture. Whisk briefly to combine.
- Gradually add the flour and salt to the wet mixture. If using a stand mixer, mix on low speed for 8-10 minutes. If kneading by hand, mix until a shaggy dough forms, then knead for 10-12 minutes until smooth and elastic.
- Lightly grease a clean large bowl. Transfer the dough to the bowl, cover with plastic wrap or a damp towel, and let it rise in a warm place for 1-1.5 hours, or until doubled in size.
- Gently punch down the risen dough, turn it out onto a lightly floured surface, and roll to about ½-inch thickness. Cut out donuts and holes using a donut cutter.
- Transfer cut donuts to baking sheets, leaving space between them, and cover loosely. Let them rise again in a warm place for 30-45 minutes.
- While the donuts proof, heat 6-8 cups of vegetable oil in a heavy-bottomed pot or Dutch oven to 350°F (175°C).
- Fry 2-3 donuts at a time in the hot oil for 1-2 minutes per side until golden brown. Drain on a wire cooling rack.
- While donuts cool, whisk together the sifted confectioners’ sugar, ¼ cup milk, vanilla extract, and a pinch of salt in a shallow bowl until smooth.
- Dip each warm donut into the glaze, letting excess drip off. Place on a wire rack to set. Serve immediately.
Notes
Store glazed donuts in an airtight container for up to 2 days. For longer storage, freeze un-glazed donuts.