The Best Fluffy Pancakes recipe you will fall in love with. Full of tips and tricks to help you make the best pancakes.
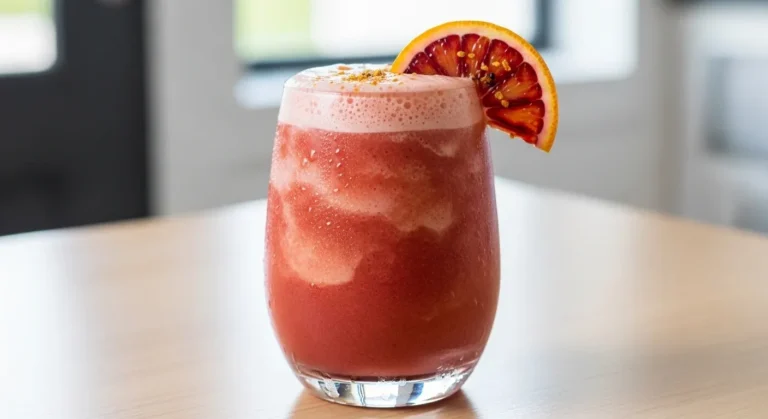
Elevate your daily coffee with vibrant flavor and luscious texture using homemade creamers. Forget artificial additives; embrace wholesome ingredients. This guide, Coffee Creamers, empowers you to craft your perfect cup. Discover bespoke blends that truly sing, transforming your brew into a personalized, delightful experience.
Table of Contents
Why You’ll Love Coffee Creamers
Diving into the world of homemade Coffee Creamers brings a bounty of benefits to your morning mug and beyond. As Hana, I adore bringing nature’s best to my kitchen, and these creamers are no exception. They’re a celebration of vibrant, wholesome ingredients, customizable to your every whim.
- Pure, Customizable Flavor: Enjoy rich, authentic tastes without artificial fillers. Infuse your creamer with anything from vanilla bean to warming chai spices, creating your personal flavor symphony.
- Remarkable Ease & Speed: Whip up a fresh batch in mere minutes with simple steps. You’ll wonder why you ever bought store-bought.
- Wholesome & Nourishing: Prioritize your well-being with plant-based, sugar-controlled options. Say goodbye to unwanted additives and hello to natural goodness.
- Zero-Waste Potential: Utilize leftover nuts or seeds from other recipes, minimizing food waste and maximizing flavor.
- Budget-Friendly Brilliance: Crafting your own saves money while delivering superior quality and freshness.
Ingredients You’ll Need
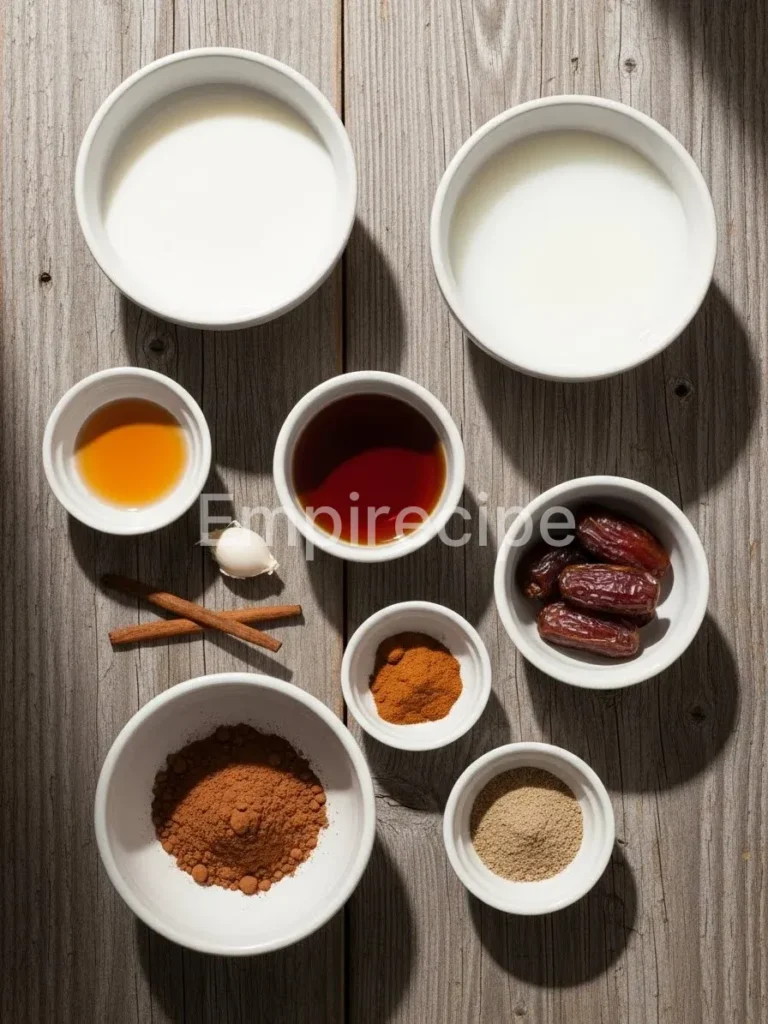
Creating your perfect plant-based coffee creamer begins with selecting fresh, high-quality ingredients. Think of these as your vibrant canvas for deliciousness. Each element contributes to the creamer’s body, sweetness, and unique character.
- Base Liquid:
- 1 cup unsweetened plant milk (oat milk for creaminess, almond milk for lightness, cashew milk for richness, coconut milk for tropical notes). For the Coffee Creamers, I recommend unsweetened varieties to control sugar.
- 1/2 cup full-fat coconut milk (canned, for extra richness and frothiness). This creates a luxurious texture, mimicking traditional creamers.
- Sweetener (choose one or a combination):
- 2-4 tablespoons maple syrup (my personal favorite for a balanced, caramel-like sweetness).
- 2-4 tablespoons agave nectar (a neutral, liquid sweetener).
- 1-2 tablespoons dates (pitted, soaked in warm water, then blended for natural, fibrous sweetness – an anti-waste hero!).
- 1-2 tablespoons erythritol or stevia (for sugar-free options).
- Flavor Boosters (optional, but highly recommended for the best Coffee Creamers experience):
- 1 teaspoon pure vanilla extract or 1/2 vanilla bean, split and scraped (for classic elegance).
- 1/4 teaspoon cinnamon or pumpkin pie spice (for warmth and coziness).
- 1 tablespoon unsweetened cocoa powder (for a mocha delight).
- 1/4 teaspoon almond extract (for a nutty twist).
- 1-2 tablespoons strong brewed coffee or espresso (for a layered coffee-on-coffee flavor).
- A pinch of sea salt (enhances all flavors, don’t skip this!).
Substitutions & Variations
Note: This video is for demonstration purposes and may use a slightly different method.
The beauty of homemade Coffee Creamers lies in its endless adaptability. Here, we embrace creative culinary exploration, ensuring your creamer always suits your mood and pantry. Explore these healthy swaps and vibrant variations to keep your coffee experience fresh and exciting.
- Creamer Base Swaps: If you’re out of one plant milk, feel free to swap it! Cashew milk yields an incredibly creamy texture, while oat milk creates a naturally sweet and smooth blend. For a richer, dairy-free alternative to canned coconut milk, consider blending a handful of soaked raw cashews with a bit of water to create a thick “creamer concentrate.” This is a fantastic zero-waste option if you have leftover cashews!
- Sweetener Alternatives: Instead of maple syrup, use date paste for a caramel-like sweetness with added fiber. Simply blend soaked, pitted dates with a little water until smooth. Brown rice syrup can also work for a less sweet, malty flavor. Always adjust to your taste; some prefer a subtle sweetness, others a more pronounced one. This flexibility is key to Coffee Creamers.
- Flavor Explorations:
- Chai Spice: Add 1/2 teaspoon chai spice blend (cinnamon, cardamom, ginger, cloves, nutmeg) and a pinch of black pepper for a warming, aromatic creamer.
- Hazelnut Heaven: Stir in 1/2 teaspoon hazelnut extract. Pair this with a touch of cocoa powder for a Nutella-inspired treat.
- Mint Chocolate: A drop of food-grade peppermint extract and a tablespoon of cocoa powder creates a refreshing, indulgent blend.
- Lavender Dream: Steep a tiny pinch of dried culinary lavender flowers in warm plant milk for 10 minutes, then strain before blending. A unique and calming flavor.
- Thickening Agents (for extra body): For an ultra-thick creamer, especially if you prefer lighter bases like almond milk, add 1/4 teaspoon of xanthan gum or 1 teaspoon of tapioca starch while blending. This gives a delightful mouthfeel and prevents separation. It’s an advanced tip for mastering Coffee Creamers.
If you’re looking to elevate your coffee experience with healthy options, you can explore exciting variations and adapt your creamer to your cravings. Check out this recipe for Spinach Soup to inspire more creative culinary ideas.
Equipment You’ll Need
As a kitchen adventurer, I believe in having the right tools to make cooking a joy, not a chore. For these vibrant coffee creamers, you’ll find these items incredibly useful, making the process smooth and enjoyable.
- High-Speed Blender: Essential for achieving a super smooth, emulsified, and frothy creamer. A regular blender will work, but a high-speed one guarantees creamy perfection.
- Small Saucepan: For gently warming liquids and dissolving any granular sweeteners or spices.
- Whisk or Spoon: For stirring ingredients, especially if you’re dissolving powders.
- Airtight Bottle or Jar: To store your finished creamer in the refrigerator, keeping it fresh and ready for your next coffee moment.
- Measuring Cups and Spoons: For accurate ingredient proportions, though flexibility is encouraged in flavorings.
- Fine-Mesh Sieve (optional): If you use whole spices or infused ingredients, a sieve helps achieve a silky-smooth texture.
Step-by-Step Instructions
Crafting your homemade plant-based creamer is a simple and rewarding process. Follow these steps to unlock the full potential of Coffee Creamers, transforming your coffee experience with every pour. Get ready to infuse some joy into your mug!
- Combine Base Liquids: In your high-speed blender, combine the unsweetened plant milk of your choice and the full-fat canned coconut milk. If you’re using whole dates, add them now.
- Warm Gently (Optional but Recommended): For better dissolution of flavors and sweeteners, you can gently warm the base liquids in a small saucepan over low heat for 2-3 minutes. Do not boil. This step is particularly helpful for infusing spices or if your ingredients are straight from the fridge.
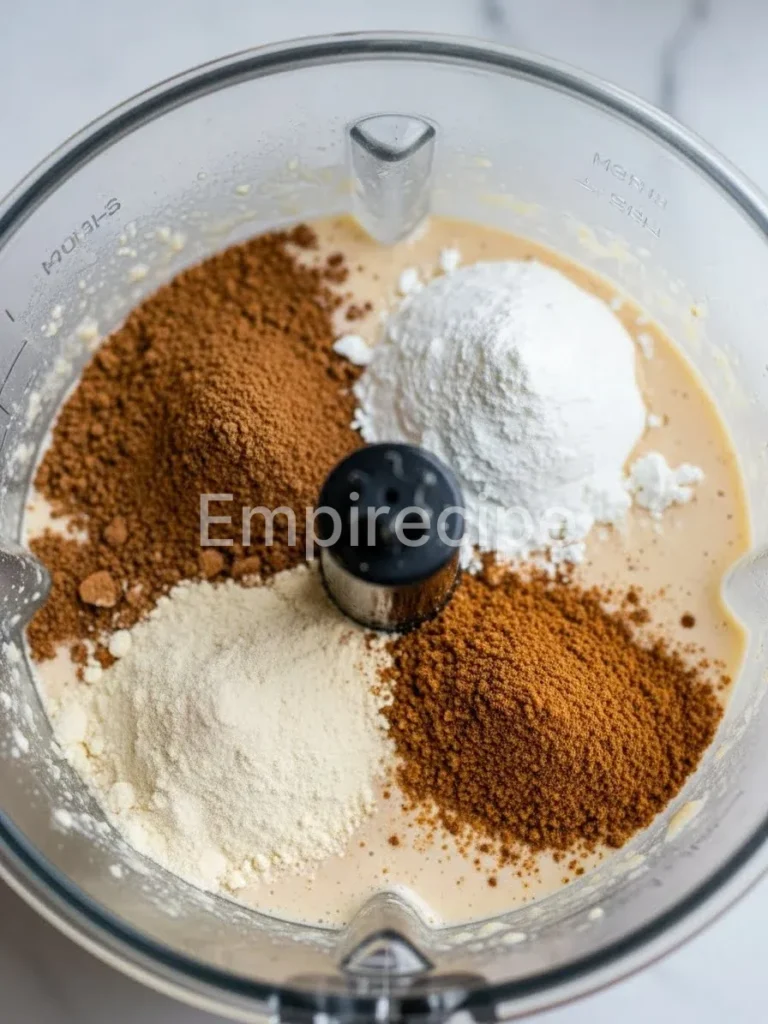
- Add Sweeteners and Flavors: Pour the warmed (or room temperature) liquid back into the blender. Add your chosen sweetener (maple syrup, agave, etc.), vanilla extract, and any other flavor boosters like cinnamon, cocoa powder, or extracts. Don’t forget that tiny pinch of sea salt – it truly elevates the flavors.
- Blend Until Smooth: Secure the lid on your blender and blend on high for 1-2 minutes. You’re aiming for a completely smooth, creamy, and slightly frothy consistency. Ensure all dates are fully integrated if using them. This blending action is key to an excellent Coffee Creamers.
- Taste and Adjust: Stop the blender, taste your creamer, and adjust any flavors or sweetness as desired. Want it sweeter? Add more maple syrup. Craving more vanilla? A splash more extract. Blend again briefly after any adjustments.
- Strain (Optional): If you used vanilla bean pods or steeped whole spices and prefer a perfectly smooth texture, strain the creamer through a fine-mesh sieve into your storage container.
- Store and Enjoy: Pour your finished coffee creamer into a clean, airtight bottle or jar. Refrigerate immediately. It’s now ready to elevate your morning brew. Shake well before each use.
Transforming your coffee ritual can start with crafting a homemade plant-based creamer that’s both simple and satisfying. For a hearty meal option, consider this delicious Corned Beef Soup that complements your beverage perfectly.
Pro Tips for Success
Achieving creamer perfection is an art, and these professional tips will guide you on your journey with Coffee Creamers. From texture to taste, master the nuances for a truly outstanding result.
- Embrace Temperature: For optimal blending and flavor infusion, use room temperature or slightly warmed ingredients. Cold ingredients can sometimes cause coconut milk to seize or separate in the blender.
- Master the Emulsification: The key to a silky, non-separating creamer is proper emulsification. Blend on high speed for at least 60-90 seconds. This incorporates air and thoroughly mixes fats and liquids, creating a stable, luscious texture.
- Infuse with Intention: To extract maximum flavor from spices like cinnamon sticks or vanilla beans, gently warm them with your plant milk for 10-15 minutes on low heat, then strain before blending. This deepens the flavor profile of your Coffee Creamers.
- Balance Sweetness: Start with less sweetener and add more gradually. It’s easier to add than to remove. Remember, coffee itself has bitterness that balances sweetness.
- Don’t Fear the Fat: Full-fat coconut milk (from a can) provides the necessary richness and body for a truly satisfying creamer. Don’t substitute it with light coconut milk if you crave that luxurious feel.
- Nut Milk from Scratch: For the freshest taste and to minimize waste, consider making your own nut milk. Soak nuts overnight, blend with water, and strain. The leftover pulp can be used in baking! This truly embodies the spirit of Coffee Creamers.
- Shake Well Before Each Use: Natural separation can occur with homemade creamers. A good shake before pouring ensures uniform consistency and flavor every time.
- Experiment with Extracts: Use high-quality pure extracts for the best flavor. Start with a small amount (1/4 teaspoon) and build up to your preferred intensity.
Storage & Reheating Tips
Proper storage ensures your homemade Coffee Creamers remains fresh, vibrant, and ready to transform your coffee. These simple tips help you maximize its lifespan and enjoy every last drop.
- Refrigerate Promptly: Always store your creamer in a clean, airtight bottle or jar in the refrigerator. This prevents spoilage and maintains freshness.
- Lifespan: Homemade plant-based creamers typically last for 5-7 days in the refrigerator. Always give it a sniff test before using.
- Shake Before Use: Natural separation of fats and liquids can occur, especially with coconut milk. A vigorous shake before each use will re-emulsify the creamer, restoring its smooth consistency.
- Freezing (Not Recommended): While technically possible, freezing is generally not recommended for homemade creamers. The texture can become grainy or separate upon thawing due to the fat content, especially from coconut milk. Enjoy it fresh!
- Avoid Contamination: Use a clean spoon or pour directly from the bottle to avoid introducing bacteria that could shorten its shelf life.
To ensure your delightful coffee creations last, proper storage is key in maintaining the freshness of your homemade creamers. You can also enjoy a comforting bowl of Cheeseburger Soup while you savor the benefits of your delightful brew.
What to Serve With This Recipe
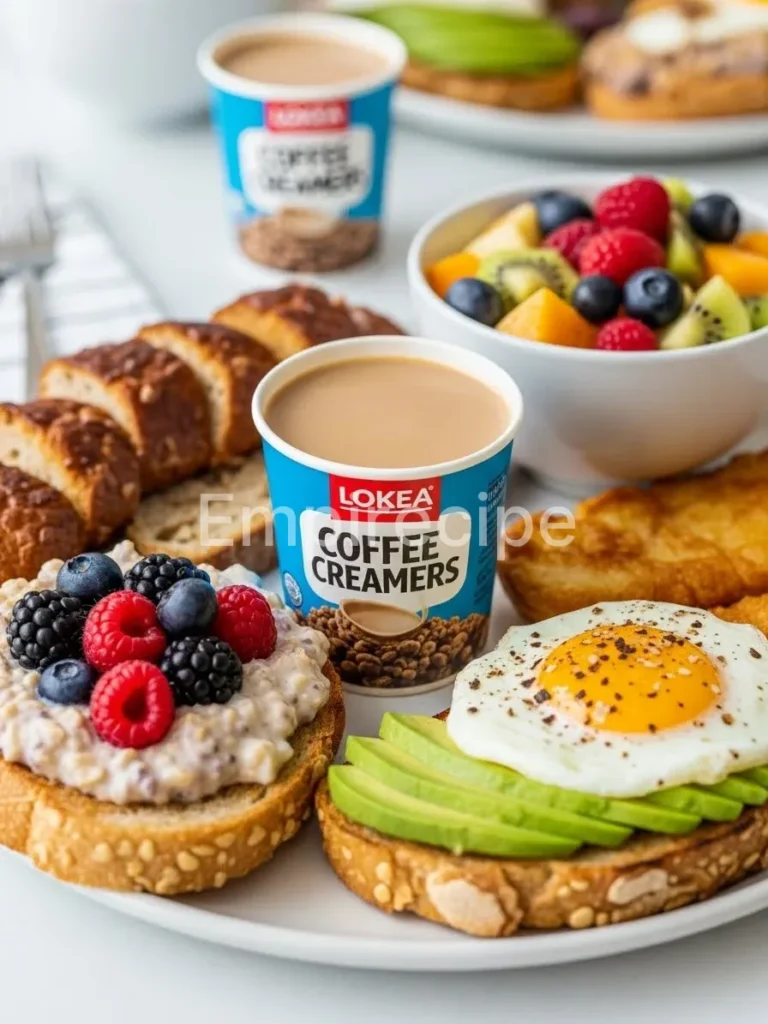
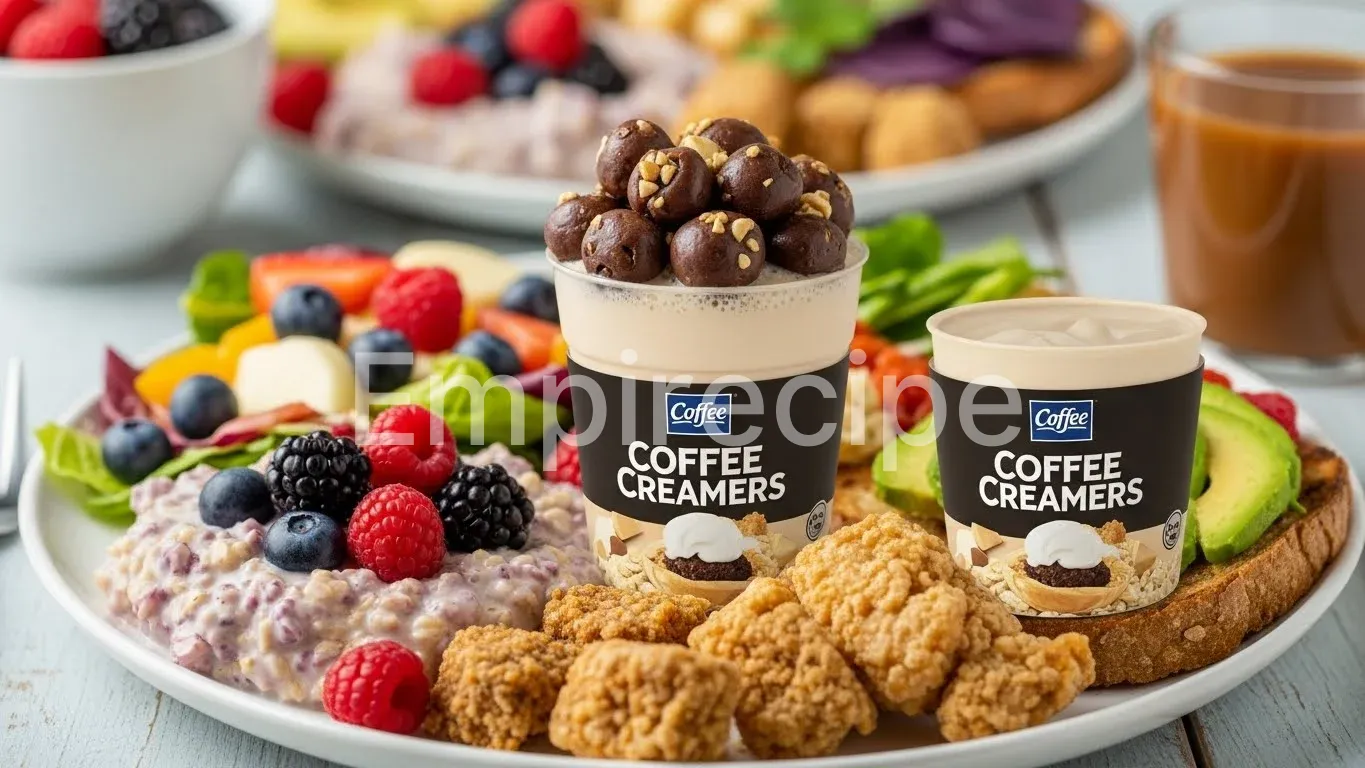
Your perfectly crafted coffee creamer elevates not just your coffee but also the entire breakfast or brunch experience. Pairing it with wholesome, vibrant dishes creates a harmonious start to your day. Here are some of my favorite healthy accompaniments that truly shine alongside a creamy, flavorful coffee, fulfilling the promise of Coffee Creamers.
- Overnight Oats with Berries: Prepare a jar of overnight oats with your favorite plant milk, chia seeds, and a sprinkle of cinnamon. Top with fresh berries and a drizzle of maple syrup. The cool, creamy oats perfectly contrast a warm, flavorful coffee.
- Fresh Fruit Salad: A colorful medley of seasonal fruits like melon, berries, kiwi, and oranges offers a refreshing, light complement. The natural sweetness and acidity provide a lovely balance.
- Avocado Toast with Everything Bagel Seasoning: A classic for a reason! Creamy avocado on toasted whole-grain bread, seasoned generously, offers savory satisfaction that pairs beautifully with a sweet, creamy coffee.
- Vegan Breakfast Burrito: Fill a whole-wheat tortilla with scrambled tofu, black beans, salsa, and sautéed veggies. It’s hearty, flavorful, and provides a wonderful balance to your morning brew.
- Homemade Granola with Plant-Based Yogurt: A bowl of crunchy, oven-baked granola served with plain unsweetened plant-based yogurt and a scattering of nuts and seeds. The textures and flavors are a delightful match.
- Protein Smoothie Bowl: Blend a vibrant smoothie with spinach, banana, plant protein, and a touch of ginger. Top with colorful fruits and seeds for a nourishing and energizing start.
- Whole-Wheat Vegan Pancakes or Waffles: Light and fluffy, these classics are always a winner. Serve with fresh fruit and a light drizzle of maple syrup, alongside your expertly prepared coffee, showcasing the versatility of Coffee Creamers.
Frequently Asked Questions (FAQ)
Can I use water instead of plant milk for a lighter creamer?
While technically possible, using water as a primary base will result in a much thinner creamer that lacks the richness and body characteristic of traditional creamers. Plant milks, especially oat, cashew, or coconut, provide the necessary creaminess and mouthfeel. For a lighter but still creamy option, increase the proportion of unsweetened almond milk and reduce the full-fat coconut milk.
My creamer separated in the fridge. Is it still good?
Yes, natural separation is perfectly normal for homemade plant-based creamers, especially those using full-fat coconut milk. The fats can solidify and separate from the liquid when cold. Simply give the bottle a good, vigorous shake before each use to re-emulsify the ingredients. If it smells off or has visible mold, then it’s time to discard it.
How can I make my creamer frothier for lattes?
For extra frothiness, use plant milks known for their frothing capabilities, like barista-blend oat milk or soy milk, as your base. Additionally, adding a little full-fat coconut milk significantly boosts froth potential.
After blending, gently re-heat a portion of your creamer in a saucepan or microwave, then use a hand-held frother or an espresso machine’s steam wand to create a luxurious foam. This is a key aspect of Coffee Creamers for latte lovers.
Coffee creamers are a versatile addition to your coffee, allowing for a spectrum of flavors and textures that can be tailored to individual preferences. Learn more about the various types of creamers and their ingredients in this comprehensive overview on coffee creamers.
Final Thoughts
Crafting your own Coffee Creamers is more than just a recipe; it’s an act of self-care and creativity. Embrace the vibrant flavors, reduce waste, and truly connect with your daily ritual. Each cup becomes a personalized celebration, nourishing both body and soul with wholesome, delightful sips.
Nutrition Information (per serving)
(Approximate values, based on unsweetened oat milk, full-fat coconut milk, and maple syrup; varies greatly with specific ingredients and portion size)
| Nutrient | Amount |
|---|---|
| Calories | 40-60 kcal |
| Total Fat | 3-5 g |
| Saturated Fat | 2.5-4 g |
| Cholesterol | 0 mg |
| Sodium | 5-15 mg |
| Total Carbohydrates | 3-6 g |
| Dietary Fiber | 0-1 g |
| Total Sugars | 2-5 g |
| Protein | 0-1 g |
Coffee Creamers – The Ultimate Guide to Choosing and Using the Perfect Creamer
A guide to crafting your own personalized coffee creamers using wholesome ingredients, allowing for customizable flavors and textures without artificial additives.
Ingredients
Method
- Combine the unsweetened plant milk of your choice and the full-fat canned coconut milk in a high-speed blender.
- Warm the base liquids gently in a small saucepan for better flavor infusion, if desired.
- Add sweeteners and any flavor boosters to the blender.
- Blend on high until smooth and creamy, about 1-2 minutes.
- Taste and adjust the flavors or sweetness as desired, then blend again briefly.
- Optionally strain the mixture through a fine-mesh sieve into a storage container.
- Pour your finished coffee creamer into a clean, airtight bottle and refrigerate.
Notes
Homemade creamers can separate; shake well before each use. Store in the refrigerator and consume within 5-7 days.