The Best Fluffy Pancakes recipe you will fall in love with. Full of tips and tricks to help you make the best pancakes.
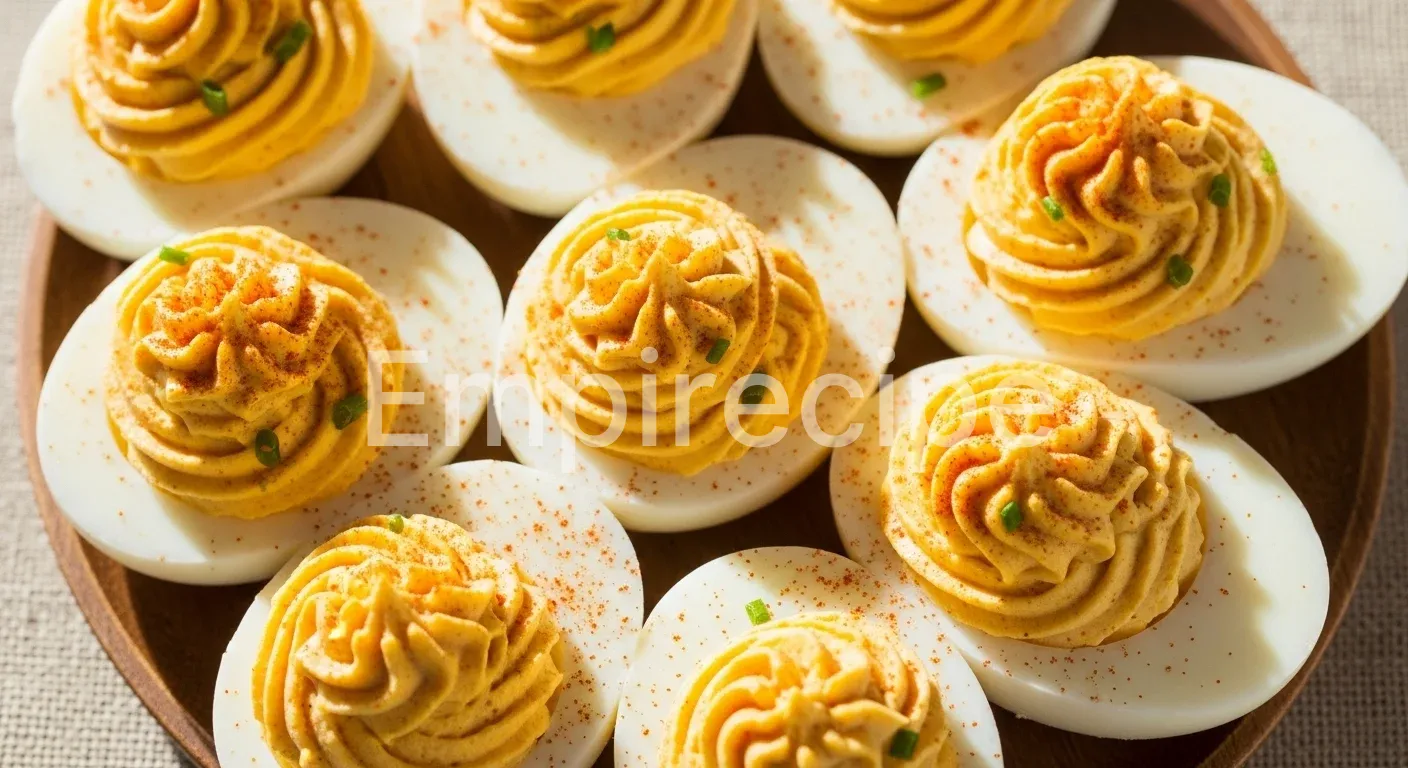
This Classic Deviled Eggs Recipe delivers a silky texture paired with a sharp, tangy bite. You will master the balance of creamy yolks and briny vinegar to create the ultimate appetizer. Every bite provides a protein-packed punch that satisfies even the most demanding palates. This Classic Deviled Eggs Recipe focuses on technical precision to achieve the perfect hard-boiled egg.
Table of Contents
Why You’ll Love This Classic Deviled Eggs Recipe
- Maximum Flavor: The combination of mustard and vinegar creates a bold, sharp profile.
- Ease of Cooking: Simple techniques ensure a stress-free preparation process every time.
- High Protein: Each serving provides high-quality nutrients and essential healthy fats.
Ingredients You’ll Need

To execute this Classic Deviled Eggs Recipe with professional results, you must prioritize ingredient quality. The structural integrity of the white and the richness of the yolk depend on the freshness and grade of your components.
- Large Eggs: Use eggs that are at least one week old for easier peeling.
- Mayonnaise: Choose a high-quality, full-fat version for the best emulsion.
- Yellow Mustard: This adds the signature tang and vibrant color.
- Apple Cider Vinegar: A small amount provides the necessary acidity to cut through the fat.
- Kosher Salt: Use this for a clean salt flavor without metallic aftertastes.
- Black Pepper: Freshly cracked pepper offers the best aromatic profile.
- Smoked Paprika: This serves as the traditional garnish for a hint of woodsy heat.
- Fresh Chives: Optional, but recommended for a hit of herbal freshness.
Substitutions & Variations
[ra_display_video url=”https://www.youtube.com/watch?v=piJ1zLpcIP8″]
While I recommend sticking to the Classic Deviled Eggs Recipe for your first attempt, you can make healthy swaps. Replace mayonnaise with plain Greek yogurt to increase protein and reduce fat. For a dairy-free profile, mashed avocado provides a creamy, heart-healthy alternative.
If you want a spicy variation, add a teaspoon of sriracha or finely diced jalapeños to the yolk mixture. These adjustments maintain the spirit of the Classic Deviled Eggs Recipe while catering to specific dietary goals.
While experimenting with healthy swaps in your Classic Deviled Eggs Recipe, consider the benefits of a nutritious soup that pairs perfectly with it. For instance, you can enjoy a comforting bowl of Classic French Green Lentil Soup as a delicious, wholesome side.
Equipment You’ll Need
Professional results require the right tools. Do not underestimate the importance of thermal management and mechanical consistency.
- Large Stainless Steel Pot: Ensure it has a heavy bottom for even heat distribution during the boiling process.
- Digital Kitchen Timer: Precision is non-negotiable; even thirty seconds can change the yolk texture.
- Large Mixing Bowl: Use this for the ice bath to stop the cooking process immediately.
- Fine-Mesh Sieve: For the ultimate smooth filling, push the yolks through a sieve instead of mashing them.
- Piping Bag with Star Tip: This tool elevates the presentation from homemade to gourmet.
- Silicone Spatula: This allows you to scrape every bit of the emulsion from the bowl.
Step-by-Step Instructions
Follow these steps to master the Classic Deviled Eggs Recipe with absolute precision.
- Prepare the Eggs: Place your eggs in a single layer at the bottom of the pot. Cover them with cold water, ensuring the level sits at least one inch above the shells. This prevents uneven cooking temperatures.
- The Boil: Bring the water to a rolling boil over high heat. Once it reaches a vigorous boil, turn off the heat and cover the pot with a tight-fitting lid. This gentle residual heat method prevents the rubbery texture often found in overcooked eggs.
- The Timer: Let the eggs sit in the hot water for exactly twelve minutes. This duration is critical for this Classic Deviled Eggs Recipe to ensure the yolks are fully set but still creamy.
- Thermal Shock: Prepare an ice bath while the eggs sit. Use a slotted spoon to transfer the eggs directly into the ice water. Leave them for at least ten minutes. The cold temperature shrinks the egg inside the shell, making peeling significantly easier.
- Peeling: Gently crack the shell all over. Peel under cool running water to help the membrane separate from the white. Pat the eggs dry with a paper towel to ensure the filling adheres properly.
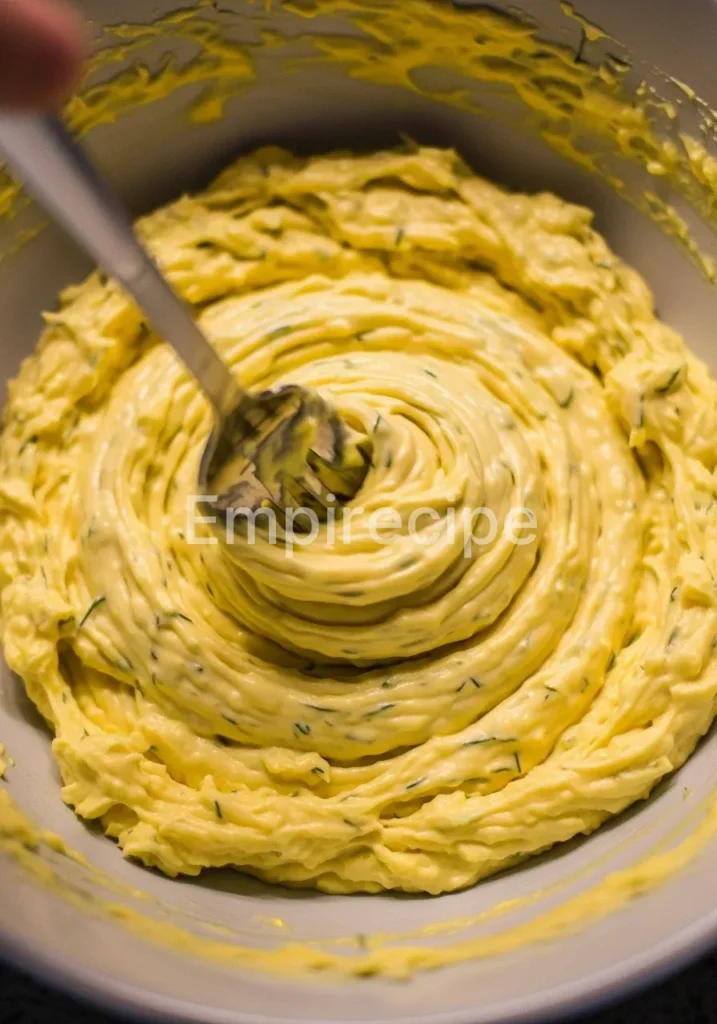
- The Filling: Slice each egg in half lengthwise. Pop the yolks into a medium bowl. Use your sieve or a fork to break them down into a fine powder. Add the mayonnaise, mustard, vinegar, salt, and pepper. Whisk until the mixture is perfectly smooth.
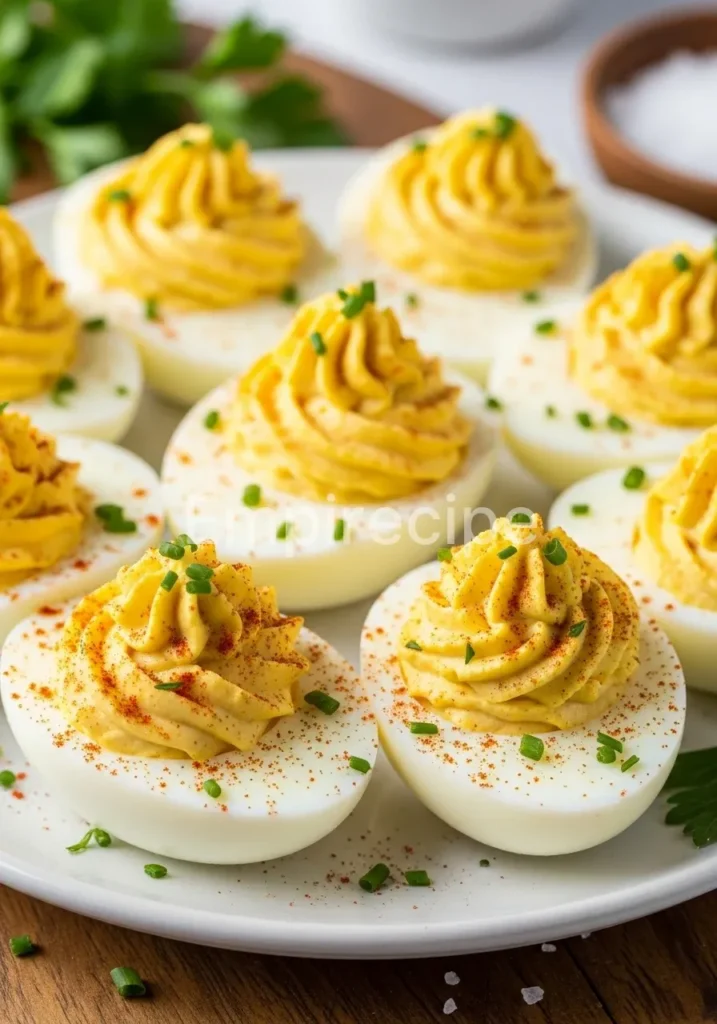
- Assembly: Transfer the yolk mixture into your piping bag. Pipe a generous swirl into each egg white cavity. Dust lightly with smoked paprika for the final touch.
Mastering the steps for the Classic Deviled Eggs Recipe can elevate your cooking skills, but you may want to try other unique dishes as well. For a hearty family meal, explore the flavors of Classic One-Pot Lasagna Soup after you’ve perfected your egg technique.
Pro Tips for Success
Achieving the perfect Classic Deviled Eggs Recipe involves understanding the chemistry of the ingredients. First, always use eggs that are near their expiration date. Fresh eggs have a lower pH level, which causes the membrane to stick tightly to the shell. Older eggs have a higher pH, allowing for a clean peel every time.
Second, avoid the “green ring” around the yolk. This discoloration happens when sulfur in the white reacts with iron in the yolk due to overcooking. By using the residual heat method mentioned in this Classic Deviled Eggs Recipe, you eliminate this risk entirely. The yolk should remain a bright, sunny yellow.
Third, consider the viscosity of your filling. If the mixture feels too stiff, add mayonnaise one teaspoon at a time. The goal is a pipeable consistency that holds its shape but melts on the tongue. Technical mastery of this Classic Deviled Eggs Recipe requires patience during the mixing stage to ensure no lumps remain.
Storage & Reheating Tips
You can prepare this Classic Deviled Eggs Recipe up to two days in advance. However, do not assemble them until the day of serving for the best texture. Store the whites in an airtight container with a damp paper towel to prevent them from becoming rubbery.
Place the yolk filling in a sealed piping bag to prevent oxidation. If you have leftovers, keep them refrigerated at all times. Do not freeze deviled eggs, as the whites will lose their structural integrity and become watery upon thawing. Never reheat this Classic Deviled Eggs Recipe; they are designed to be enjoyed cold or at room temperature.
To ensure the best results with your Classic Deviled Eggs Recipe, advanced preparation can be helpful. Once you’re ready, you might also appreciate a sweet complement to your savory creation by trying out How To Make Classic Blueberry Pancakes Like A Pro.
What to Serve With This Recipe
This Classic Deviled Eggs Recipe serves as a versatile anchor for many meals. Pair them with a crisp green salad tossed in a light lemon vinaigrette to balance the richness of the yolks. They also complement roasted vegetables, such as asparagus or Brussels sprouts, providing a creamy contrast to the charred textures.
For a high-protein lunch, serve them alongside sliced smoked turkey or a lean steak. If you are hosting a gathering, these eggs act as the perfect precursor to a main course of grilled salmon or roasted chicken.
Frequently Asked Questions (FAQ)
How do I make the eggs easier to peel for this Classic Deviled Eggs Recipe?
The secret lies in the temperature transition. Start with cold water, but finish with a vigorous ice bath. The thermal shock causes the egg white to pull away from the shell membrane. Additionally, using eggs that have been in your refrigerator for a week or two will yield better results than farm-fresh eggs.
Can I make this Classic Deviled Eggs Recipe without mayonnaise?
Absolutely. You can substitute mayonnaise with Greek yogurt, sour cream, or even mashed avocado. These alternatives provide different flavor profiles while maintaining the creamy texture essential to a Classic Deviled Eggs Recipe. If you use avocado, add a bit more vinegar or lime juice to prevent the filling from browning.
Why is my filling runny in this Classic Deviled Eggs Recipe?
A runny filling usually results from adding too much liquid, such as vinegar or mustard, too quickly. To fix this, you can add an extra hard-boiled yolk to the mix to absorb the excess moisture. Always add your liquid ingredients gradually to maintain full control over the emulsion’s thickness.
The Classic Deviled Eggs Recipe offers a delightful fusion of flavor and simplicity, making it a popular choice for gatherings and events. This dish not only highlights the versatility of eggs but also serves as an excellent source of protein, contributing to its esteemed status in appetizer offerings. For more insights, check out the related culinary practices found in this article.
Final Thoughts
This Classic Deviled Eggs Recipe represents the intersection of simplicity and culinary science. By mastering the boil and the emulsion, you create a timeless snack that honors tradition while meeting modern standards. Enjoy the rich, nostalgic flavors and share this technical masterpiece with your guests.
Nutrition Information (per serving)
The following data reflects the nutritional profile for two halves of this Classic Deviled Eggs Recipe.
| Metric | Value |
| Calories | 145 kcal |
| Protein | 6g |
| Total Fat | 12g |
| Carbohydrates | 1g |
| Sodium | 160mg |
Classic Deviled Eggs Recipe
This Classic Deviled Eggs Recipe delivers a silky texture paired with a sharp, tangy bite, focusing on mastering the balance of creamy yolks and briny vinegar to create the ultimate appetizer.
Ingredients
Method
- Place eggs in a single layer at the bottom of a large stainless steel pot and cover them with cold water.
- Bring water to a rolling boil over high heat, then turn off the heat and cover the pot with a tight-fitting lid.
- Let the eggs sit in the hot water for exactly twelve minutes.
- Prepare an ice bath while the eggs sit, then transfer the eggs into the ice water for at least ten minutes.
- Gently crack the shells and peel under cool running water.
- Slice each egg in half lengthwise and place yolks in a bowl. Use a sieve to break them down into a fine powder.
- Add mayonnaise, mustard, vinegar, salt, and pepper to the egg yolks and whisk until smooth.
- Fill a piping bag with the yolk mixture and pipe into each egg white cavity. Dust lightly with smoked paprika.
Notes
Use eggs that are at least a week old for easier peeling. Store egg whites separately, and yolk filling in a sealed piping bag for best texture.