The Best Fluffy Pancakes recipe you will fall in love with. Full of tips and tricks to help you make the best pancakes.
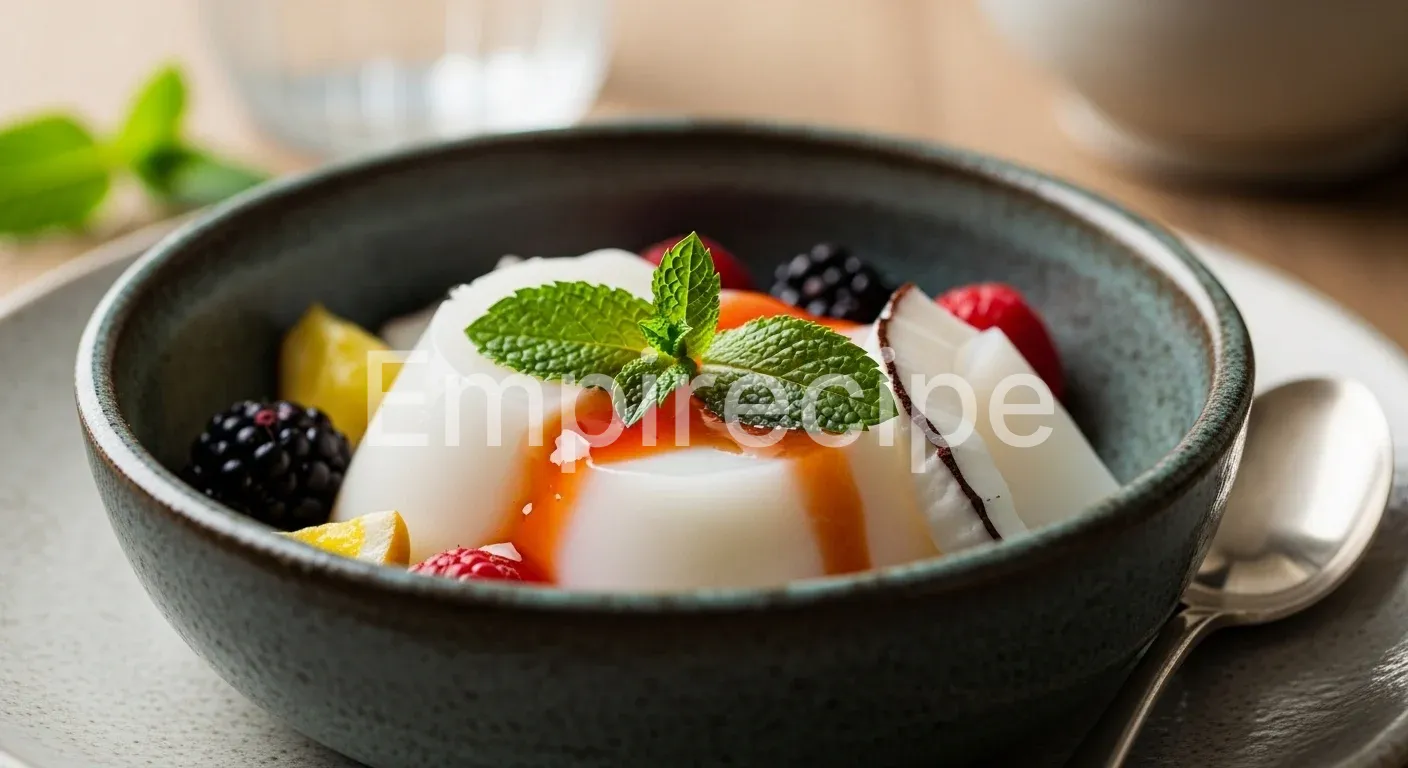
Coconut Gelatin blends richness and precision. This dessert offers a velvety texture. It rivals high-end pastry standards.
Use minimalist ingredients for health. Master the bloom for success. This recipe delivers technical excellence.
Table of Contents
Why You’ll Love This Coconut Gelatin Recipe
- Technical Perfection: This recipe creates a flawless, wobble-stable structure every single time.
- Nutrient Dense: We use grass-fed proteins and healthy medium-chain triglycerides.
- Zero Refined Sugar: Achieve peak sweetness using only natural, low-glycemic alternatives.
Ingredients You’ll Need
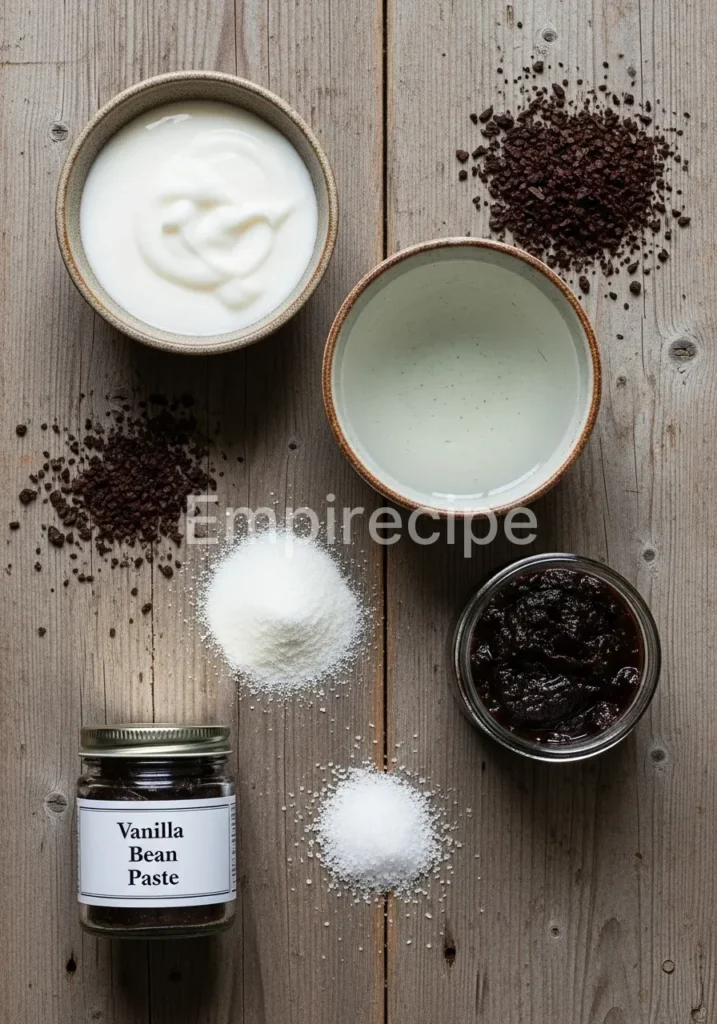
To produce the highest quality Coconut Gelatin, you must select premium components. The fat content of your coconut milk determines the final mouthfeel. Use full-fat, additive-free coconut milk for the best results.
Cheaper brands often contain stabilizers like guar gum which interfere with the protein network of the gelatin. High-quality Coconut Gelatin requires pure ingredients to ensure a clean flavor profile and a superior snap upon slicing.
- Full-Fat Coconut Milk: 400ml (Ensure it contains at least 17% fat).
- Coconut Water: 200ml (Provides electrolytes and natural sweetness).
- Grass-Fed Beef Gelatin: 3 tablespoons (The structural backbone of the dish).
- Vanilla Bean Paste: 1 teaspoon (Adds visual flecks and deep aroma).
- Monk Fruit Sweetener: 3 tablespoons (Adjust based on your preference for sweetness).
- Sea Salt: One pinch (Essential for balancing the fatty notes).
Substitutions & Variations
[ra_display_video url=”https://www.youtube.com/watch?v=YH4ZeR64mNg”]
You can adapt this Coconut Gelatin to meet various dietary requirements without sacrificing the technical integrity of the dessert. If you follow a vegan lifestyle, replace the bovine gelatin with 1.5 teaspoons of agar-agar powder. Remember that agar-agar requires a full boil to activate, unlike traditional gelatin.
For a keto-compliant version, stick with erythritol or stevia drops. If you want a more vibrant color, whisk in a teaspoon of ceremonial grade matcha or dragon fruit powder. These additions transform the Coconut Gelatin into a functional superfood snack. Always maintain the liquid-to-thickener ratio to ensure the set remains firm yet yielding.
If you’re looking to explore more flavorful options, consider trying our Coconut Dahl Soup, which beautifully complements your Coconut Gelatin dessert. It’s a wonderful way to balance savory and sweet in your meal—check out the recipe here.
Equipment You’ll Need
Professional results require professional tools. When making Coconut Gelatin, precision temperature control and aeration matter. Do not rely on guesswork; use a digital thermometer to monitor the liquid.
A heavy-bottomed saucepan prevents the coconut fats from scorching or separating during the heating process. Use a fine-mesh whisk to incorporate the gelatin powder without creating unsightly lumps. For the final set, choose silicone molds for easy release or a glass Pyrex dish for clean, geometric cubes. A digital kitchen scale provides more accuracy than volume measurements, ensuring your Coconut Gelatin reaches the exact consistency required for a modern plated dessert.
Step-by-Step Instructions
- Bloom the Gelatin: Pour the room-temperature coconut water into a small bowl. Sprinkle the gelatin powder evenly over the surface. Let it sit for 5 to 10 minutes. This process, known as “blooming,” hydrates the protein granules so they dissolve seamlessly later.
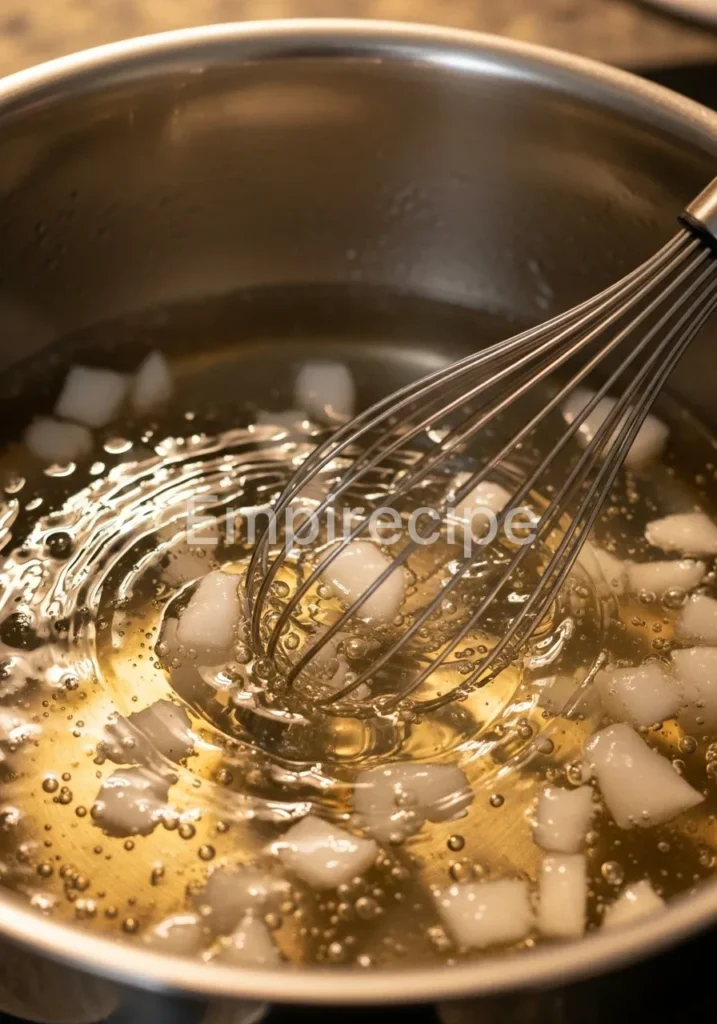
- Heat the Base: Place the full-fat coconut milk in your saucepan over medium-low heat. Add the monk fruit sweetener, vanilla bean paste, and sea salt. Stir constantly until the sweetener dissolves completely. Do not let the mixture reach a rolling boil, as extreme heat can degrade the structural integrity of the Coconut Gelatin.
- Combine and Dissolve: Once the coconut milk reaches approximately 150°F (65°C), remove the pan from the heat. Add the bloomed gelatin mass into the warm liquid. Whisk vigorously for two minutes. You must ensure no translucent grains remain at the bottom of the pot. This step guarantees a smooth Coconut Gelatin texture.
- Emulsify: For a truly professional finish, use an immersion blender for thirty seconds. This breaks down the fat globules and distributes the vanilla evenly. It creates a micro-foam that settles into a silkier finished product.
- The Setting Phase: Pour the liquid through a fine-mesh strainer into your chosen molds. This catches any undissolved fragments. Place the molds in the refrigerator. Allow the Coconut Gelatin to set for at least four to six hours. For the cleanest cuts, refrigerate overnight.
After mastering the blooming technique for your Coconut Gelatin, you might want to enhance your culinary skills further with our recipe for Thai Coconut Chicken Soup. This soup’s rich flavors will elevate your dining experience and pair well with your Coconut Gelatin— find the details here.
Pro Tips for Success
The science of Coconut Gelatin involves managing the delicate balance between lipids and proteins. If you notice a layer of fat rising to the top, your emulsion failed or the mixture cooled too slowly. To prevent this, place the bowl of warm liquid into an ice bath and whisk until it reaches room temperature before refrigerating.
This “shocking” method suspends the fat throughout the gelatin matrix. Furthermore, always check the expiration date of your gelatin. Weak proteins result in a “weeping” dessert that loses its shape.
If you use fresh pineapple or kiwi as a garnish, cook them first. These fruits contain enzymes like bromelain that digest protein, which will liquefy your Coconut Gelatin instantly. Technical mastery requires attention to these chemical interactions.
Storage & Reheating Tips
Proper storage maintains the crystalline structure of the Coconut Gelatin. Place the finished product in an airtight container to prevent it from absorbing refrigerator odors like onions or garlic. It stays fresh for up to five days.
Do not freeze this dessert; freezing expands the water molecules, which destroys the delicate protein bonds and results in a grainy, mushy mess upon thawing. If you prepared the Coconut Gelatin in a large tray and want to serve it later, only slice the portions you need immediately. Exposure to air can cause the edges to toughen. You should never reheat the set gelatin unless you intend to melt it back into a liquid state for re-molding.
For those interested in traditional variations, you should try our Gulaman (Filipino-Style Jello), which offers a unique twist on gelatin desserts. It’s essential for maintaining texture and freshness in your Coconut Gelatin, so take a look here.
What to Serve With This Recipe
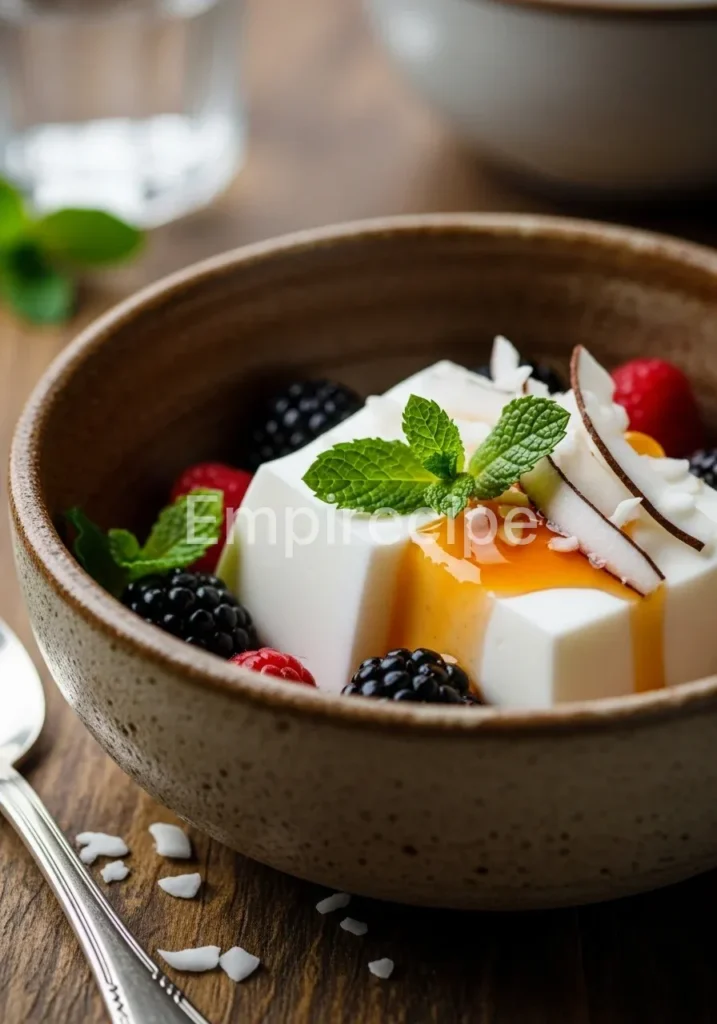
To elevate the Coconut Gelatin, pair it with elements that provide contrast in texture and acidity. A sharp raspberry coulis or a squeeze of fresh lime juice cuts through the dense coconut fats beautifully. For a crunch factor, top the cubes with toasted macadamia nuts or toasted coconut flakes.
If you serve this as a post-workout snack, pair it with a side of fresh blueberries or sliced mango. The antioxidants in the fruit complement the amino acids in the gelatin. For a sophisticated dinner party, serve the Coconut Gelatin alongside a light citrus salad featuring grapefruit segments and fresh mint. The acidity of the citrus serves as a palate cleanser between bites of the rich, creamy gelatin.
Frequently Asked Questions (FAQ)
Why did my Coconut Gelatin separate into two layers?
Separation usually occurs when the coconut milk has a very high fat content and the mixture cools too slowly. The heavy cream rises while the water and gelatin sink. To fix this, use an immersion blender to create a stable emulsion and cool the mixture slightly in an ice bath before placing it in the fridge. This keeps the Coconut Gelatin homogenous.
Can I make this Coconut Gelatin without a stove?
Yes, you can use a microwave, though it offers less precision. Heat the coconut milk in thirty-second intervals until it is hot but not boiling. Follow the same blooming and whisking steps. However, for a high-quality Coconut Gelatin, the controlled heat of a stovetop remains the superior technical choice for dissolving the proteins thoroughly.
How do I get the gelatin out of the molds without breaking it?
To release the Coconut Gelatin perfectly, dip the bottom of the mold into warm water for five to ten seconds. This slightly melts the outer layer, allowing the dessert to slide out. Alternatively, use high-quality silicone molds which you can peel away from the set mixture. Precise execution during the unmolding process preserves the aesthetic value of your work.
Coconut Gelatin is a delightful dessert that combines the rich flavors of coconut with a velvety smooth texture, making it a popular choice in various cuisines. Explore more about this fascinating culinary ingredient in its culinary context.
Final Thoughts
This Coconut Gelatin masterclass proves that simple ingredients yield complex results when you apply correct techniques. You have mastered the art of the perfect set. Share this clean, tropical delight with those who value quality. It remains a staple for the modern, health-conscious kitchen expert.
Nutrition Information (per serving)
The following data represents the nutritional profile of one serving of Coconut Gelatin. This recipe yields approximately six servings. It offers a high-fat, moderate-protein, and low-carbohydrate profile ideal for various modern dietary protocols.
| Nutrient | Amount per Serving |
|---|---|
| Calories | 185 kcal |
| Total Fat | 16g |
| Saturated Fat | 14g |
| Net Carbohydrates | 3g |
| Protein | 7g |
| Sodium | 45mg |
By following these technical guidelines, you ensure that every batch of Coconut Gelatin meets the highest culinary standards. Focus on the quality of your source materials and the precision of your temperatures. This dish serves as more than just a sweet treat; it is a functional food that supports joint health and digestion.
Use your skills to innovate with different flavors and infusions. The world of modern gelatin-based desserts offers endless possibilities for the bold chef. Enjoy the process of creating a Coconut Gelatin that is as visually stunning as it is delicious.
Coconut Gelatin
Coconut Gelatin is a velvety dessert that combines premium ingredients for a rich flavor and texture. The recipe is free from refined sugar and focuses on health without sacrificing taste, offering a delicious and nutrient-dense treat.
Ingredients
Method
- Bloom the Gelatin: Pour the room-temperature coconut water into a small bowl. Sprinkle the gelatin powder evenly over the surface. Let it sit for 5 to 10 minutes.
- Heat the Base: Place the full-fat coconut milk in your saucepan over medium-low heat. Add the monk fruit sweetener, vanilla bean paste, and sea salt. Stir constantly until the sweetener dissolves completely.
- Combine and Dissolve: Once the coconut milk reaches approximately 150°F (65°C), remove the pan from the heat. Add the bloomed gelatin mass into the warm liquid. Whisk vigorously for two minutes.
- Emulsify: For a truly professional finish, use an immersion blender for thirty seconds.
- The Setting Phase: Pour the liquid through a fine-mesh strainer into your chosen molds. Place the molds in the refrigerator. Allow the Coconut Gelatin to set for at least four to six hours.
Notes
Ensure to use high-quality, full-fat coconut milk for the best results. Avoid freezing as it can affect the texture. Once set, store in an airtight container and consume within five days.