The Best Fluffy Pancakes recipe you will fall in love with. Full of tips and tricks to help you make the best pancakes.
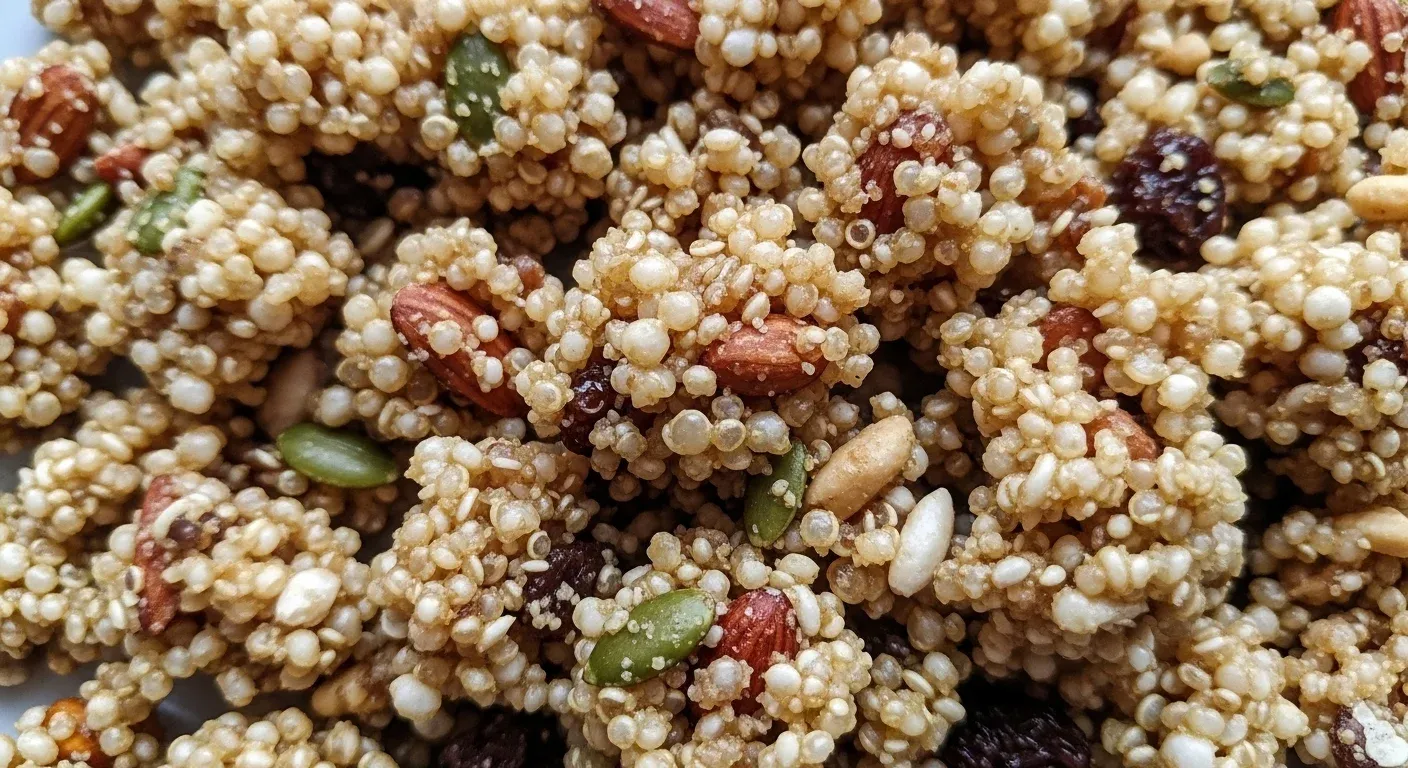
Welcome to your new favorite pantry staple! This Quinoa Collagen Crunch combines the earthy nuttiness of toasted seeds with a powerful protein boost. It offers a satisfying snap while nourishing your skin and joints.
Sprinkle it over yogurt or salads for a vibrant energy lift. This recipe proves that healthy eating never tastes boring.
Table of Contents
Why You’ll Love This Recipe
- Unbeatable Texture: Every spoonful of this Quinoa Collagen Crunch delivers a light, airy snap that satisfies your cravings for something crispy and savory-sweet.
- Holistic Wellness: We infuse each batch with high-quality peptides, making this Quinoa Crunch a functional food that supports glowing skin and strong joints.
- Sustainable Energy: By using plant-based quinoa, you enjoy a complex carbohydrate source that provides steady fuel without the mid-afternoon sugar crash.
Ingredients You’ll Need
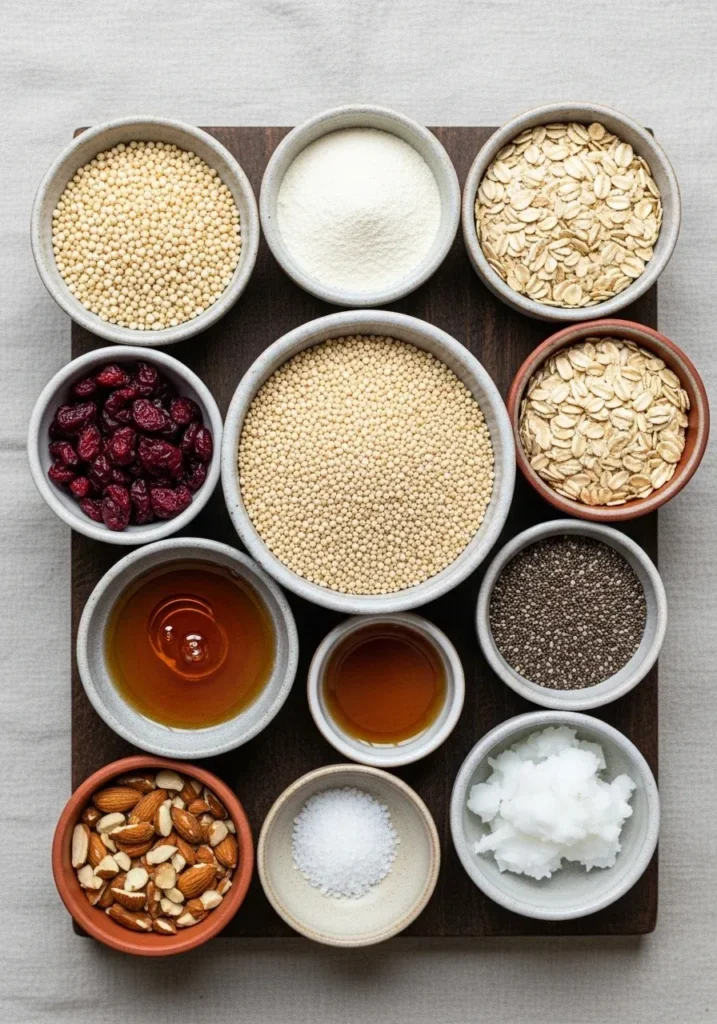
Creating the perfect Quinoa Crunch starts with selecting high-quality, eco-conscious ingredients. I always recommend choosing organic and locally sourced options whenever possible to minimize your environmental footprint while maximizing flavor. The combination of ancient grains and modern supplements creates a powerhouse snack that fits perfectly into a balanced lifestyle.
| Ingredient | Quantity | Purpose |
|---|---|---|
| Cooked Quinoa | 2 Cups | The protein-packed, gluten-free base of our Quinoa. |
| Collagen Peptides | 1/2 Cup | Adds a protein boost and creates a unique glaze for the Quinoa Crunch. |
| Maple Syrup | 3 Tablespoons | A natural sweetener that caramelizes beautifully during the baking process. |
| Melted Coconut Oil | 2 Tablespoons | Ensures a golden-brown finish and helps to stay crisp. |
| Cinnamon & Salt | 1 Teaspoon each | Enhances the warmth and balances the sweetness. |
| Hemp Seeds | 1/4 Cup | Provides Omega-3 fatty acids and extra texture. |
Substitutions & Variations
Note: This video is for demonstration purposes and may use a slightly different method.
If you follow a strictly plant-based diet, you can easily adapt the Quinoa Collagen Crunch by using a high-quality vegan collagen builder. For a savory twist on this Quinoa Collagen Crunch, swap the maple syrup and cinnamon for smoked paprika, garlic powder, and a touch of nutritional yeast. You can also replace hemp seeds with sunflower seeds or chopped walnuts to use whatever you have in your pantry, keeping the recipe anti-waste and budget-friendly.
If you enjoy experimenting with nutritious ingredients in your recipes, don’t miss our Quinoa Power Soup, which offers a hearty and savory complement to your meal planning.
Equipment You’ll Need
- Large Mixing Bowl: To thoroughly coat every grain of the Quinoa Collagen Crunch.
- Baking Sheet: A heavy-duty rimmed baking sheet ensures even heat distribution for the Quinoa Collagen Crunch.
- Parchment Paper: Essential for preventing the Quinoa Collagen Crunch from sticking to the pan.
- Silicone Spatula: Perfect for tossing the Quinoa Collagen Crunch halfway through the baking time.
- Glass Storage Jars: To keep your Quinoa fresh and crispy for days.
Step-by-Step Instructions
- Preheat and Prepare: Start by preheating your oven to 325°F (165°C). Line a large baking sheet with parchment paper or a reusable silicone mat to ensure your Quinoa Collagen Crunch doesn’t stick.
- Dry the Quinoa: If you are using freshly cooked quinoa, spread it out on a towel first. Removing excess moisture is the secret to getting a truly spectacular Quinoa Collagen Crunch texture.
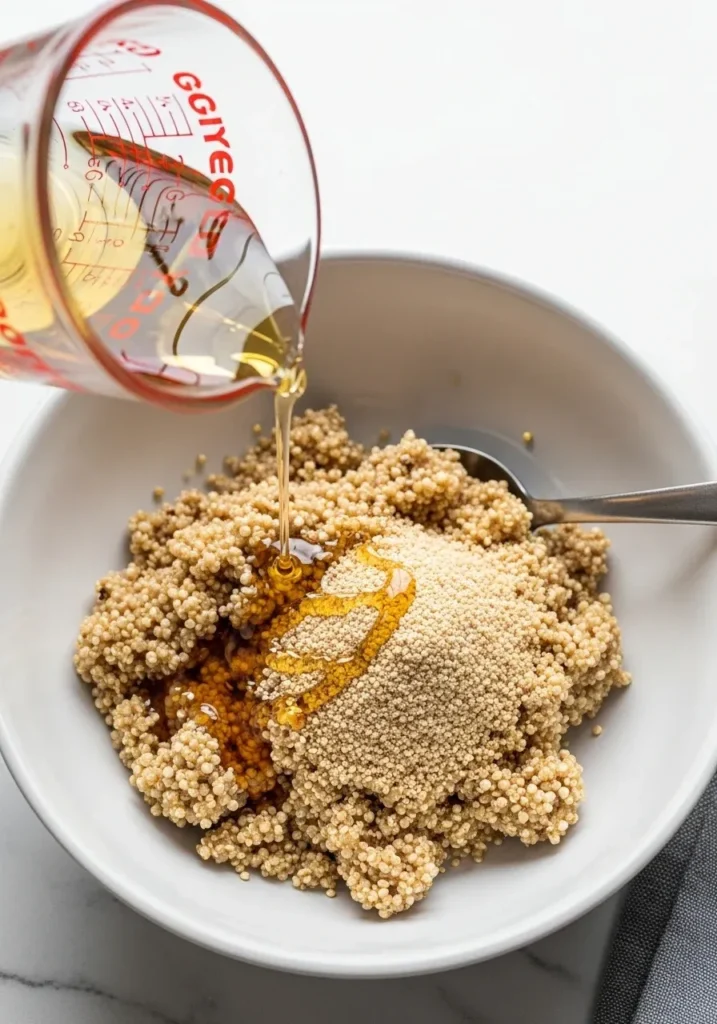
- Mix the Liquid Base: In a small bowl, whisk together the melted coconut oil, maple syrup, and vanilla extract. This liquid mixture will act as the “glue” for your Quinoa Collagen Crunch.
- Combine Dry Ingredients: In your large mixing bowl, toss the cooked quinoa with the collagen peptides, cinnamon, and sea salt. Ensure the collagen powder evenly coats the grains before adding liquids to the Quinoa Collagen Crunch mixture.
- The Big Merge: Pour the liquid mixture over the dry ingredients. Use your spatula to fold everything together gently. You want every single grain of the Quinoa Collagen Crunch to be shiny and coated.
- Spread it Out: Transfer the mixture to your prepared baking sheet. Press it down firmly into a thin, even layer. Compacting the Quinoa Collagen Crunch slightly helps create those coveted clusters.
- Bake to Perfection: Place the tray in the center of the oven. Bake for 35 to 45 minutes. Every 15 minutes, gently stir the Quinoa Collagen Crunch to prevent the edges from burning while ensuring the center gets crispy.
- Cool Completely: This is the most important step! Remove the tray from the oven and let the Quinoa Collagen Crunch sit undisturbed for at least 30 minutes. It will continue to harden as it cools, achieving its final signature snap.
For a refreshing drink to accompany your Quinoa Collagen Crunch, try our Orange Cream Smoothie, a delicious way to keep your energy up throughout the day.
Pro Tips for Success
To achieve the ultimate Quinoa Collagen Crunch, always ensure your quinoa is as dry as possible before it hits the oven. If the grains are too wet, they will steam rather than toast, leaving you with a soft texture instead of a crisp one. Another technical tip: do not skip the salt!
A fine sea salt elevates the chocolatey or nutty notes of the Quinoa Collagen Crunch and makes the flavors pop. If you notice the collagen powder clumping, sift it into the bowl to maintain a smooth consistency throughout the Quinoa Collagen Crunch batch.
Storage & Reheating Tips
Store your Quinoa Collagen Crunch in an airtight glass jar at room temperature for up to two weeks. Avoid plastic containers if possible, as glass preserves the crispy integrity of the Quinoa Collagen Crunch much better.
If you live in a very humid climate and find that your Quinoa Collagen Crunch has lost its bite, simply spread it back on a baking sheet and toast it at 300°F (150°C) for five minutes to refresh the snap. You can also freeze the Quinoa Collagen Crunch in a freezer-safe bag for up to three months; it tastes delicious even when cold!
If you’re looking for another unique grain to incorporate into your diet, explore our Amaranth Collagen Ancient-Grain recipe, which provides similar health benefits with different flavors.
What to Serve With This Recipe
This versatile Quinoa Collagen Crunch pairs beautifully with a variety of healthy dishes. I love sprinkling it over a vibrant dragon fruit smoothie bowl for a pop of color and texture. For a sophisticated breakfast, serve the Quinoa Collagen Crunch on top of creamy coconut milk yogurt with a handful of fresh berries.
If you enjoy a sweet and salty contrast, try adding a tablespoon of Quinoa Collagen Crunch to a roasted sweet potato salad or a kale salad with sliced apples. It adds a surprising element that transforms a simple meal into a gourmet experience.
Frequently Asked Questions (FAQ)
Can I use raw quinoa instead of cooked?
No, you must use cooked quinoa for this recipe. Raw quinoa will be too hard and gritty, whereas cooked quinoa puffs up and becomes light and airy when baked into the Quinoa Collagen Crunch. This process ensures the snack is easy to digest and perfectly crispy.
Does the collagen lose its benefits when baked?
Most high-quality collagen peptides are heat-stable up to 400°F. Since we bake our Quinoa Collagen Crunch at a lower temperature, the nutritional integrity of the collagen remains intact, allowing you to enjoy all the skin and joint benefits in every bite.
Can I make this recipe nut-free?
Absolutely! The base of the Quinoa Collagen Crunch is already nut-free. Simply ensure you use seeds like hemp, chia, or pumpkin seeds instead of almonds or walnuts. This makes the Quinoa Collagen Crunch a safe and healthy option for school lunchboxes or office snacks.
Quinoa Collagen Crunch is a flavorful snack that packs nutritional benefits, combining essential proteins with crunchy texture. To learn more about this nutritious grain, check out the information on quinoa.
Final Thoughts
I hope this Quinoa Collagen Crunch brings a spark of joy and a burst of nutrition to your kitchen. Making your own snacks is a beautiful way to practice self-care and sustainability. Enjoy the crunch, nourish your body, and keep creating vibrant flavors that make you feel truly alive!
Nutrition Information (per serving)
This nutrition profile is based on a serving size of approximately 1/4 cup of the Quinoa Collagen Crunch.
| Metric | Amount per Serving |
|---|---|
| Calories | 145 kcal |
| Protein | 8g |
| Total Fat | 6g |
| Carbohydrates | 15g |
| Fiber | 3g |
| Sugar | 4g |
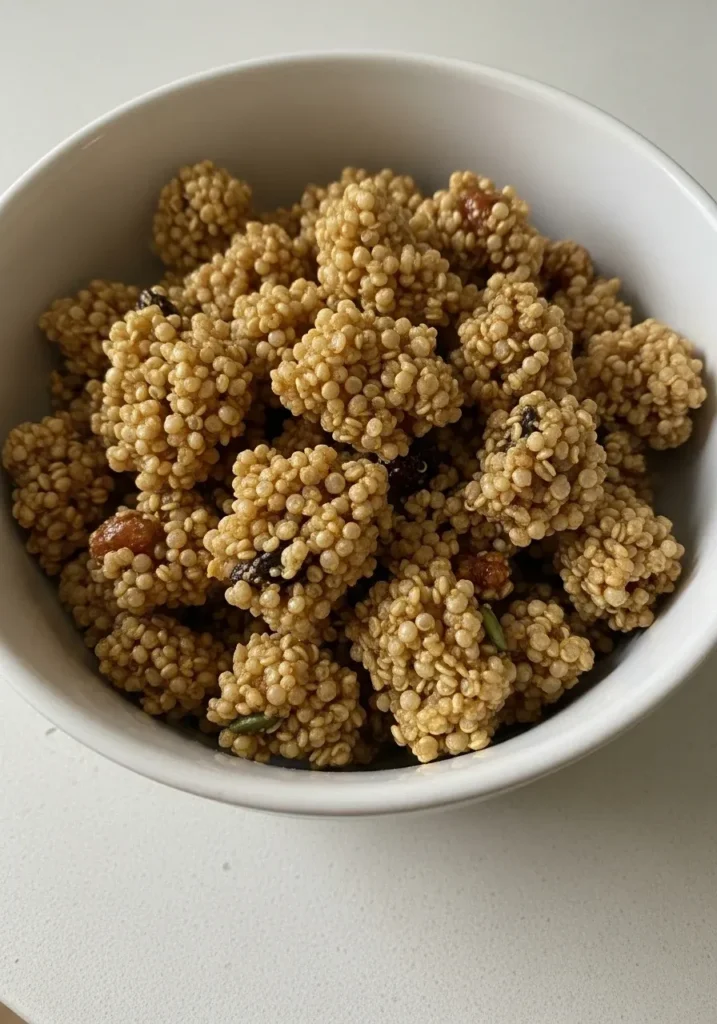
Quinoa Collagen Crunch
This Quinoa Collagen Crunch combines the earthy nuttiness of toasted seeds with a powerful protein boost, offering a satisfying snap while nourishing your skin and joints. It’s perfect as a topping for yogurt or salads.
Ingredients
Method
- Preheat your oven to 325°F (165°C) and line a baking sheet with parchment paper.
- Spread freshly cooked quinoa on a towel to dry it out.
- In a small bowl, whisk together melted coconut oil, maple syrup, and vanilla extract.
- In a large mixing bowl, toss cooked quinoa with collagen peptides, cinnamon, and salt.
- Pour the liquid mixture over the dry ingredients and fold gently.
- Transfer the mixture to the prepared baking sheet and press down into a thin, even layer.
- Bake for 35 to 45 minutes, stirring every 15 minutes to prevent burning.
- Remove from oven and let cool completely for at least 30 minutes.
Notes
Ensure quinoa is dry before baking. Do not skip the salt for enhanced flavor. If collagen clumps, sift before mixing.