The Best Fluffy Pancakes recipe you will fall in love with. Full of tips and tricks to help you make the best pancakes.
Unlock the full potential of your kitchen with a recipe that redefines what’s possible for healthy, gourmet desserts. This comprehensive guide delves into crafting exceptional frozen treats using your Ninja Creami, ensuring a perfect balance of texture, flavor, and nutritional value.
Table of Contents
Forget store-bought ice cream; with these innovative Ninja Creami Recipes, you control every ingredient, achieving a luxuriously smooth, intensely flavored creation every single time. Prepare to elevate your dessert game and tackle the challenge of perfect consistency, transforming simple components into a high-protein, incredibly satisfying indulgence.
Why You’ll Love This Recipe
- Achieve unparalleled, ultra-creamy texture without added fats or sugars.
- Customize endlessly to fit your dietary needs and adventurous palate.
- Effortlessly prepare gourmet desserts, making healthy eating both convenient and exciting.
- Experience the innovative technology of the Ninja Creami firsthand, mastering modern culinary techniques.
Ingredients You’ll Need
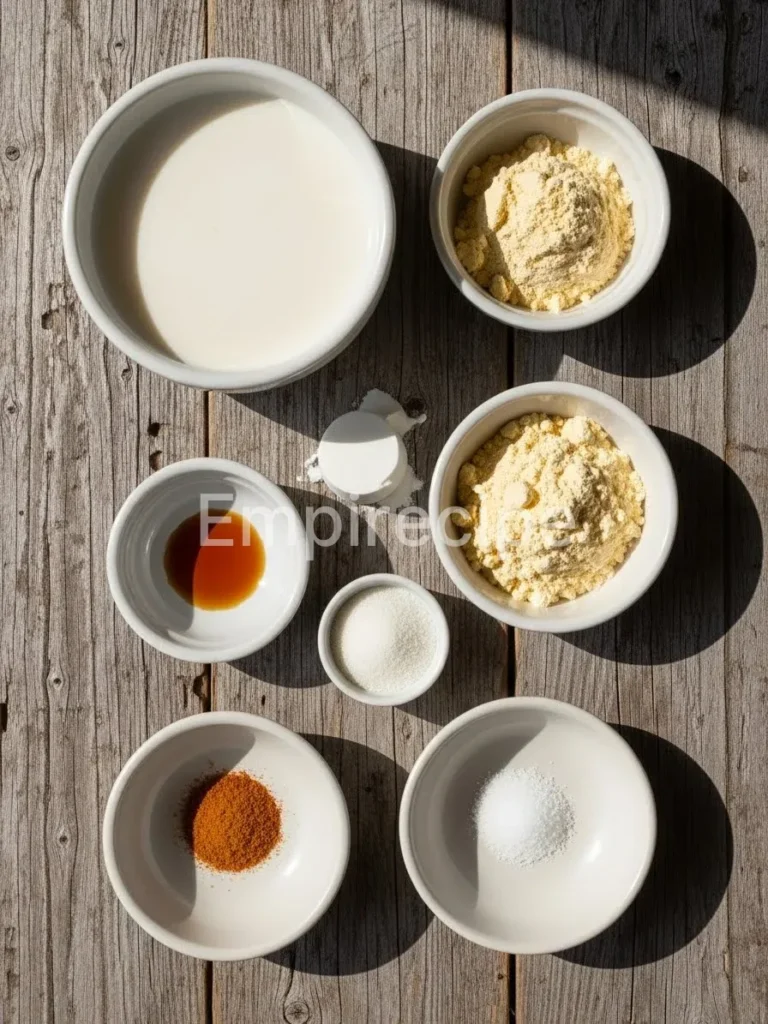
Crafting superior Ninja Creami recipes begins with selecting quality ingredients. These components form the foundation of our high-protein vanilla ice cream base, designed for optimal Creami performance and exceptional taste. Focus on sourcing fresh, high-quality items to ensure the best possible outcome.
- Liquid Base: 1 ½ cups unsweetened almond milk (or milk of choice). Precision in liquid volume is crucial for the Creami’s mechanics.
- Protein Powerhouse: 1 scoop (approximately 30-40g) high-quality vanilla protein powder. Whey or casein blends work exceptionally well for texture.
- Sweetener: 1-2 tablespoons erythritol, stevia, or monk fruit sweetener, adjusted to your preferred sweetness level. Taste and adjust before freezing.
- Flavor Enhancer: ½ teaspoon pure vanilla extract or, for a truly superior experience, the scraped seeds of half a vanilla bean.
- Texture Agent (Optional but Recommended): ¼ teaspoon xanthan gum or guar gum. This emulsifier dramatically improves creaminess and prevents icy texture, a critical technique in advanced Ninja Creami recipes.
- Pinch of Salt: A small pinch of fine sea salt enhances all the flavors, balancing sweetness and depth.
Substitutions & Variations
[ra_display_video url=”https://www.youtube.com/watch?v=Fr7-_5tomPE”]
As a culinary innovator, I encourage experimentation within the framework of healthy swaps. The beauty of Ninja Creami recipes lies in their adaptability. You can significantly alter profiles while maintaining nutritional integrity.
- Milk Alternatives: For dairy-free versions, coconut milk (full-fat for extra richness, light for lower calories) or oat milk provide excellent creaminess. Adjust protein powder to ensure it complements the chosen milk.
- Protein Powder: Chocolate, strawberry, or unflavored protein can completely transform the base. If using unflavored, increase vanilla extract or add other flavorings like cocoa powder or fruit purees.
- Sweeteners: Maple syrup or honey can replace artificial sweeteners, but remember they add calories and sugars. Adjust the liquid content slightly if adding significant amounts of liquid sweeteners.
- Flavor Profiles: Infuse your base with coffee powder, a dash of cinnamon, or a zest of lemon or orange before freezing. For fruity variations, blend in 1/2 cup of frozen berries (strawberries, blueberries) with the liquid base before freezing.
- Healthy Mix-Ins: After the initial spin, add chopped nuts, sugar-free chocolate chips, or fresh fruit pieces. Spin again using the “Mix-in” function for perfect distribution.
Experimenting with milk alternatives can enhance the richness of your Ninja Creami creations. For insights into optimal freezing techniques, check out this article on Why Ninja Creami Freeze 6 Hours Delivers The Best.
Equipment You’ll Need
To execute these sophisticated Ninja Creami recipes with precision, specific tools are indispensable. Proper equipment ensures consistent, high-quality results every time.
- Ninja Creami Ice Cream Maker: This is the non-negotiable cornerstone of our operation. Ensure you have the model that suits your needs, whether it’s the Deluxe or the original.
- Ninja Creami Pints: You will need at least one, preferably two or three, to prepare bases in advance. These are specifically designed for the Creami’s freezing and processing.
- Immersion Blender or Regular Blender: Essential for thoroughly combining ingredients, especially protein powder and gums, ensuring a smooth, lump-free base.
- Measuring Cups and Spoons: Accuracy in measurements directly impacts the final texture and flavor of your Ninja Creami creations.
- Airtight Container/Lid: For covering your pint during the freezing process to prevent freezer burn.
Step-by-Step Instructions
Achieving the perfect frozen consistency from your Ninja Creami requires a methodical approach. Follow these precise steps for flawless execution of your Ninja Creami recipes.
- Combine Wet Ingredients: In your Ninja Creami pint, pour the unsweetened almond milk.
- Add Dry Ingredients: Add the vanilla protein powder, your chosen sweetener, vanilla extract (or vanilla bean seeds), xanthan gum (if using), and a pinch of salt.
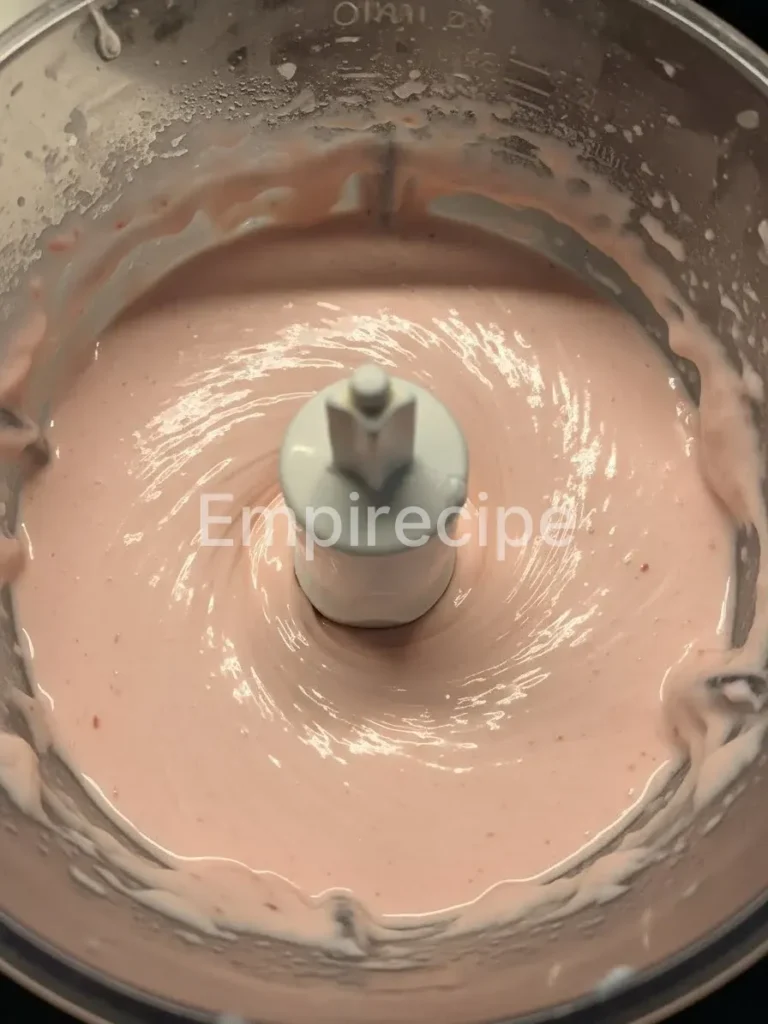
- Blend Thoroughly: Using an immersion blender directly in the pint, blend all ingredients until completely smooth and no lumps of protein powder remain. This step is critical for a homogenous mixture and optimal texture. If you do not have an immersion blender, transfer to a regular blender, blend, and then pour back into the pint.
- Seal and Freeze: Place the lid securely on the Ninja Creami pint. Transfer the pint to a flat surface in your freezer. Freeze for a minimum of 24 hours. For optimal results, a 48-hour freeze is often superior, ensuring the base is rock-solid and uniformly frozen. This is a common requirement for excellent Ninja Creami recipes.
- Process in Creami: Once frozen solid, remove the pint from the freezer. Remove the lid and place the pint into the Creami outer bowl. Secure the outer bowl lid with the paddle attached. Place the assembly onto the Ninja Creami machine and lock it into place.
- Select Program: Choose the “Lite Ice Cream” or “Ice Cream” setting, depending on your Creami model and desired density. Press start.
- Check Consistency: After the first spin, assess the texture. If it appears crumbly or powdery, which is common with low-fat Ninja Creami recipes, select the “Re-spin” function.
- Optional Mix-Ins: If adding mix-ins, create a small, even well in the center of the spun ice cream. Add your desired ingredients (e.g., chocolate chips, fruit). Secure the lid and select the “Mix-in” function.
- Serve Immediately: Scoop and enjoy your perfectly crafted high-protein ice cream.
Achieving the right consistency in your frozen Ninja Creami recipes is essential for satisfaction. For an easy-to-follow method that utilizes self-rising flour, see our guide on 10 Easy Recipes To Make With Self Rising Flour.
Pro Tips for Success
Mastering the Ninja Creami transcends simple ingredient mixing; it involves a deeper understanding of cryogenics and texture engineering. These technical insights will elevate your Ninja Creami recipes from good to exceptional.
- Optimal Freezing Temperature: Ensure your freezer is set to 0°F (-18°C) or colder. A colder, harder freeze results in a less icy, more uniform base for processing. Inconsistent freezing is the enemy of creamy textures.
- The Xanthan/Guar Gum Advantage: Do not skip the gum. These hydrocolloids act as stabilizers and emulsifiers, preventing ice crystal formation and significantly improving the mouthfeel. They are a secret weapon in many professional frozen dessert formulations and essential for many premium Ninja Creami creations.
- Hydration is Key: Ensure your protein powder is fully dissolved. Undissolved powder can lead to a gritty texture. A quick pulse with an immersion blender guarantees a smooth base.
- The “Re-spin” Function is Your Friend: It’s not a failure if your first spin is crumbly. Many low-fat, high-protein Ninja Creami recipes require a re-spin to achieve that signature creamy consistency. This re-spin breaks down any remaining ice crystals and incorporates air.
- Adding Liquid for Re-spins: If after one or two re-spins your mixture is still too powdery or dry, add 1-2 tablespoons of cold water or milk before another re-spin. This micro-adjustment can transform the texture dramatically.
- Don’t Overfill the Pint: Always fill to the MAX FILL line, but never above. Overfilling can damage the blade and compromise the texture of your Ninja Creami treats.
- Flavor Layering: For complex flavors, consider infusing your milk base with spices or steeping tea leaves before mixing in protein. This adds depth that simple extracts cannot replicate.
Storage & Reheating Tips
Maintaining the integrity of your homemade Ninja Creami ice cream is crucial for continued enjoyment. Follow these storage guidelines to preserve its freshness and texture.
For optimal freshness, store any leftover Ninja Creami ice cream directly in the pint with its lid firmly secured. Place it back into the freezer immediately. Due to the lack of preservatives and high fat content found in commercial ice creams, your homemade protein ice cream will refreeze to a solid, firm block.
When you’re ready to enjoy it again, simply remove the pint from the freezer and re-spin it in your Ninja Creami. You may need one or two re-spins, possibly with a tablespoon of liquid added, to bring it back to its original creamy consistency. This process reactivates the Creami’s magic, making it a perfect solution for meal prepping healthy desserts from various Ninja Creami recipes.
Proper storage of your Ninja Creami treats will maintain their fresh flavor and texture. Learn more about the ideal waiting period with this resource on Do You Really Need to Wait 24-Hours for Ninja Creami?.
What to Serve With This Recipe
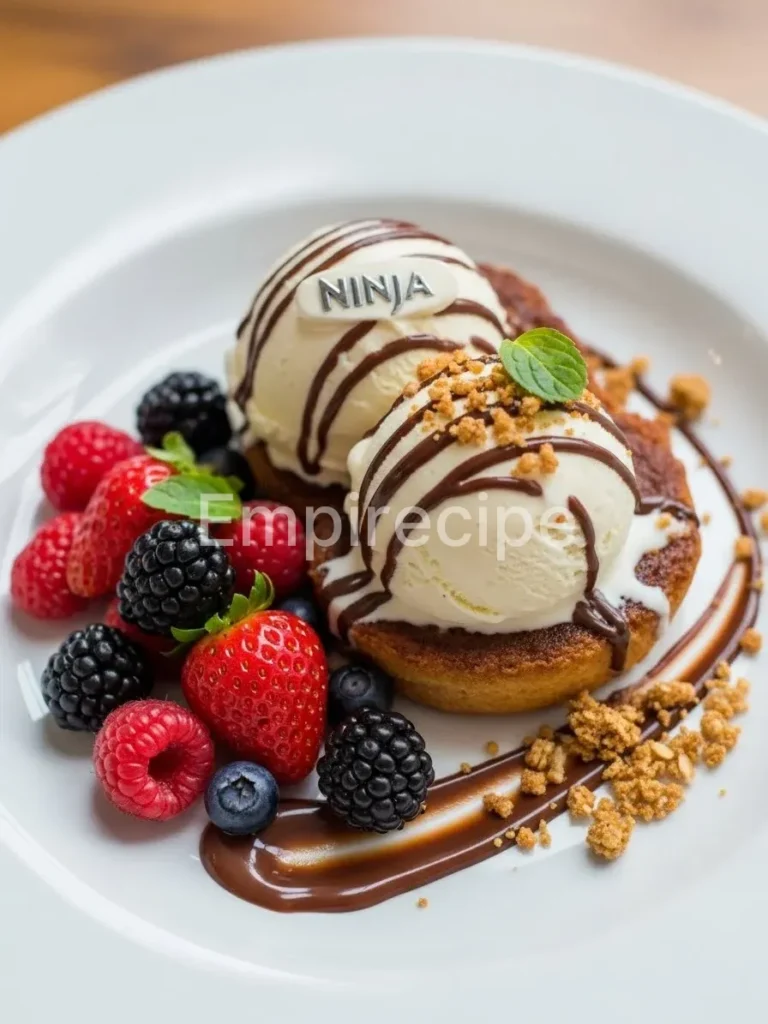
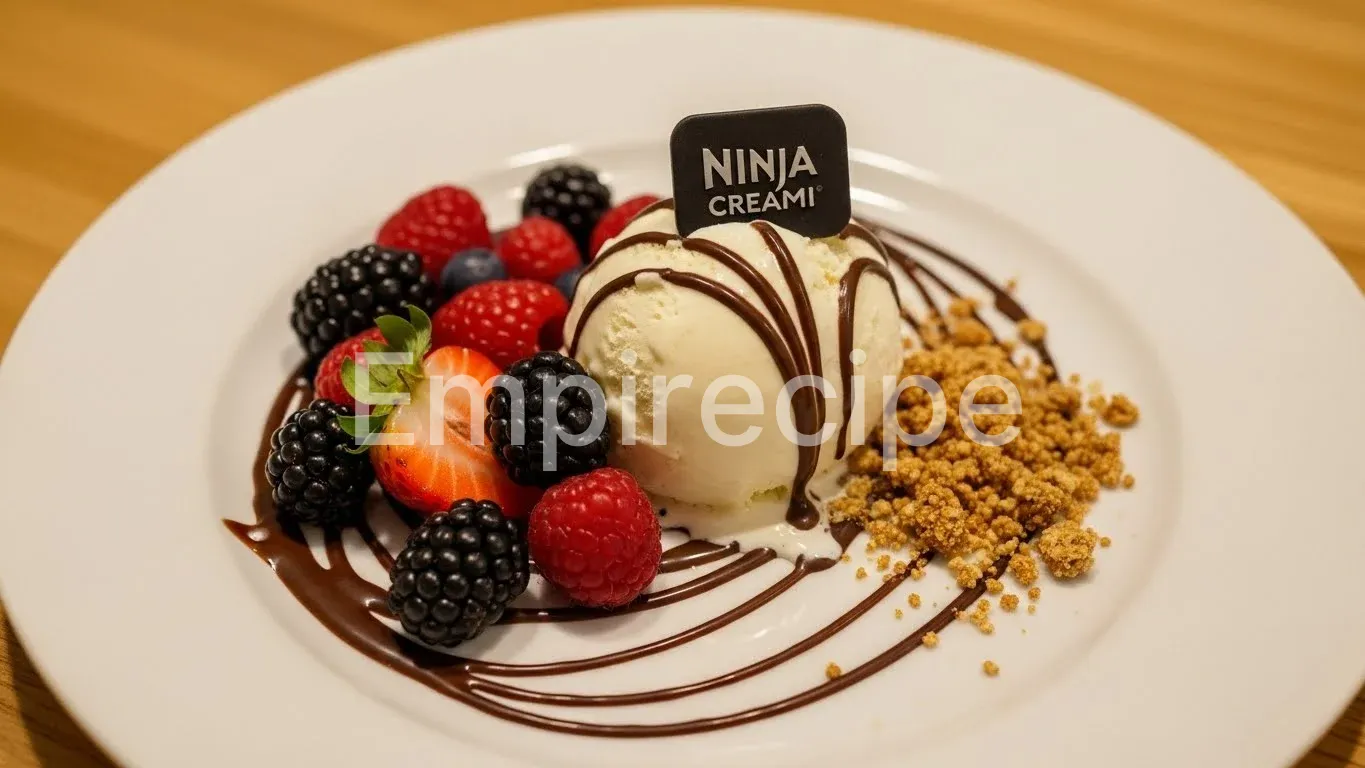
While this high-protein vanilla bean ice cream is a star on its own, thoughtful pairings can enhance the experience without compromising your health goals. Consider these healthy additions to complement your Ninja Creami creation.
- Fresh Berries: A vibrant burst of strawberries, blueberries, or raspberries adds natural sweetness, antioxidants, and fiber.
- Roasted Stone Fruit: Lightly roast peaches or plums with a sprinkle of cinnamon for a warm, caramelized topping that contrasts beautifully with the cold ice cream.
- Sugar-Free Chocolate Drizzle: Melt a high-quality sugar-free dark chocolate for a rich, guilt-free topping.
- Nut Butter Drizzle: A thin drizzle of natural almond or peanut butter adds healthy fats and a satisfying richness.
- Homemade Granola: A small sprinkle of low-sugar, homemade granola provides a delightful crunch.
- Aromatic Herbs: A few fresh mint leaves or a sprig of thyme can add an unexpected, sophisticated herbal note. This elevates simple Ninja Creami recipes to gourmet status.
Frequently Asked Questions (FAQ)
Can I use any type of protein powder in these Ninja Creami recipes?
While most protein powders will work, the type significantly impacts texture. Whey protein isolates and casein often yield the creamiest results due to their emulsifying properties. Plant-based proteins can work but may require an additional re-spin or a bit more xanthan gum to achieve optimal smoothness in your Ninja Creami desserts. Experimentation is key to finding your preferred combination.
How long does the pint need to freeze before I can process it?
For best results, your Ninja Creami pint needs to freeze for a minimum of 24 hours. However, I consistently find that a 48-hour freeze yields a much harder, more uniformly frozen block, which translates to a superior, creamier final product. Rushing the freezing process can lead to an icy or inconsistent texture, detracting from your Ninja Creami experience.
Why is my Ninja Creami ice cream icy or crumbly after processing?
Icy or crumbly texture often stems from a few factors: insufficient freezing time (not frozen solid enough), too much liquid or not enough fat/stabilizer in the recipe, or skipping the re-spin. Ensure your freezer is cold enough, consider adding a tiny bit more xanthan gum, and always utilize the “Re-spin” function if the initial outcome isn’t perfectly creamy. Sometimes, adding a tablespoon of liquid before a re-spin can resolve dryness in some low-carb Ninja Creami recipes.
Ninja Creami Recipes have revolutionized the way we make frozen desserts, providing a platform for customization and healthy eating. These recipes allow home cooks to explore creative flavors and textures while maintaining a focus on nutritional content. For more information on the innovative cooking techniques involved, visit this article on frozen desserts.
Final Thoughts
Mastering these Ninja Creami Recipes isn’t just about making dessert; it’s about culinary innovation. You’ve harnessed modern technology to create healthy, delicious, and perfectly textured frozen treats. Embrace the challenge, refine your technique, and savor the superior results of your own creation.
Nutrition Information (per serving)
This information is an estimate based on unsweetened almond milk and standard vanilla whey protein. Actual values may vary based on specific ingredients and brands used in your Ninja Creami recipe.
| Nutrient | Amount |
|---|---|
| Calories | 150-180 kcal |
| Protein | 25-30g |
| Carbohydrates | 5-10g |
| Sugars | 1-3g |
| Fat | 3-5g |
| Fiber | 1-2g |
Ninja Creami Recipes
Unlock the potential of your kitchen with this high-protein vanilla ice cream recipe made using a Ninja Creami, offering a gourmet dessert experience without added fats or sugars.
Ingredients
Method
- In your Ninja Creami pint, pour the unsweetened almond milk.
- Add the vanilla protein powder, your chosen sweetener, vanilla extract (or vanilla bean seeds), xanthan gum (if using), and a pinch of salt.
- Using an immersion blender, blend all ingredients until completely smooth.
- Seal the pint and freeze for a minimum of 24 hours (48 hours is recommended).
- Remove the pint from the freezer, place it into the Creami outer bowl, and secure it.
- Select the ‘Lite Ice Cream’ or ‘Ice Cream’ setting and press start.
- Check the consistency; if crumbly, use the ‘Re-spin’ function.
- For mix-ins, create a well in the center of the spun ice cream, add ingredients, and select the ‘Mix-in’ function.
- Scoop and enjoy your high-protein ice cream.
Notes
Ensure your freezer is set to 0°F (-18°C) or colder.
Do not skip the xanthan gum for optimal creaminess.
Always fill to the MAX FILL line in the pint.