The Best Fluffy Pancakes recipe you will fall in love with. Full of tips and tricks to help you make the best pancakes.
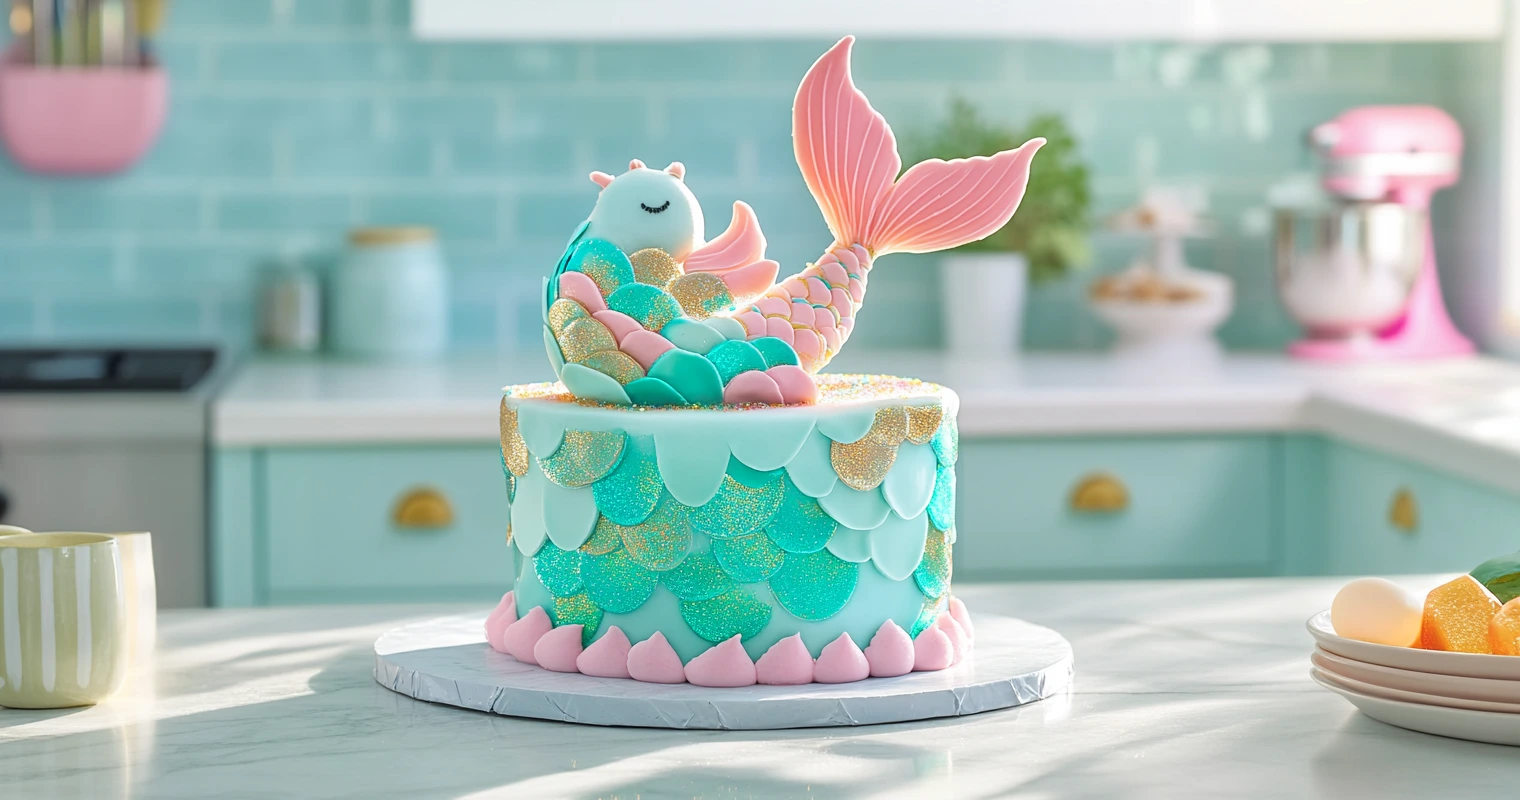

There’s something enchanting about mermaid cakes, isn’t there? The shimmering scales, the vibrant ocean-inspired colors, and that touch of whimsy—it’s a recipe for awe at any celebration. Whether you’re prepping for a kid’s birthday party or simply want to dive into a fun baking project, creating a mermaid cake can be as rewarding as it is delicious. Ready to make some magic in your kitchen? Let’s get started!
Table of Contents
Introduction to Mermaid Cakes: A Creative Baking Trend
Mermaid cakes have taken the baking world by storm. Why? Because they combine creativity with a splash of fantasy. From elegant ocean-themed weddings to lively children’s parties, mermaid cakes fit a range of occasions. Plus, they’re Instagram-worthy, thanks to their vibrant colors, edible glitter, and intricate details.
But don’t be intimidated! Making a mermaid cake doesn’t require you to be a pastry chef. With the right steps, tools, and a sprinkle of patience, you’ll be creating your masterpiece in no time.
“Creating a mermaid cake is like crafting an edible work of art—it’s an adventure that tastes as good as it looks!” 🌈🍰
Essential Ingredients and Tools for a Mermaid Cake
Every great cake starts with the basics: ingredients and tools. Think of these as your treasure chest for creating a magical undersea cake.
Ingredients: The Building Blocks of Your Cake
Here’s what you’ll need for a classic mermaid cake:
- Cake Base: Flour, sugar, eggs, butter, and vanilla or chocolate flavoring.
- Frosting: Buttercream frosting for smooth coverage.
- Decorations: Fondant, food coloring (blue, green, purple), edible glitter, pearl sprinkles, and edible beads.
- Extras: Gelatin sheets for water effects, or candy shells for added texture.
Feel free to get creative! Want a tropical vibe? Add coconut extract to your batter. Prefer chocolate over vanilla? Go for it. Your cake, your rules.
Tools: Must-Have Equipment for Perfect Decoration
Mermaid cakes involve some unique decorating tools. Here’s your checklist:
- Piping Bags: For adding frosting details and accents.
- Fondant Rollers: Essential for smooth fondant layers.
- Cake Molds and Tins: Opt for tiered molds if you want a layered cake.
- Edible Paint Brushes: Perfect for painting scales or adding shimmer.
- Mermaid Tail Molds: These make crafting edible tails much easier.
Choosing the Right Cake Base for Your Mermaid Creation
When it comes to the base, the options are endless. However, the type of cake you choose can affect how easy it is to decorate and layer.
Popular Options: Vanilla, Chocolate, and More
Vanilla and chocolate are classic options because they’re versatile and pair well with buttercream or fondant. However, if you’re feeling adventurous, consider flavors like:
- Red Velvet: A rich, moist choice that adds a splash of color.
- Coconut Cake: Perfect for an ocean-inspired twist.
- Lemon Sponge: Light and refreshing, great for summer parties.
Layered vs. Single-Tier Cakes: What Works Best?
Layered cakes give you more room for creativity. You can add different fillings between the layers, like chocolate ganache or fruit preserves, and create a grander effect. If you’re a beginner, a single-tier cake might be easier to handle.
Pro Tip: “If you’re making a layered cake, use a serrated knife to level each layer. This ensures a stable, even structure for your decorations.”
Designing Your Mermaid Cake: Planning and Inspiration
Every masterpiece starts with a vision, and your mermaid cake is no different. Take a moment to plan your design—it’ll save you stress later.
Selecting an Ocean-Themed Design
Think of your cake as a blank canvas. Are you going for a playful vibe with cartoonish fish and shells? Or perhaps a more elegant look with metallic scales and subtle hues of blue and silver? Here are a few ideas:
- Under-the-Sea Fantasy: With coral, seaweed, and bubbles.
- Shimmering Mermaid Tail: A tail topper with glittering scales cascading down the sides.
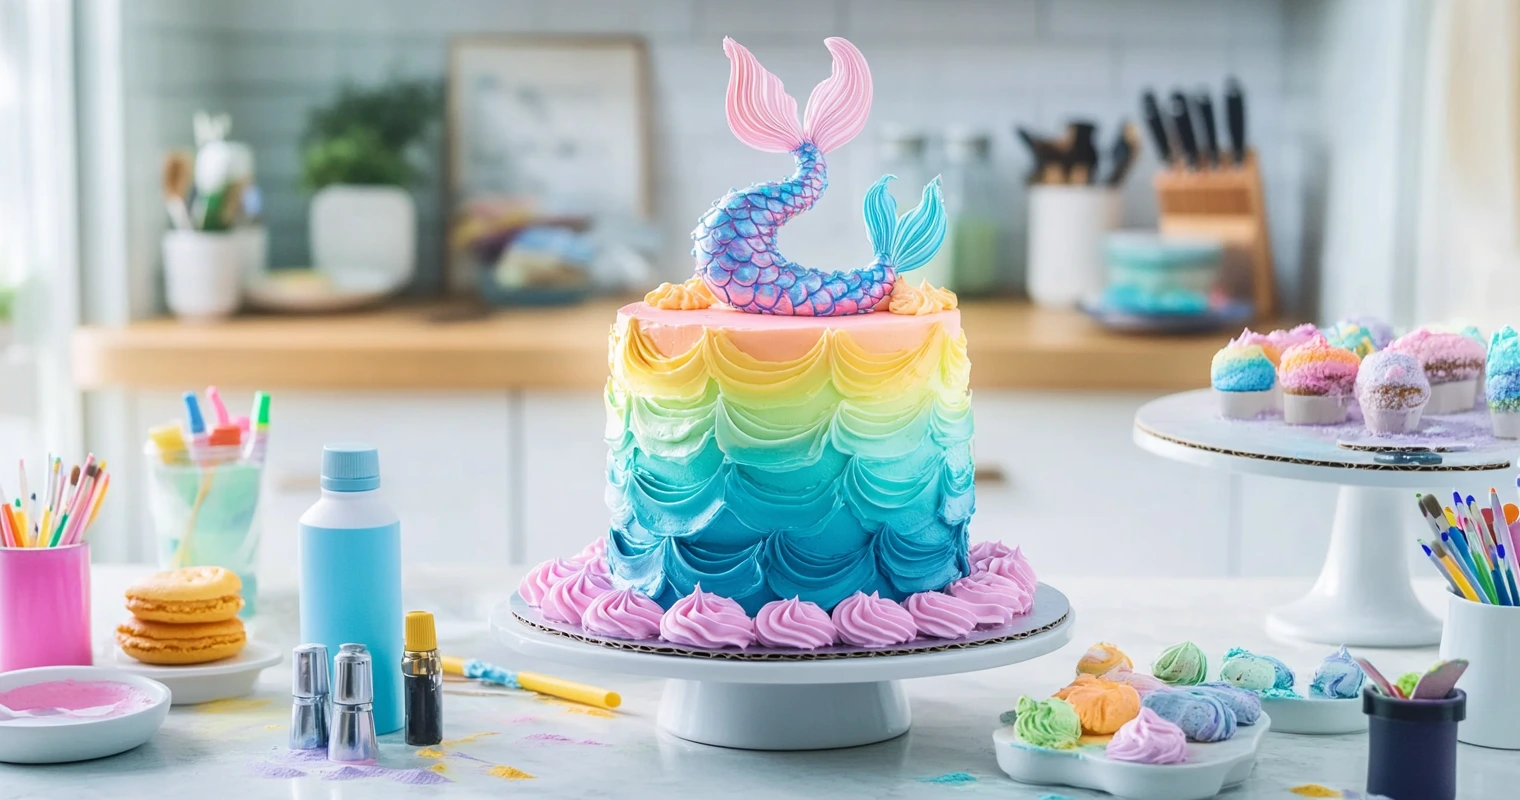
- Ocean Layers: Ombre shades of blue frosting to mimic waves.
Creating a Visual Sketch for Your Cake
It might sound silly, but sketching your design can help you stay organized. Think about:
- Color Scheme: Blues, purples, and greens are staples, but feel free to add pops of pink or gold.
- Texture: Decide where you’ll add scales, glitter, or smooth fondant layers.
- Focus Points: The mermaid tail or cake topper will likely be the centerpiece, so plan accordingly.
Step-by-Step Baking Instructions for the Cake Base
Once your plan is ready, it’s time to dive into the baking process.
Mixing and Baking the Perfect Sponge
- Prepare Your Ingredients: Pre-measure everything. This helps avoid mishaps halfway through. 📏
- Cream Butter and Sugar: Beat until light and fluffy. This creates the foundation for a soft cake.
- Add Eggs One at a Time: Mix well after each addition for a smooth batter.
- Incorporate Dry Ingredients: Gradually fold in flour and baking powder, alternating with milk or another liquid (like coconut milk for a tropical twist).
- Bake at 350°F (175°C): Depending on your pan size, bake for 25-30 minutes or until a toothpick comes out clean.
Tips for Avoiding Common Baking Mistakes
- Don’t Overmix: Overmixing can make your cake dense. Stir just until everything is combined.
- Use Parchment Paper: Line your pans to ensure the cakes come out cleanly.
- Cool Completely: Let your cakes cool before attempting to frost. Warm cakes + frosting = disaster.
Crafting the Decorations: Bringing the Mermaid Theme to Life
Here’s where the magic starts to happen! Decorating your mermaid cake is all about channeling your inner artist. Don’t worry if you’re not a pro—imperfections add charm to homemade creations. Let’s dive into crafting those enchanting details!
Making Fondant Mermaid Tails and Scales
Fondant is your best friend when it comes to mermaid cakes. With a little patience, you can create tails, scales, and more.
- Create Mermaid Tails:
- Roll out your fondant to about ¼ inch thick.
- Use a mermaid tail mold or cut freehand using a stencil.
- Paint the tail with edible shimmer dust for a magical effect. You can also add edible glitter for extra sparkle.
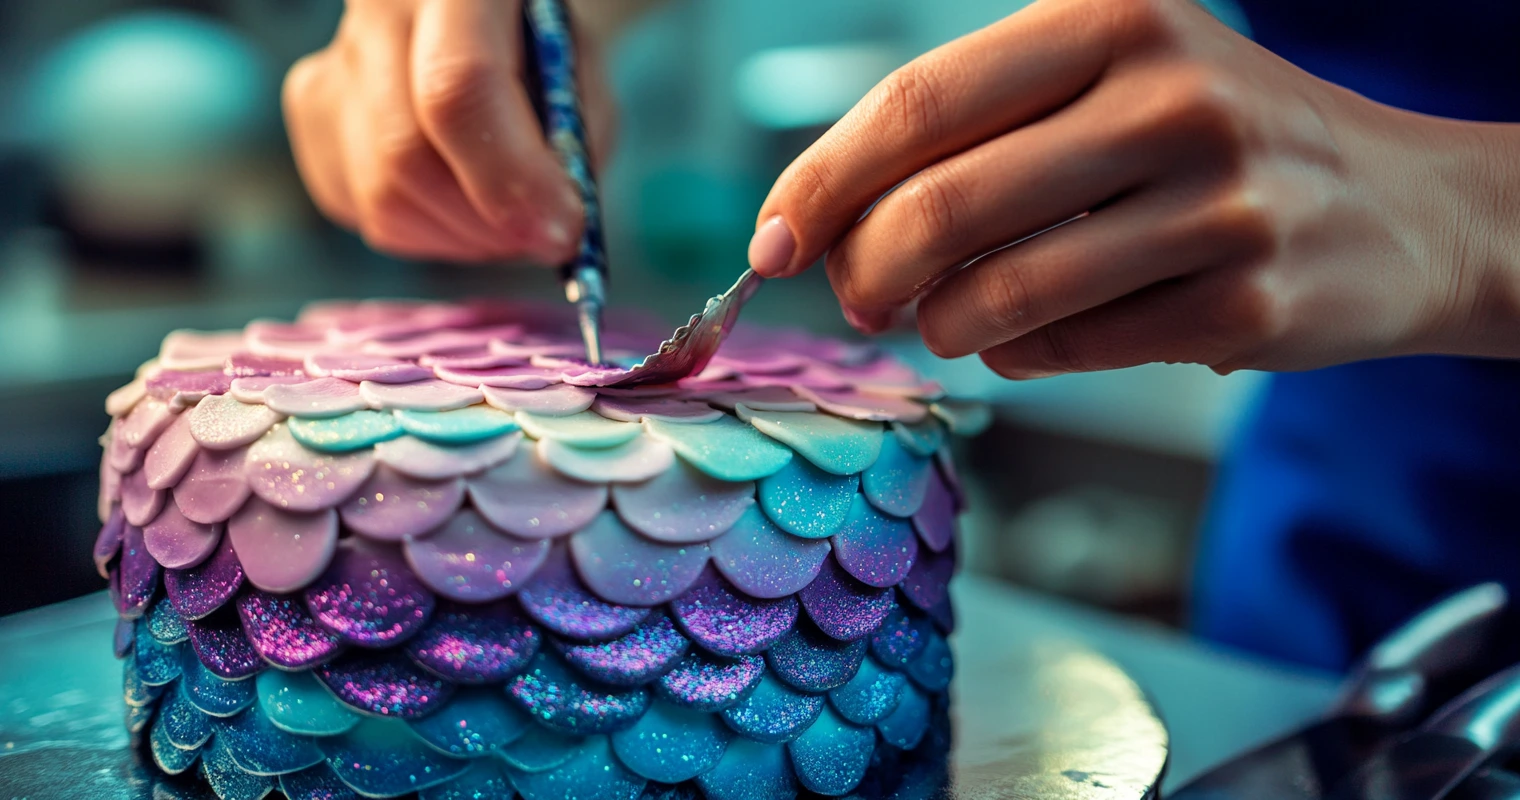
- Craft Fondant Scales:
- Use a round cutter (like a piping tip or the back of a small measuring spoon) to cut circles from colored fondant.
- Attach the scales to the sides of the cake using a dab of water or edible glue, overlapping them like fish scales.
“Fondant scales are like puzzle pieces. Layer them patiently, and you’ll have a show-stopping oceanic look!”
Using Edible Glitter, Pearls, and Sprinkles
Accessories take your cake from cute to magical. Here’s how to work with edible decorations:
- Glitter & Dust: Lightly brush edible shimmer dust over the scales and cake surface for a soft, glowy finish.
- Pearls & Beads: Add pearl sprinkles around the edges or as accents between scales.
- Sprinkles & Candy Shells: Use these to decorate the cake base or top.
Assembling and Frosting Your Mermaid Cake
Before you go all-in on decorations, you’ll need to assemble and frost your cake like a pro.
Layering the Cake for a Stable Base
- Level the Layers: Use a serrated knife to trim the tops of each cake layer so they’re flat.
- Add Filling: Spread an even layer of frosting or filling (like ganache or jam) between each layer.
- Stack Carefully: Place each layer on top of the other, ensuring they’re centered.
Pro Tip: “Chill your stacked cake in the fridge for 15-30 minutes. This firms it up and makes frosting easier!”
Frosting Techniques for Smooth and Artistic Coverage
- Crumb Coat: Apply a thin layer of frosting over the entire cake to seal in crumbs. Chill the cake for about 15 minutes before the next layer.
- Final Coat: Add a thicker layer of frosting, smoothing it out with a bench scraper or offset spatula.
- Add Ombre Effects: Divide your frosting into shades of blue, green, and purple. Starting at the base, spread the darkest color and gradually lighten as you go up.
🎨 Think of your frosting as the ocean—smooth, gradient, and dreamy!
Adding the Final Touches: Making It Magical
Once your cake is frosted, it’s time to bring everything together.
Positioning the Mermaid Cake Topper
If you’ve made a fondant mermaid tail topper, now’s the moment to shine. Here’s how to attach it:
- Insert a toothpick or skewer into the bottom of the tail for stability.
- Position it at an angle on the top of the cake, creating the illusion of a tail splashing out of water.
Enhancing with Ocean-Themed Accents
- Use leftover frosting to pipe waves or bubbles along the cake’s base.
- Add candy shells, fondant seaweed, or starfish to the cake tiers.
- Sprinkle edible glitter or blue sugar crystals around the base for a water-like effect.
“The details are what transform your cake into an under-the-sea masterpiece. Don’t be afraid to go big with glitter and texture!” 🌊
Common Problems and Solutions in Mermaid Cake Making
Even with the best-laid plans, things can go sideways. Here are some common hiccups and how to fix them:
Cracked Cake Layers: Causes and Fixes
- Cause: Overbaking or handling warm cakes.
- Fix: Use frosting as glue to piece together cracks. Once frosted, no one will notice!
Fondant Cracks or Tears: Quick Repairs
- Cause: Dry fondant or over-stretching.
- Fix: Smooth cracks with a small amount of water or shortening. Add decorations to cover up any visible flaws.
Mermaid Cake Ideas for Different Occasions
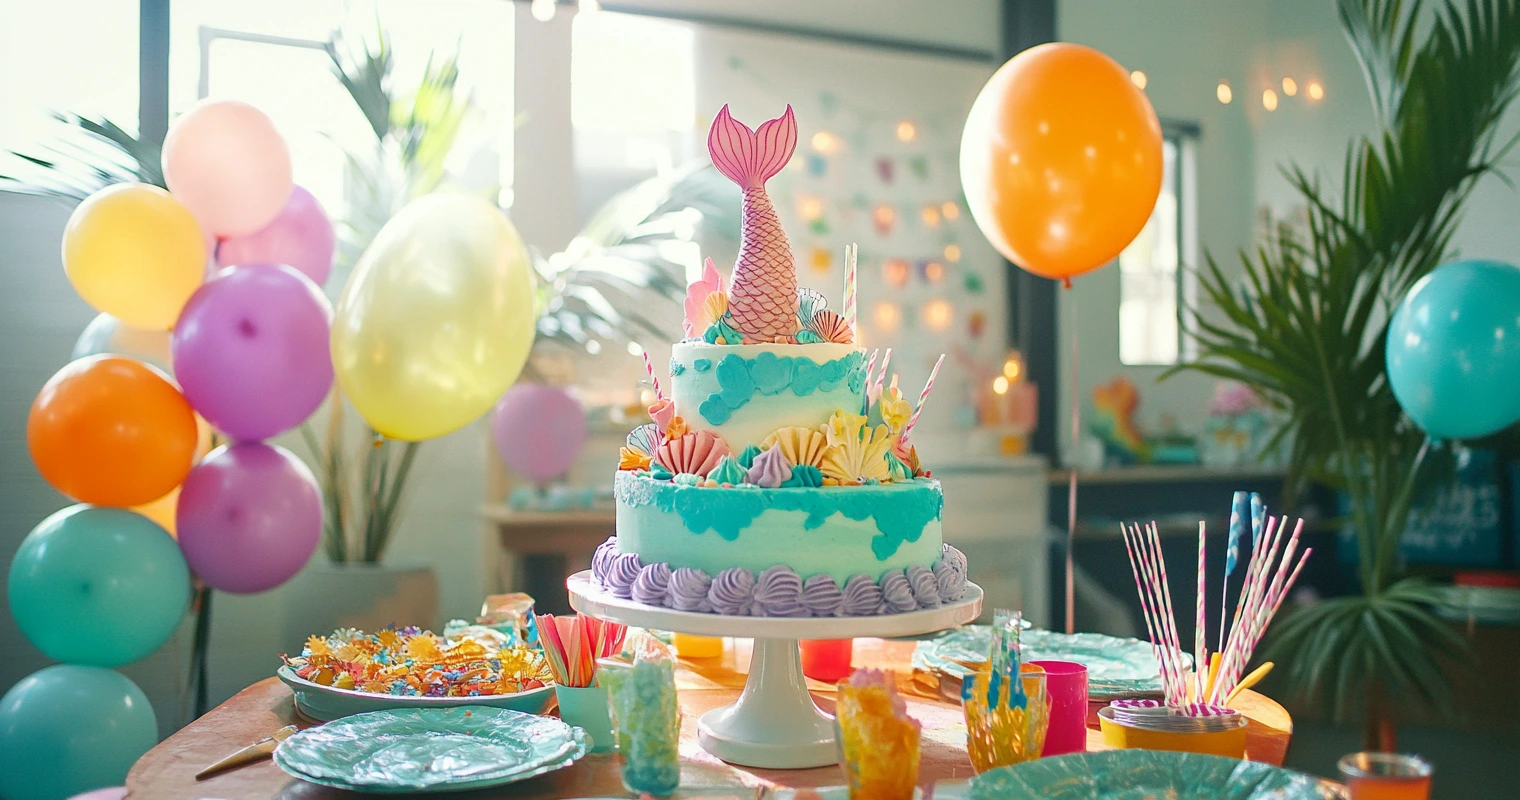
Now that you’ve mastered the basics, let’s explore how to customize your mermaid cake for different events. A mermaid cake isn’t just a dessert; it’s a centerpiece, a conversation starter, and a magical touch to any celebration.
Birthday Parties: Kid-Friendly Designs
For kids, the brighter and more playful the cake, the better. Here are a few ways to tailor your design for a child’s birthday:
- Add Their Name: Use fondant letters or pipe their name on the cake.
- Favorite Colors: Incorporate their favorite shades into the design.
- Extra Fun Toppings: Top the cake with candy fish, gummy sharks, or even edible glitter that matches the party theme.
🎉 “A mermaid cake with a vibrant splash of color and fun toppings will have the kids squealing with excitement!”
Weddings or Showpieces: Elegant Mermaid Themes
For more formal occasions, you’ll want a design that’s sophisticated and polished:
- Subtle Hues: Stick to soft blues, silvers, and whites for a more elegant vibe.
- Minimal Decorations: Focus on clean lines and delicate accents like sugar pearls or metallic scales.
- Taller Layers: A three- or four-tiered cake can elevate your design (literally and figuratively).
Pro Tip: “For weddings, less is more—choose one standout feature, like a shimmering mermaid tail topper, to keep the design refined.”
Cleaning Up: Maintaining Tools and Leftovers
The cake might be done, but the work isn’t over yet! Here’s how to wrap things up efficiently.
Cleaning and Storing Cake Molds and Supplies
- Fondant Tools: Wash with warm, soapy water immediately after use to prevent fondant residue from hardening.
- Piping Bags: Use disposable ones for easier cleanup, or rinse reusable bags thoroughly.
- Molds and Pans: Let them soak for a few minutes before scrubbing to remove baked-on batter.
🎨 “Treat your tools like an artist cares for their brushes—clean them well to create more masterpieces later!”
Preserving Leftovers Without Losing Freshness
- Frosted Cake: Cover any leftovers with plastic wrap or place in an airtight container. Store in the fridge for up to 4-5 days.
- Unfrosted Layers: Wrap tightly in plastic and freeze for up to a month. Perfect for when you’re in the mood to experiment with more decorations!
Frequently Asked Questions
Here are some additional fun and informative answers to common questions about mermaid cakes and related baking curiosities. Let’s dive in!
What flavor is mermaid cake?
Mermaid cakes don’t have a set flavor—they can be customized to suit your taste! Popular options include vanilla, chocolate, red velvet, and lemon. Some bakers add tropical flavors like coconut, pineapple, or passion fruit to give the cake an oceanic twist.
“Think of your mermaid cake flavor as its personality—sweet, bold, or refreshing. The choice is yours!”
What is the queen of cakes?
The “queen of cakes” is a nickname often given to fruitcake, particularly in British baking traditions. Known for its richness and longevity, fruitcake is a classic choice for weddings and royal celebrations. However, in the modern baking world, tiered cakes with intricate designs, like mermaid cakes, are often crowned as the queens of creativity.
“Mermaid cakes may not have the royal title, but they certainly wear a crown of creativity and fun!”
What is an axolotl cake?
An axolotl cake is a fun, whimsical dessert inspired by the adorable axolotl—a type of aquatic salamander known for its smiling face and frilly gills. These cakes are often brightly colored and shaped like the axolotl itself, making them a playful choice for birthdays or animal-themed parties. They’re as charming as they are unique!
How many cupcakes does it take to make a mermaid tail?
Creating a mermaid tail using cupcakes typically requires 12-20 cupcakes, depending on the size and design. Arrange the cupcakes in the shape of a tail (a tapered, curved structure) and cover them with frosting or fondant scales to mimic the mermaid tail’s appearance. It’s a great alternative if you want a cake design that’s easy to share.
“Cupcakes are like the puzzle pieces of cake decorating—perfect for crafting creative shapes like mermaid tails!” 🧁✨
Explore More Recipes and Ideas
When discussing cake decoration techniques, you can link to the Unicorn Cake Guide for readers seeking inspiration for whimsical and fantastical cake designs. The article provides tips for creating stunning, colorful cakes that could complement the theme of a mermaid cake perfectly.
In the section about layering and structuring cakes, you might mention the Graduation Cakes Guide to showcase ideas for building and decorating celebratory cakes for special occasions.
For readers curious about fondant work or alternative cake styles, the Heart-Shaped Cake Tutorial offers insight into unique shapes and designs, allowing them to adapt similar techniques to their mermaid cakes.
Celebrate with Your Magical Mermaid Cake
Congratulations—you’ve created a show-stopping mermaid cake! Whether it’s for a birthday, wedding, or a “just because” treat, your cake is sure to impress. From the vibrant scales to the shimmering tail, you’ve turned a simple dessert into a magical centerpiece. Don’t forget to snap some photos before everyone dives in!
Bonus Tips for Customizing Your Mermaid Cake Design
Ready to push your creativity even further? Here are some final tips for making your cake truly unique:
Exploring Color Variations for Unique Themes
- Tropical Lagoon: Use bright blues, oranges, and yellows for a sunny vibe.
- Mystical Deep Sea: Go dark with navy blues, purples, and touches of black.
- Pastel Fantasy: Stick with soft, dreamy shades like lavender, mint, and pale pink.
Incorporating Additional Ocean Creatures in the Design
- Seaweed Accents: Pipe green frosting or use fondant strips to mimic seaweed.
- Edible Jellyfish: Use piping gel to create translucent jellyfish designs.
- Candy Fish: Add gummy or fondant fish swimming around the cake.

