The Best Fluffy Pancakes recipe you will fall in love with. Full of tips and tricks to help you make the best pancakes.
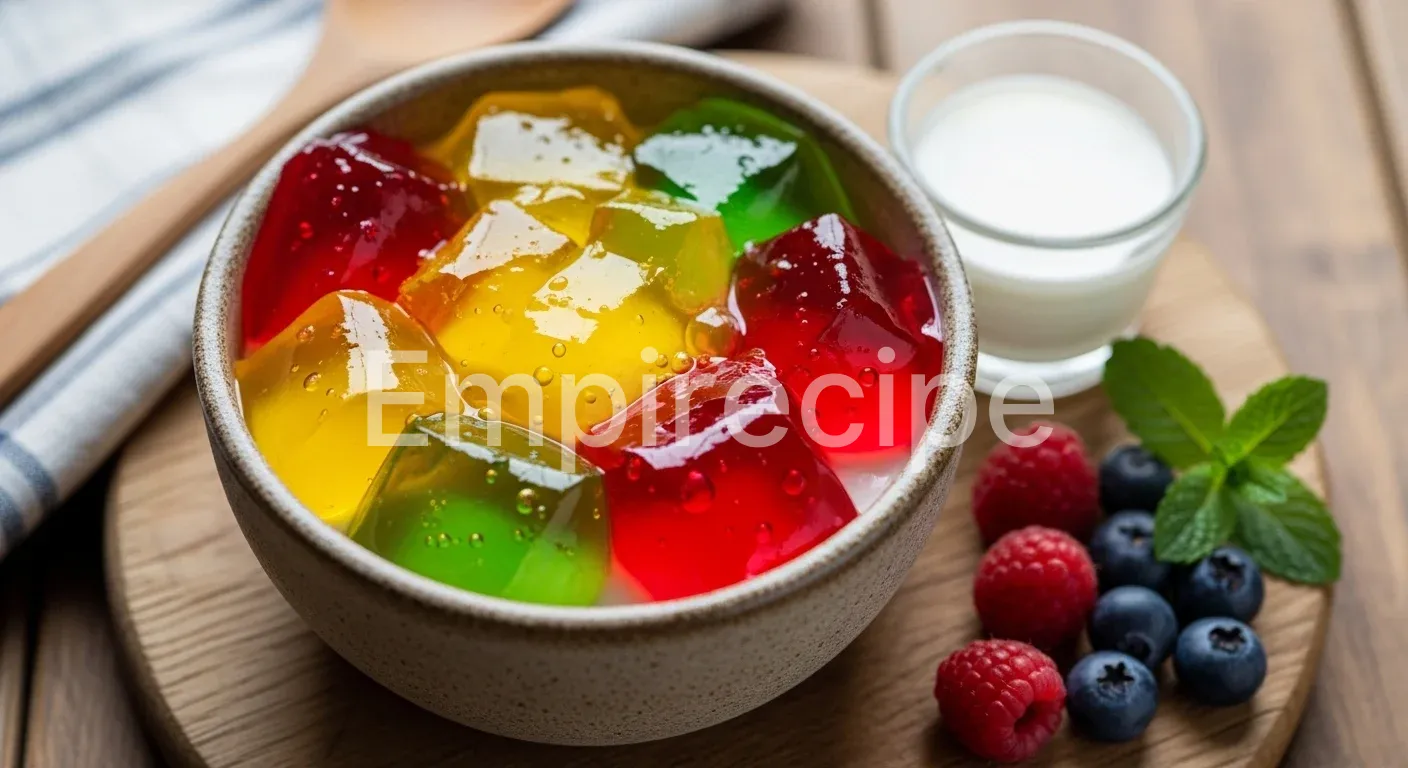
Discover the joy of crafting a vibrant, wobbly treat with this Homemade Gelatin Recipe. This recipe yields a translucent masterpiece bursting with real fruit flavor and a silky, satisfying texture. You avoid artificial dyes and excessive processed sugars entirely.
It transforms simple juice into a playful, healthy snack that delights everyone. This refreshing dish brings a splash of color to your table while keeping your lifestyle clean and sustainable.
Table of Contents
Why You’ll Love This Homemade Gelatin Recipe
- This recipe offers total control over sugar levels and high-quality fruit selection.
- You can experiment with endless creative flavor fusions and vibrant natural colors.
- It promotes an eco-friendly lifestyle by reducing single-use plastic snack packaging.
Ingredients You’ll Need
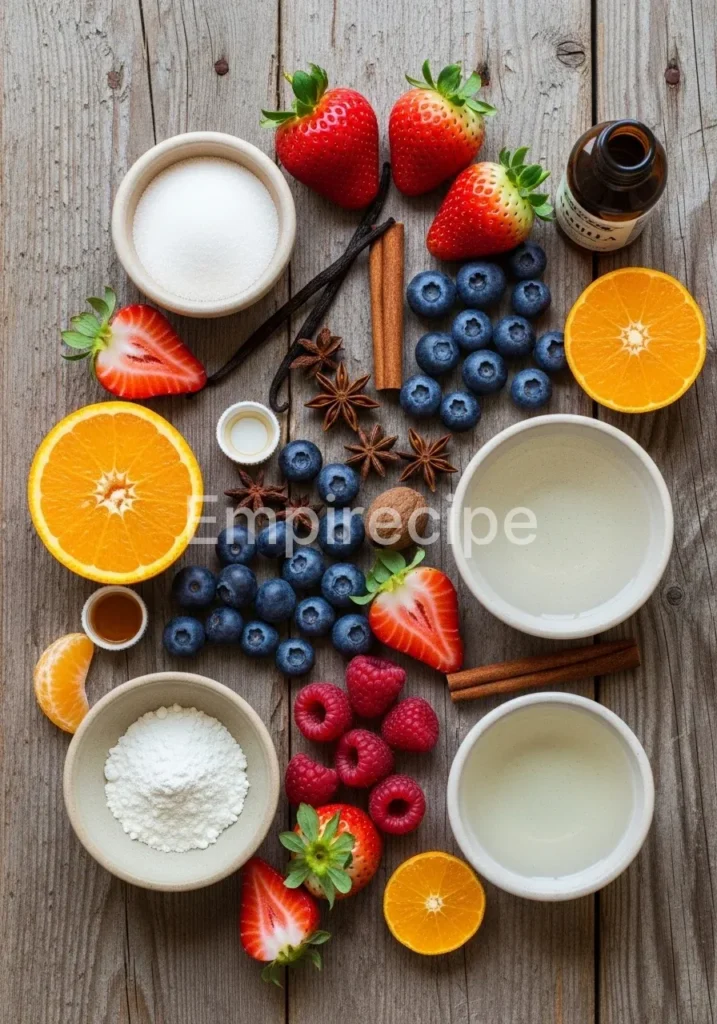
To achieve the best results with your Homemade Gelatin Recipe, you must focus on the quality of your base liquids. Since we are creating a plant-forward version, I recommend using Agar-Agar, a wonderful seaweed-based alternative that sets firmly and remains stable at room temperature. Using fresh, cold-pressed juices will elevate the nutritional profile and provide a more authentic taste compared to store-bought concentrates.
If you prefer a traditional version, you can substitute the agar-agar with grass-fed gelatin powder, but ensure you adjust the blooming process accordingly. Here is what you need to gather for your colorful creation:
- 2 cups of high-quality fruit juice: Choose vibrant options like pomegranate, freshly squeezed orange, or tart cherry for the best visual and flavor impact.
- 1 teaspoon of Agar-Agar powder: This plant-based gelling agent provides a clean snap and works perfectly for vegan-friendly desserts.
- 1 to 2 tablespoons of natural sweetener: Use maple syrup, agave nectar, or local honey to balance the acidity of the fruit.
- Optional flavor enhancers: Add a splash of lemon juice, a pinch of sea salt, or a drop of pure vanilla extract to deepen the complexity of the treat.
- Fresh fruit slices: Prepare small pieces of berries, kiwi, or mango to suspend inside the gelatin for added texture and beauty.
Furthermore, I always encourage using seasonal ingredients. During the summer, a watermelon and lime base feels incredibly refreshing. In the winter months, a spiced apple cider or cranberry base brings warmth and comfort.
By choosing seasonal produce, you support local farmers and reduce the carbon footprint associated with long-distance shipping. Always taste your juice before starting; if the juice lacks punch, your final product will also taste muted. Adjust the sweetness and acidity at the beginning to ensure a balanced finish.
Substitutions & Variations
Note: This video is for demonstration purposes and may use a slightly different method.
You can easily modify this Homemade Gelatin Recipe to suit your dietary needs or flavor preferences. If you want a creamier texture, replace half of the fruit juice with full-fat coconut milk or a plant-based cream. For a sophisticated twist, infuse your juice with herbal tea like hibiscus or chamomile before starting the cooking process.
You might also swap the sweetener for stevia or monk fruit if you are monitoring your glycemic index. Always remember that highly acidic fruits like fresh pineapple or kiwi contain enzymes that might prevent the mixture from setting unless you boil them first.
If you’re looking for a deliciously enhanced variation, try our recipe for Homemade Berry Gelatin Squares. These squares are perfect for snack time and add a fun twist to your gelatin creations.
Equipment You’ll Need
Having the right tools ensures a smooth process and a professional-looking result for your Homemade Gelatin Recipe. You do not need specialized industrial equipment, but a few kitchen staples make the task much easier. Initially, find a medium-sized, heavy-bottomed saucepan.
This type of pan distributes heat evenly, preventing the juice from scorching or the agar-agar from clumping at the bottom. A fine-mesh whisk is also essential for incorporating the powder into the liquid without leaving lumps behind.
- Heavy-bottomed saucepan: Provides even heat distribution for consistent gelling.
- Fine-mesh whisk: Ensures a smooth, lump-free mixture.
- Measuring cups and spoons: Precision is vital for the perfect “wiggle” factor.
- Silicone molds or a glass baking dish: Silicone allows for easy removal of fun shapes, while glass is perfect for classic cubes.
- Offset spatula: Helps you level the surface of the liquid before it sets.
Additionally, if you want to create multi-layered treats, keep several small bowls ready for different flavor batches. Cleanliness is paramount; ensure all your molds are completely dry and free of dust before pouring. If you are using intricate silicone molds, placing them on a flat baking sheet before filling allows you to transport them to the refrigerator without spilling a single drop of your precious mixture.
Step-by-Step Instructions
- Prepare the base: Pour 1/2 cup of your cold fruit juice into the saucepan and sprinkle the agar-agar powder over the surface. Let it sit for about 5 minutes to allow the powder to hydrate or “bloom” properly.
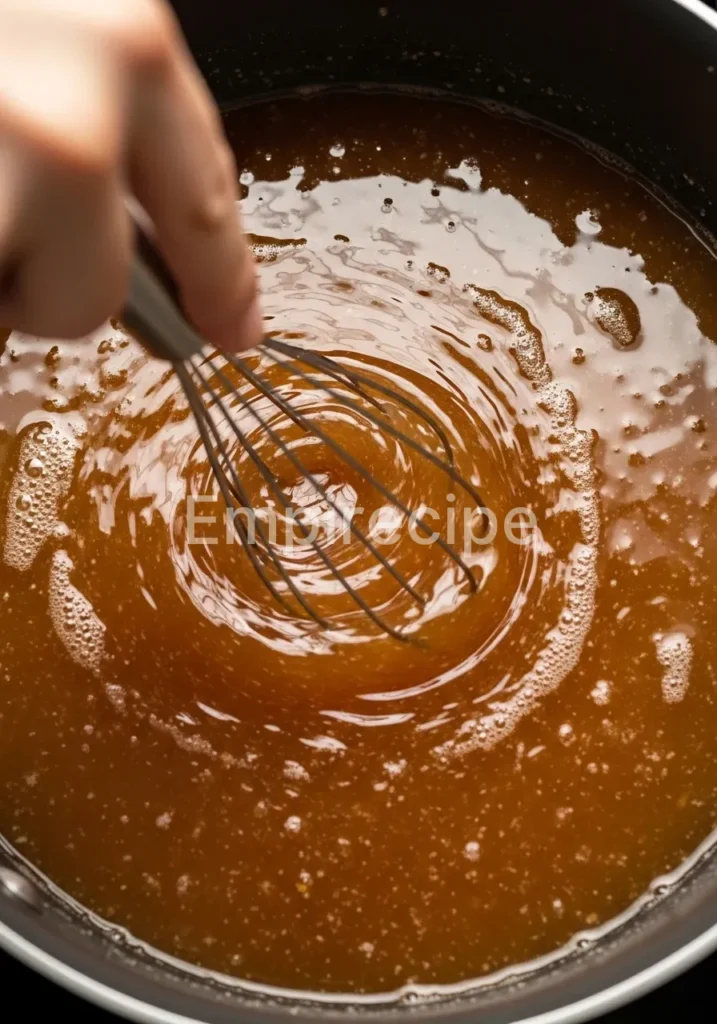
- Heat the mixture: Place the saucepan over medium heat. Whisk the mixture constantly as it begins to warm. You must ensure the agar-agar dissolves completely before the liquid reaches a boil.
- Incorporate the remaining liquid: Once the initial mixture is smooth, pour in the remaining 1.5 cups of juice and your chosen sweetener. Continue whisking steadily to combine all the elements into a harmonious blend.
- Boil and simmer: Bring the liquid to a gentle boil. Maintain a simmer for exactly 2 minutes. This step is crucial because agar-agar requires high heat to activate its gelling properties. Do not skip this timing.
- Add flavor accents: Remove the pan from the heat and stir in any lemon juice, vanilla, or extra extracts. This preserves the delicate aromas that high heat might otherwise destroy.
- Prepare the molds: If you are adding fresh fruit pieces, place them into the bottom of your molds or dish now. Arrange them creatively to create a beautiful visual pattern.
- Pour with care: Carefully pour the hot liquid over the fruit and into the molds. Use your spatula to pop any small bubbles that rise to the surface for a crystal-clear finish.
- Initial cooling: Allow the mixture to sit at room temperature for about 15 minutes. You will notice it starts to firm up quite quickly.
- Refrigerate: Transfer the molds to the refrigerator. Let them chill for at least 1 to 2 hours until the gelatin feels firm to the touch and completely cold.
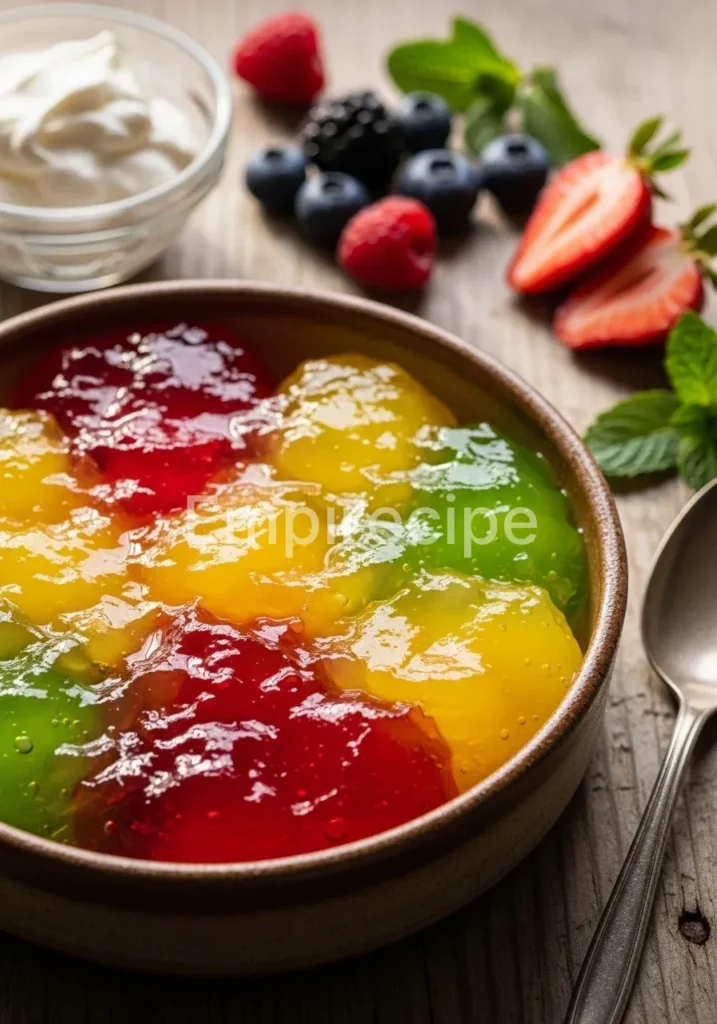
- Unmold and serve: Gently pull the sides of the mold away from the gelatin or use a knife to slice the dish into cubes. Serve immediately and enjoy the vibrant flavors.
For another delightful dessert to enjoy, check out our Homemade Crème Brûlée Donuts. Their creamy and sweet flavor profile complements the fruity notes of your homemade gelatin beautifully.
Pro Tips for Success
Achieving the perfect texture in a Homemade Gelatin Recipe requires a bit of scientific precision. Firstly, always measure your agar-agar accurately. Too much will result in a rubbery, tough texture, while too little will leave you with a soft jelly that falls apart.
If you use agar-agar flakes instead of powder, you generally need to triple the amount and simmer the liquid for a longer period to ensure full dissolution. Powder is much more reliable for beginners and experts alike.
Secondly, consider the clarity of your juice. If you want a glass-like transparency, strain your fresh juice through a coffee filter or cheesecloth before heating. This removes pulp and sediment that can cloud the final product.
Furthermore, if you are making a layered dessert, wait until the first layer is “tacky” to the touch before pouring the next layer. Ensure the second layer is warm but not boiling hot, or it might melt the layer beneath it, ruining the sharp lines between colors.
Finally, temperature management is your best friend. While agar-agar sets at room temperature, the flavors develop more fully when chilled. Moreover, the cooling process should be gradual.
Do not rush the gelatin into the freezer, as this can create ice crystals and ruin the structural integrity of the gel. Patience results in a much more professional and appetizing snack that stays firm even on a serving platter during a party.
Storage & Reheating Tips
Preserving the freshness of your Homemade Gelatin Recipe is simple if you follow a few basic rules. Always store the finished pieces in an airtight container within the refrigerator. This prevents the gelatin from absorbing other odors from the fridge, like onions or leftovers.
Because this recipe uses natural ingredients without preservatives, it is best consumed within 5 to 7 days. You might notice a small amount of liquid “weeping” from the gel over time; this is a natural process called syneresis and does not mean the food has spoiled.
Regarding reheating, you generally do not reheat gelatin if you intend to eat it as a cold snack. However, the beauty of agar-agar is that it is thermo-reversible.
If you are unhappy with the set or want to change the shape, you can melt the gelatin back down in a saucepan, add more liquid or gelling agent, and reset it. Traditional animal-based gelatin does not always survive this process as well, but the plant-based version is incredibly forgiving for creative kitchen experiments.
Ensure the perfect pairing with our Homemade Chocolate Glazed Donuts, which are equally delicious and can impress your guests. These donuts make for a delightful treat alongside your gelatin snacks.
What to Serve With This Recipe
You can turn your Homemade Gelatin Recipe into a sophisticated dessert by pairing it with the right accompaniments. For a light and refreshing afternoon snack, serve the gelatin cubes alongside a crisp garden salad or a bowl of roasted nuts.
The contrast between the soft, cool gel and the crunchy texture of almonds or walnuts is delightful. If you prefer a sweeter experience, dollop a spoonful of whipped coconut cream or Greek yogurt on top of the gelatin just before serving.
Furthermore, these colorful treats look stunning when served with a garnish of fresh mint leaves or edible flowers like pansies. For a festive occasion, you can serve the gelatin as part of a larger fruit platter, surrounding it with slices of starfruit, dragon fruit, and berries. This creates a high-vibe, nutrient-dense dessert table that appeals to both children and adults. You could even serve them in small glass jars for an eco-friendly, grab-and-go option at picnics or outdoor gatherings.
Frequently Asked Questions (FAQ)
Can I use any type of fruit juice for this recipe?
Most fruit juices work beautifully, but you must be cautious with specific tropical fruits. Fresh pineapple, kiwi, papaya, and mango contain proteases, which are enzymes that break down proteins and gelling agents. If you use these juices raw, your gelatin will never set.
To fix this, simply boil these specific juices for a few minutes before adding your gelling agent to deactivate the enzymes. Canned versions of these juices are already heat-treated and will work without extra steps.
Is this recipe suitable for vegans and vegetarians?
Yes, this specific version of the Homemade Gelatin Recipe uses agar-agar, which is entirely plant-based. Agar-agar comes from red algae and provides a fantastic alternative to animal-derived collagen. It is naturally gluten-free, fat-free, and fiber-rich.
If you are serving guests with various dietary restrictions, this version is the safest and most inclusive choice. It also remains firm at higher temperatures, making it better for summer potlucks than traditional gelatin.
Why did my gelatin come out grainy or lumpy?
Graininess usually occurs if the gelling agent did not dissolve completely. This happens if you add the powder to hot liquid too quickly or if you do not simmer the mixture long enough. Always start by blooming the agar-agar in cold liquid first.
Additionally, ensure you maintain a gentle boil for at least two minutes while whisking constantly. If you see tiny specks in the liquid, continue simmering until the liquid appears perfectly clear and uniform before pouring it into your molds.
Gelatin is a versatile ingredient used in many culinary applications, often derived from animal collagen or plant-based alternatives like agar-agar. By learning to make your own gelatin, you can customize flavors and ingredients while embracing healthier dietary choices—discover more about this fascinating substance here.
Final Thoughts
Bringing this Homemade Gelatin Recipe to your table sparks pure joy and colorful memories. You embrace a sustainable, healthy lifestyle while indulging in a creative kitchen project. Every shimmering bite represents your commitment to quality and flavor. Share this vibrant treat with your loved ones today!
Nutrition Information (per serving)
This Homemade Gelatin Recipe provides a low-calorie, hydrating treat that fits into most healthy diets. By using natural fruit juices, you gain essential vitamins and antioxidants without the burden of artificial additives. Below is a general macro summary based on a standard serving size of approximately one-half cup.
| Nutrient | Amount per Serving |
|---|---|
| Calories | 45 kcal |
| Total Fat | 0g |
| Sodium | 5mg |
| Total Carbohydrates | 11g |
| Sugars | 9g |
| Protein | 0.5g |
| Fiber | 1g |
Homemade Gelatin Recipe
Discover the joy of crafting a vibrant, wobbly treat with this Homemade Gelatin Recipe. This recipe yields a translucent masterpiece bursting with real fruit flavor and a silky, satisfying texture. You avoid artificial dyes and excessive processed sugars entirely. It transforms simple juice into a playful, healthy snack that delights everyone.
Ingredients
Method
- Pour 1/2 cup of your cold fruit juice into the saucepan and sprinkle the agar-agar powder over the surface. Let it sit for about 5 minutes to hydrate.
- Place the saucepan over medium heat and whisk the mixture constantly until the agar-agar dissolves completely.
- Pour in the remaining 1.5 cups of juice and your chosen sweetener, whisking steadily.
- Bring the liquid to a gentle boil and maintain a simmer for exactly 2 minutes.
- Remove the pan from heat and stir in any additional flavor accents.
- Place fresh fruit pieces in the bottom of your molds or dish.
- Carefully pour the hot liquid over the fruit and into the molds.
- Let the mixture sit at room temperature for about 15 minutes, then transfer to the refrigerator for at least 1 to 2 hours.
- Unmold and serve the gelatin cubes.
Notes
Ensure to bloom agar-agar to avoid lumps. For a layered dessert, make sure each layer is tacky before adding another. Store in an airtight container for freshness.