The Best Fluffy Pancakes recipe you will fall in love with. Full of tips and tricks to help you make the best pancakes.
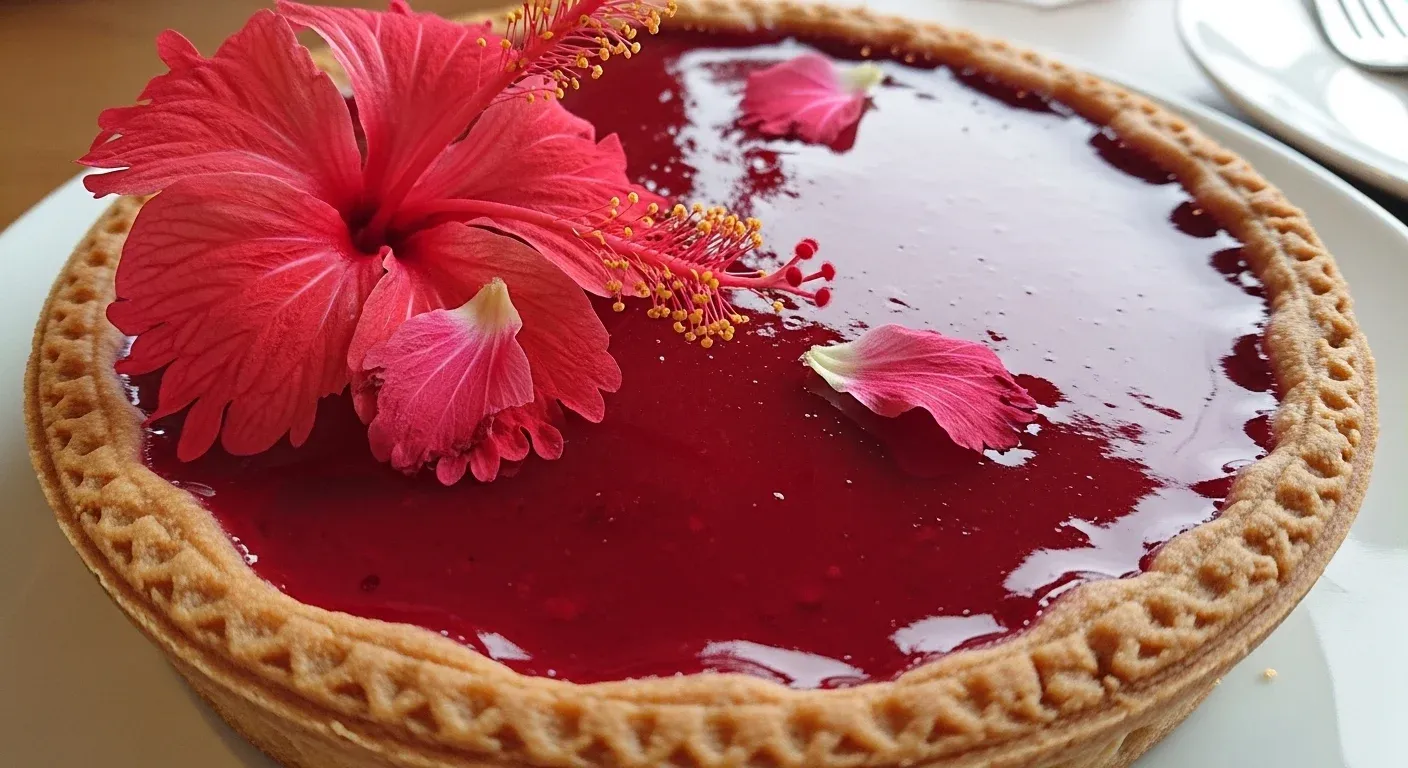
Welcome to my colorful kitchen where wellness meets indulgence in every vibrant bite. This Hibiscus Collagen Tart combines floral elegance with powerful nutrition to brighten your dessert table. You will love the creamy texture and the stunning pink hue that naturally glows. Let us dive into this refreshing Hibiscus Collagen Tart right now.
Table of Contents
Why You’ll Love This Hibiscus Collagen Tart
- This Hibiscus Collagen Tart supports skin elasticity with premium peptides.
- The tangy floral notes offer a refreshing alternative to heavy desserts.
- This eco-friendly recipe uses wholesome, plant-based fats and natural colors.
Ingredients You’ll Need
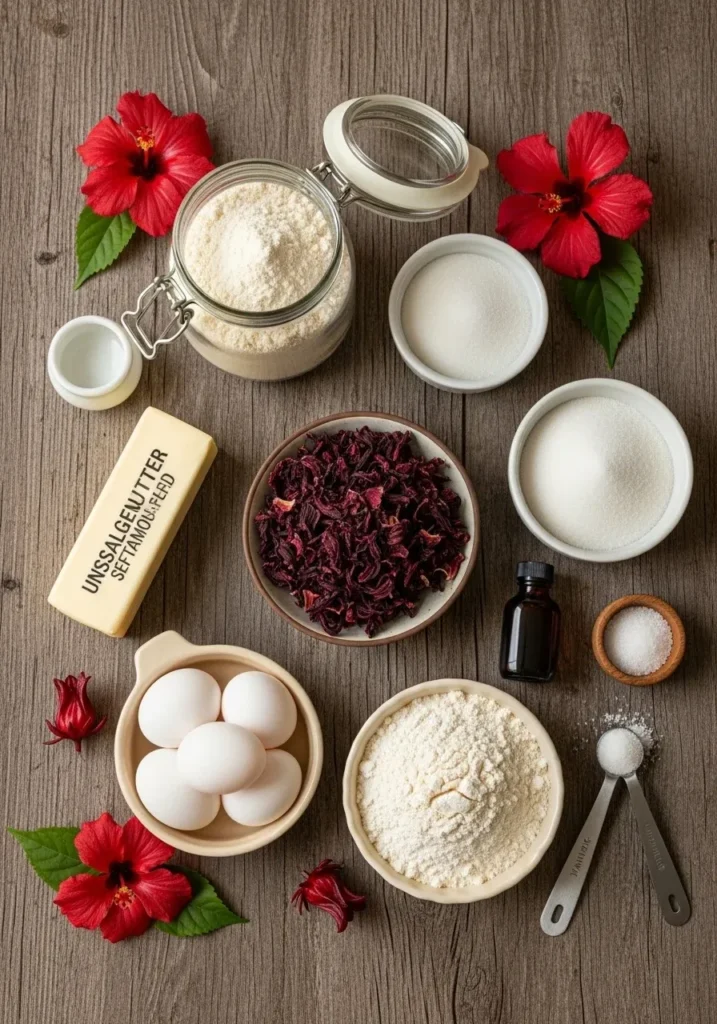
Selecting high-quality ingredients determines the success of your Hibiscus Collagen Tart. I always choose organic dried hibiscus petals to ensure a deep, concentrated flavor and a brilliant ruby color. For the crust, look for sprouted almond flour which aids digestion and provides a buttery finish without actual butter.
Your choice of collagen also matters significantly for the final texture. I prefer grass-fed or high-quality marine collagen peptides because they dissolve seamlessly into the warm hibiscus infusion without altering the delicate floral profile. Finally, use full-fat coconut milk to achieve that signature velvety mouthfeel that makes this Hibiscus Collagen Tart so memorable.
- 1.5 cups of fine almond flour
- 3 tablespoons of melted coconut oil
- 2 tablespoons of pure maple syrup
- A pinch of sea salt
- 1 cup of filtered water
- 0.5 cups of dried hibiscus flowers
- 2 scoops of unflavored collagen peptides
- 1 can of full-fat coconut milk (chilled overnight)
- 1 teaspoon of vanilla bean paste
- Fresh raspberries for garnish
Substitutions & Variations
Note: This video is for demonstration purposes and may use a slightly different method.
You can easily adapt this Hibiscus Collagen Tart to your dietary needs. If you prefer a nut-free version, swap the almond flour for shredded coconut or ground sunflower seeds. For a vegan-friendly alternative, replace the collagen with a plant-based beauty powder or agar-agar, though the texture will shift slightly.
Use honey instead of maple syrup if you enjoy a deeper, muskier sweetness. These small changes keep your Hibiscus Collagen Tart exciting and inclusive for everyone at your table.
If you’re looking to customize your Hibiscus Collagen Tart further, consider exploring our recipe for Buckwheat Collagen Power. This variation allows for even more dietary flexibility while keeping the delights of collagen in your dessert experience.
Equipment You’ll Need
To create a professional-looking Hibiscus Collagen Tart, you need the right tools in your kitchen. A 9-inch tart pan with a removable bottom is essential for a clean release of the crust. You also need a fine-mesh sieve to strain the hibiscus petals, ensuring your filling remains perfectly smooth.
A high-speed blender helps incorporate the coconut cream and collagen into a homogeneous mixture. Finally, keep a small saucepan handy for simmering the floral infusion. Having these items ready ensures a stress-free baking experience while you prepare your Hibiscus Collagen Tart.
- 9-inch tart pan with removable bottom
- Medium mixing bowl
- Small saucepan
- Fine-mesh strainer
- High-speed blender or whisk
- Measuring cups and spoons
- Silicone spatula
Step-by-Step Instructions
- Preheat your oven to 350°F (175°C) and lightly grease your tart pan with a touch of coconut oil to prevent sticking.
- Combine the almond flour, melted coconut oil, maple syrup, and sea salt in a mixing bowl until a crumbly dough forms.
- Press the dough firmly into the bottom and up the sides of the tart pan, ensuring an even thickness throughout the base.
- Bake the crust for 10 to 12 minutes until it reaches a light golden brown color, then set it aside to cool completely.
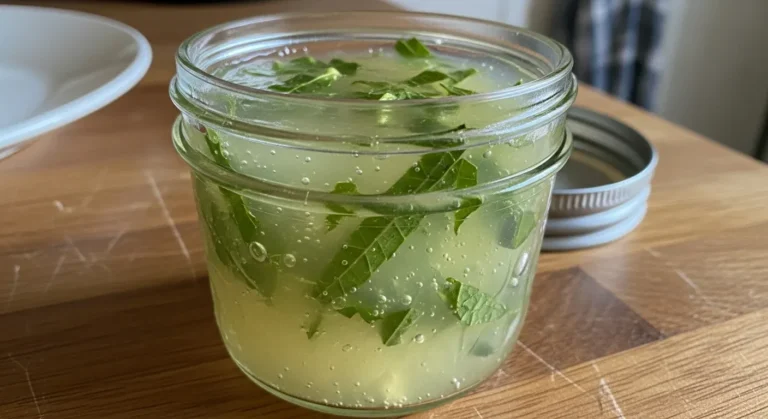
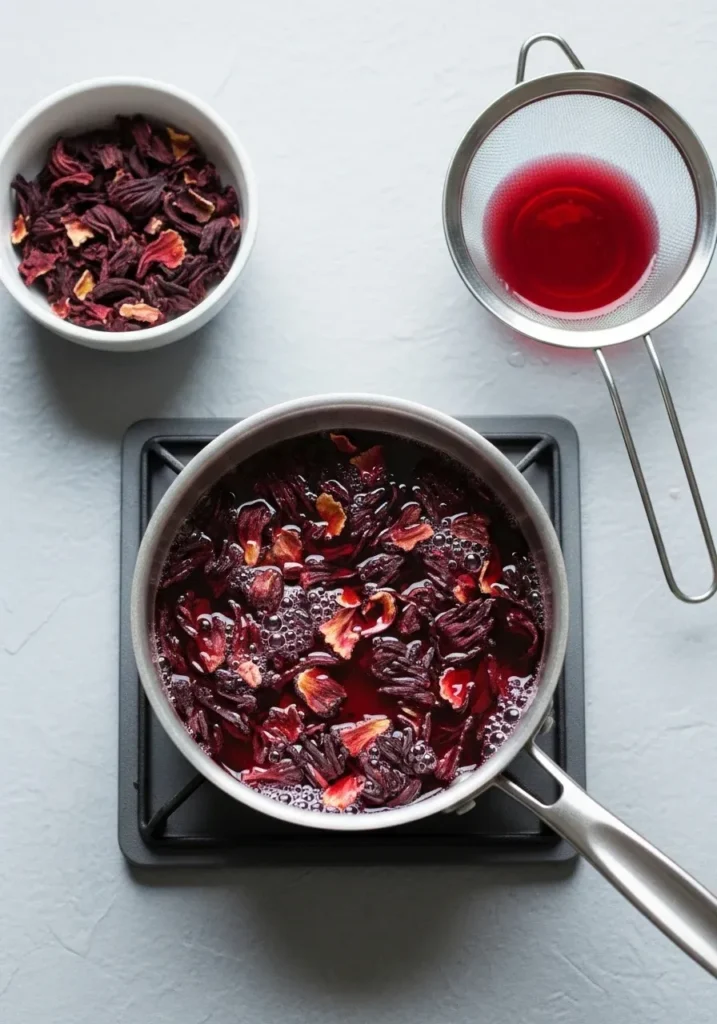
- Bring one cup of filtered water to a boil in your small saucepan and then remove it from the heat source immediately.
- Add the dried hibiscus flowers to the hot water and let them steep for at least 10 minutes to create a potent concentrate.
- Strain the hibiscus liquid through your fine-mesh sieve into a clean bowl, discarding the spent petals or composting them.
- Whisk the collagen peptides into the warm hibiscus tea until they dissolve completely without leaving any stubborn clumps.
- Open the chilled can of coconut milk and scoop out only the thick white cream, leaving the watery liquid for your morning smoothies.
- Blend the coconut cream, hibiscus-collagen mixture, and vanilla bean paste until the liquid looks smooth and vibrantly pink.
- Pour the filling slowly into the cooled crust and smooth the surface with your spatula for a professional Hibiscus Collagen Tart finish.
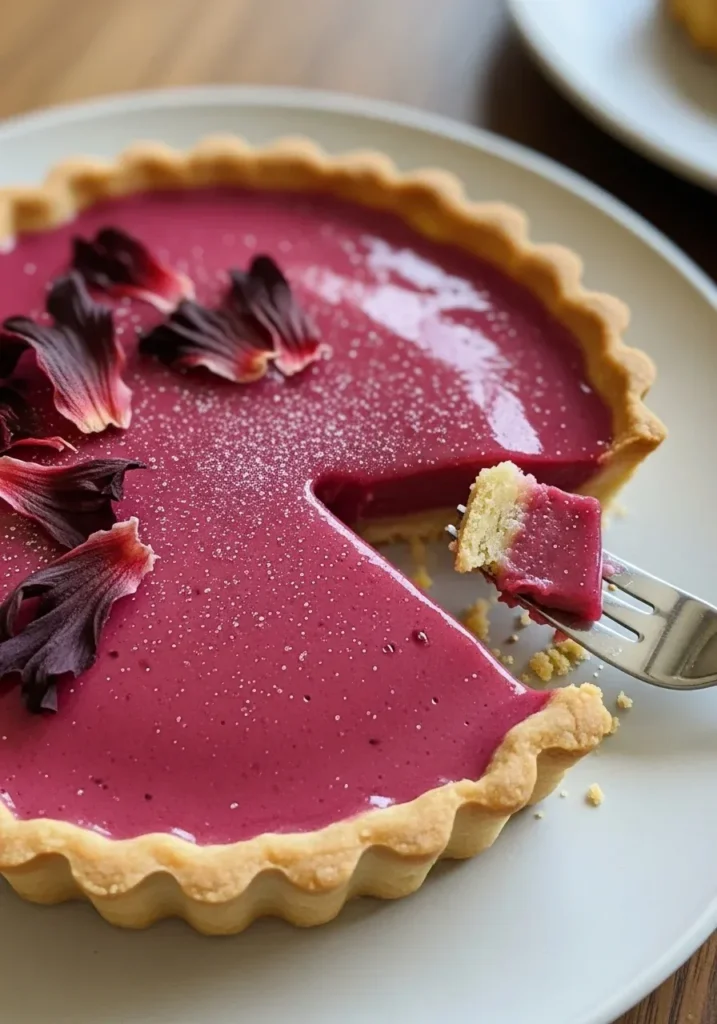
- Place the tart in the refrigerator for at least 4 hours, or overnight, to allow the filling to set into a firm, sliceable custard.
- Garnish your Hibiscus Collagen Tart with fresh raspberries and edible flowers just before serving to impress your guests.
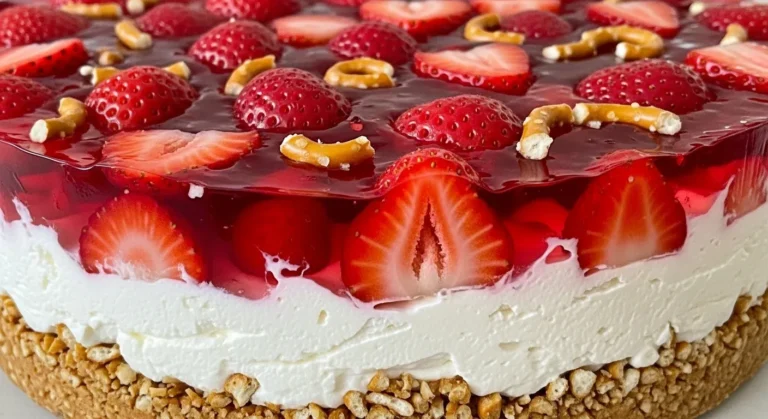
For an exciting twist on flavors, try adding elements from our Strawberry Collagen Glow recipe. This will inspire you to elevate your Hibiscus Collagen Tart with a fruity flair that pairs beautifully with its floral notes.
Pro Tips for Success
Creating the perfect Hibiscus Collagen Tart requires attention to temperature and timing. Always ensure your crust is entirely cold before adding the liquid filling to prevent the base from becoming soggy. If you want an even more intense color, simmer the hibiscus tea for an extra five minutes to reduce the volume.
This concentrates the pigments and the tartness. When dissolving the collagen, ensure the liquid is warm but not boiling, as extreme heat can sometimes impact the structural integrity of the peptides. For the smoothest Hibiscus Collagen Tart, tap the filled pan gently on the counter to release any trapped air bubbles before refrigerating. This technical step results in a flawless, glass-like surface that looks absolutely stunning.
Storage & Reheating Tips
You must store your Hibiscus Collagen Tart in the refrigerator to maintain its creamy structure and fresh flavor profile. Place the tart in an airtight container or cover it loosely with parchment paper to prevent it from absorbing other fridge odors. This Hibiscus Collagen Tart remains fresh and delicious for up to five days when kept cold.
I do not recommend freezing this dessert, as the coconut cream and collagen mixture may separate or change texture upon thawing. Since this is a cold-set dessert, you should never reheat it. Simply slice it straight from the fridge and enjoy the refreshing, cool sensation of a well-chilled Hibiscus Collagen Tart on a sunny afternoon.
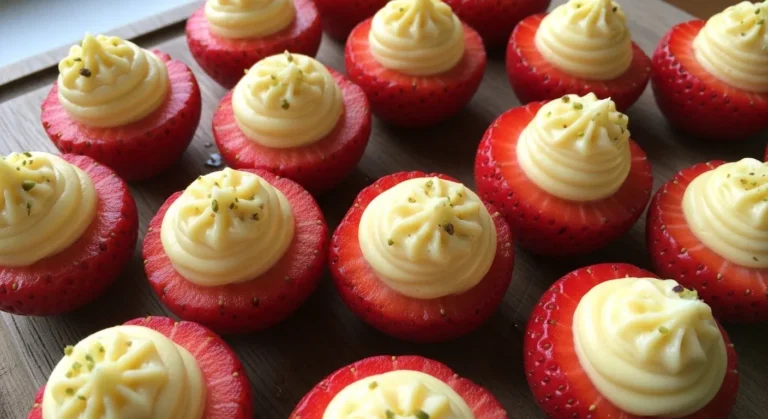
To keep your Hibiscus Collagen Tart fresh and enjoyable, consider incorporating ideas from our Deviled Strawberries Recipe. Not only will it enhance your tart storage tips, but it will also add a creative, complimentary dessert to your table.
What to Serve With This Recipe
This Hibiscus Collagen Tart pairs beautifully with light, refreshing accompaniments that balance its floral tartness. I love serving it alongside a crisp arugula salad tossed with a citrus vinaigrette to bridge the gap between sweet and savory. Roasted vegetables like honey-glazed carrots also complement the earthy undertones of the almond crust.
If you are hosting a brunch, offer a side of fresh seasonal berries or a dollop of whipped coconut yogurt. A hot cup of white tea or a glass of sparkling kombucha makes the perfect beverage pairing for your Hibiscus Collagen Tart. These healthy additions enhance the nutritional value of your meal while keeping the overall experience light and energizing.
Frequently Asked Questions (FAQ)
Can I use liquid collagen for this Hibiscus Collagen Tart?
I recommend using powder for this Hibiscus Collagen Tart because it integrates better with the dry ingredients and the infusion. Liquid versions often contain flavorings or sweeteners that might clash with the delicate hibiscus. Powdered collagen provides the necessary structure to help the filling set firmly during the refrigeration process.
Is the Hibiscus Collagen Tart gluten-free and dairy-free?
Yes, this Hibiscus Collagen Tart is naturally gluten-free and dairy-free as long as you use almond flour and coconut milk. It caters to various dietary restrictions while offering a luxurious gourmet experience. Always check your collagen source to ensure it meets your specific health standards and ethical preferences.
How do I get that bright pink color in the Hibiscus Collagen Tart?
The vibrant color comes entirely from the dried hibiscus flowers steeped in hot water. No artificial dyes or food colorings are necessary for this Hibiscus Collagen Tart. The natural acidity of the hibiscus reacts with the white coconut cream to produce a stunning, bright magenta shade that looks beautiful on any plate.
Hibiscus has been celebrated for its potential health benefits, including improving skin health and providing antioxidants. The use of hibiscus in desserts like the Hibiscus Collagen Tart showcases its versatility in culinary applications, enriching both flavor and nutrition, similar to what is discussed in this Hibiscus article.
Final Thoughts
Making this Hibiscus Collagen Tart feels like a celebration of nature and beauty in my kitchen. I love how the floral notes dance with the creamy filling to create a moment of pure bliss. Share this Hibiscus Collagen Tart with those you love to spread joy and vibrant health today!
Nutrition Information (per serving)
| Nutrient | Amount per Serving |
|---|---|
| Calories | 285 kcal |
| Protein | 9g |
| Total Fat | 22g |
| Carbohydrates | 14g |
| Fiber | 3g |
| Sugar | 7g |
Hibiscus Collagen Tart
This Hibiscus Collagen Tart combines floral elegance with powerful nutrition to brighten your dessert table. You’ll love the creamy texture and the stunning pink hue that naturally glows while supporting skin elasticity.
Ingredients
Method
- Preheat your oven to 350°F (175°C) and lightly grease your tart pan with a touch of coconut oil to prevent sticking.
- Combine the almond flour, melted coconut oil, maple syrup, and sea salt in a mixing bowl until a crumbly dough forms.
- Press the dough firmly into the bottom and up the sides of the tart pan, ensuring an even thickness throughout the base.
- Bake the crust for 10 to 12 minutes until it reaches a light golden brown color, then set it aside to cool completely.
- Bring one cup of filtered water to a boil in your small saucepan and then remove it from the heat source immediately.
- Add the dried hibiscus flowers to the hot water and let them steep for at least 10 minutes to create a potent concentrate.
- Strain the hibiscus liquid through your fine-mesh sieve into a clean bowl, discarding the spent petals or composting them.
- Whisk the collagen peptides into the warm hibiscus tea until they dissolve completely without leaving any stubborn clumps.
- Open the chilled can of coconut milk and scoop out only the thick white cream, leaving the watery liquid for your morning smoothies.
- Blend the coconut cream, hibiscus-collagen mixture, and vanilla bean paste until the liquid looks smooth and vibrantly pink.
- Pour the filling slowly into the cooled crust and smooth the surface with your spatula for a professional Hibiscus Collagen Tart finish.
- Place the tart in the refrigerator for at least 4 hours, or overnight, to allow the filling to set into a firm, sliceable custard.
- Garnish your Hibiscus Collagen Tart with fresh raspberries and edible flowers just before serving to impress your guests.
Notes
Ensure your crust is completely cold before adding the filling to avoid sogginess. Simmer the hibiscus tea longer for intense color. Use warm water for dissolving collagen but not boiling. Tap the tart before refrigerating to release air bubbles.