The Best Fluffy Pancakes recipe you will fall in love with. Full of tips and tricks to help you make the best pancakes.
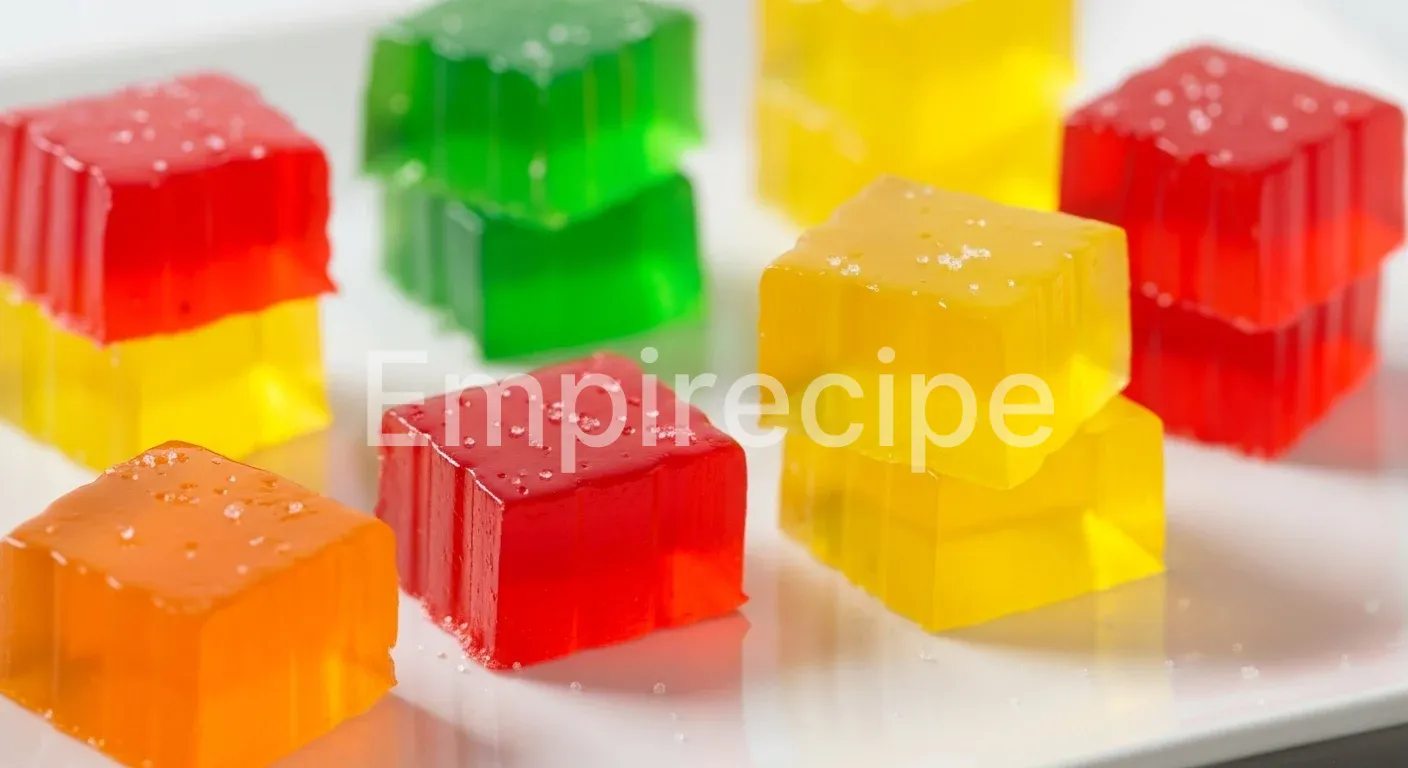
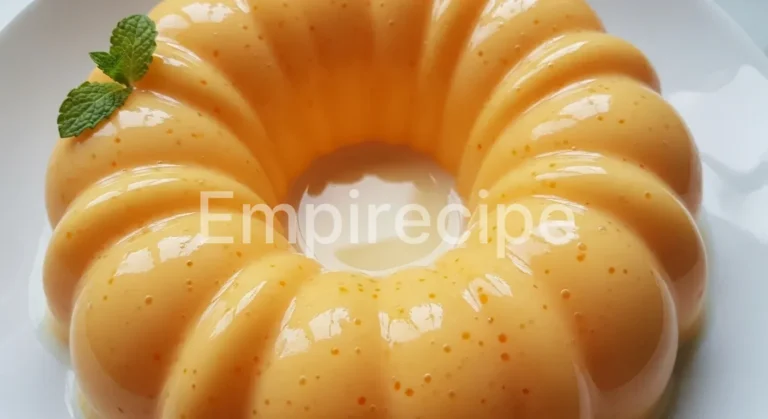
There is something truly magical about the firm, jiggly texture of homemade Finger Jello. These colorful squares bring nostalgic joy and remain a refreshing treat. My version focuses on vibrant flavors and a satisfyingly bouncy feel that holds its shape perfectly without any mess.
Table of Contents
Why You’ll Love This Easy Finger Jello
- Quick to prepare with minimal cleanup required.
- Features a firm texture perfect for little hands.
- Uses simple ingredients for a wholesome snack.
Ingredients You’ll Need
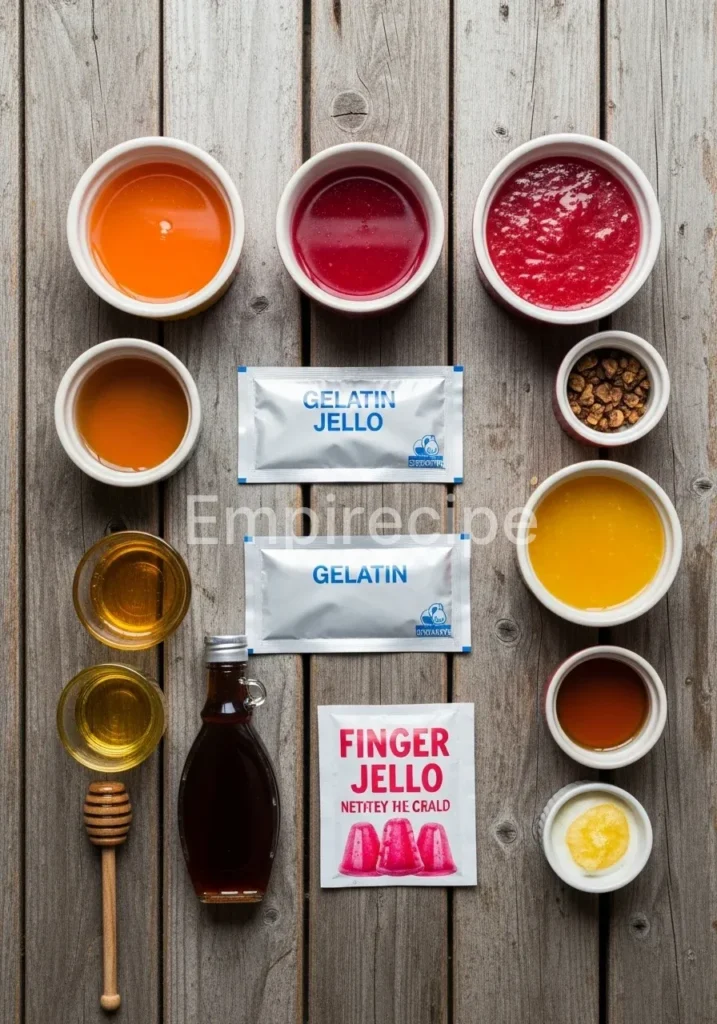
To create the best Finger Jello, you must focus on the quality of your base liquids. I prefer using organic fruit juices to ensure a natural sweetness and a vibrant color profile. The gelatin acts as the heart of this recipe, providing the structural integrity needed for that signature “finger-friendly” bounce.
When you select your ingredients, think about the harmony between sweetness and acidity. A splash of lemon juice can often brighten the entire flavor profile of your Finger Jello snacks.
| Ingredient | Quantity | Notes |
| Fruit Juice | 3 cups | Unsweetened, high-quality juice. |
| Unflavored Gelatin | 4 packets | Standard 0.25 oz packets. |
| Honey or Maple Syrup | 2 tablespoons | Optional, for added sweetness. |
| Boiling Water | 1 cup | Must be at a full rolling boil. |
| Cold Water | 1/2 cup | Used for blooming the gelatin. |
I always suggest choosing juices like pomegranate, tart cherry, or apple for their deep hues and clear consistency. Avoid juices containing fresh pineapple, kiwi, or papaya, as these fruits contain enzymes that prevent Finger Jello from setting correctly. By sticking to classic berry or citrus blends, you guarantee a perfect result every single time you step into the kitchen.
Substitutions & Variations
Note: This video is for demonstration purposes and may use a slightly different method.
You can easily adapt Finger Jello for various dietary needs. Swap refined sweeteners for raw honey or agave nectar to keep it natural. For a creamy version, replace half of the juice with coconut milk.
If you’re looking for more recipes that are adaptable for various dietary needs, check out our SPANISH GARLIC CABBAGE SALAD, which is both nutritious and easy to prepare. This salad makes a great companion to your Finger Jello, adding a refreshing crunch to the table.
Equipment You’ll Need
Preparing Finger Jello requires very little specialized equipment, which makes it a wonderful recipe for a relaxed afternoon. You will need a standard 9×13 inch glass baking dish to achieve the perfect thickness for your squares. A large heat-proof mixing bowl is essential for combining the hot liquids safely.
I also recommend a fine-mesh whisk to ensure the gelatin dissolves completely without leaving any grainy clumps behind. Finally, a sharp chef’s knife or fun cookie cutters will help you transform the set gelatin into beautiful, edible art. Having these tools ready ensures a smooth and mindful cooking process from start to finish as you prepare your Finger Jello.
Step-by-Step Instructions
- Bloom the Gelatin: Begin by pouring the cold water into your large mixing bowl. Sprinkle the four packets of unflavored gelatin evenly over the surface. Allow it to sit for about five minutes. This process, known as blooming, ensures that your Finger Jello has a smooth, consistent texture throughout.
- Dissolve with Boiling Water: Once the gelatin has softened, carefully pour the boiling water into the bowl. Whisk gently but thoroughly for at least two minutes. You must ensure every single grain of gelatin dissolves completely to avoid a rubbery layer at the bottom of your Finger Jello.
- Incorporate the Sweetener: If you choose to add honey or maple syrup, stir it in now while the mixture is still hot. The heat helps the natural sugars meld seamlessly with the gelatin base.
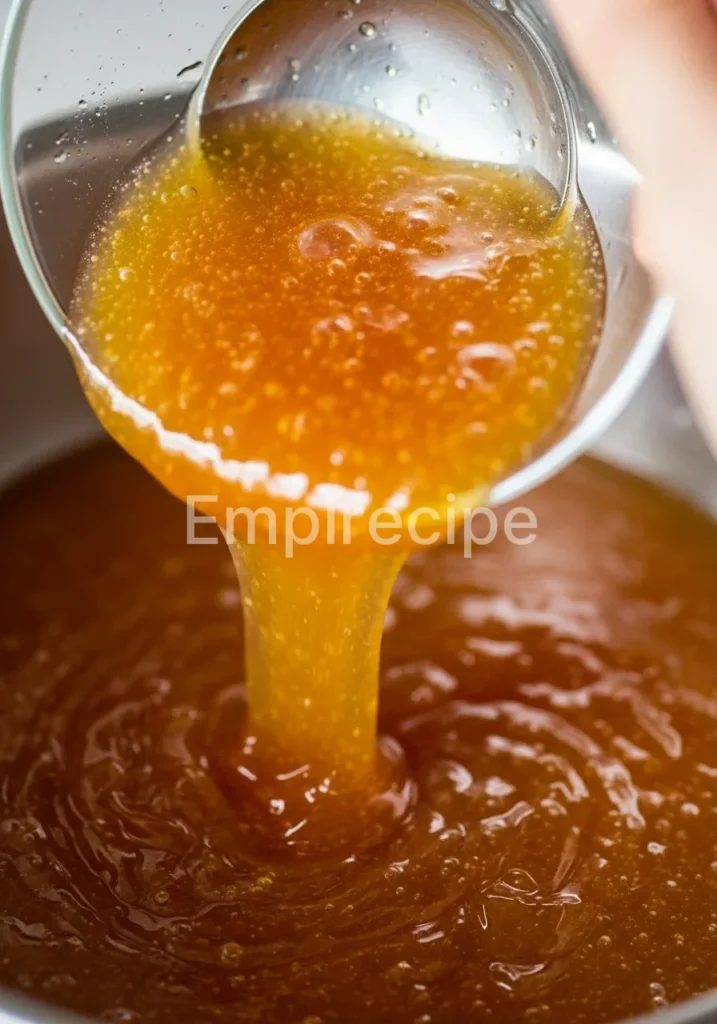
- Add the Fruit Juice: Pour in the three cups of fruit juice. I recommend using juice at room temperature to prevent the mixture from cooling too rapidly. Stir well to combine the flavors and colors. This is the moment where your Finger Jello begins to take on its beautiful, translucent appearance.
- Pour and Set: Carefully pour the liquid into your 9×13 inch glass dish. If you notice any small air bubbles on the surface, you can gently skim them off with a spoon or pop them for a glass-like finish. Place the dish in the refrigerator on a level shelf.
- Chill Patiently: Let the Finger Jello chill for at least three to four hours. For the firmest texture that truly allows for “finger” handling, leaving it overnight is often the best approach.
- Cut and Serve: Once fully set, use a sharp knife to cut the Finger Jello into small squares or diamonds. Lift them out carefully with a small spatula and arrange them on a serving platter.
As you prepare your Finger Jello, mastering the blooming process is key, and while you’re at it, you might want to explore the delightful flavors in our Strawberry Fruit Salad. This fruity treat pairs perfectly with the colorful squares for a complete dessert platter!
Pro Tips for Success
To achieve professional results with your Finger Jello, pay close attention to the blooming phase. If the gelatin clumps together, it will not dissolve properly, leading to an uneven set. Always sprinkle the powder slowly over the liquid rather than dumping it in one spot.
Another technical tip involves the temperature of your juice. While room temperature works well, slightly warming the juice can help maintain the mixture’s fluidity if you are working in a cool kitchen. This ensures the Finger Jello spreads evenly in the pan.
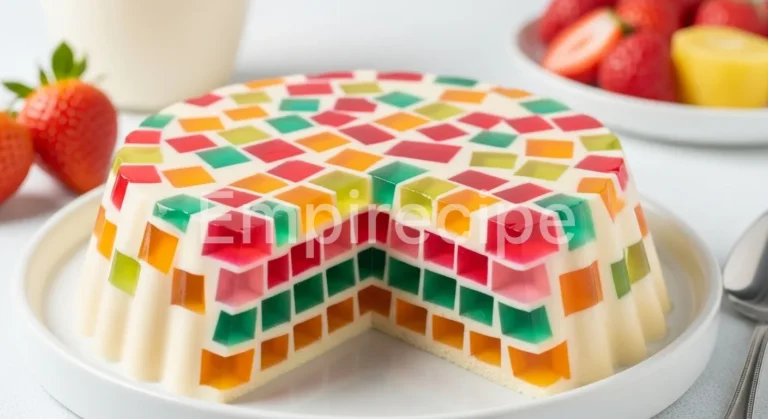
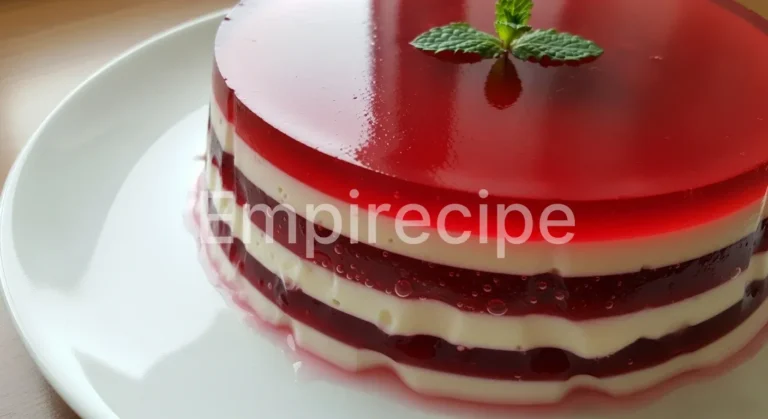
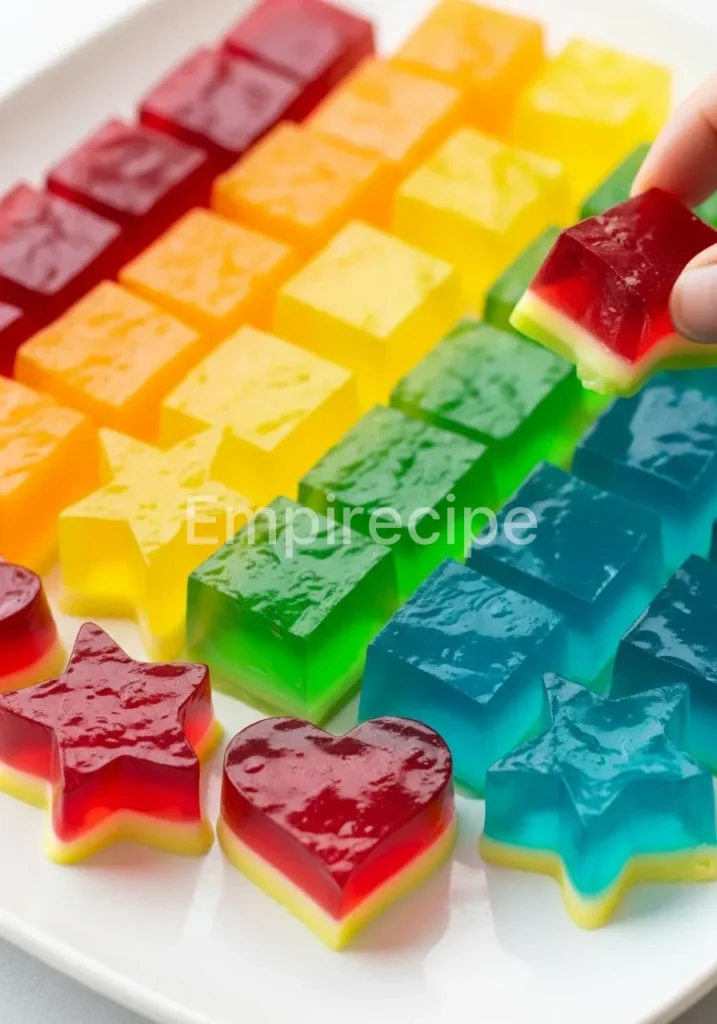
If you want exceptionally clear Finger Jello, try straining your fruit juice through a fine sieve or cheesecloth before adding it to the gelatin. This removes any pulp or sediment that might cloud the final product. Furthermore, if you are making layered Finger Jello, ensure each layer is partially set—tacky to the touch but not liquid—before adding the next.
This creates clean, distinct lines that look stunning when served. Always wipe your knife with a damp cloth between cuts to keep the edges of your squares sharp and clean.
Storage & Reheating Tips
Store your Finger Jello in an airtight container in the refrigerator to maintain its firm texture. It will stay fresh and delicious for up to five to seven days. I recommend placing a piece of parchment paper between layers if you are stacking the squares; this prevents them from sticking together.
You should never freeze Finger Jello, as the freezing and thawing process destroys the cellular structure of the gelatin, resulting in a watery, limp mess. Always serve it chilled directly from the fridge for the most refreshing experience. Since this is a cold treat, reheating is not necessary and would actually melt the dish back into a liquid state.
To ensure your Finger Jello remains fresh and tempting, consider checking out our recipe for Heart Shaped Pepperoni Pizza, which can be a fun meal option alongside your desserts. Storing both treats properly will guarantee enjoyment for days!
What to Serve With This Recipe
I love pairing Finger Jello with other light and wholesome snacks to create a balanced afternoon tea or a picnic spread. It complements fresh fruit skewers beautifully, especially when using seasonal berries and melon. For a more savory contrast, serve these jiggly treats alongside a plate of roasted nuts or a crisp garden salad with a light lemon vinaigrette.
If you are hosting a gathering, consider a platter of Finger Jello next to some homemade oatmeal cookies or a bowl of Greek yogurt dip. The contrast between the firm, cool gelatin and the creamy or crunchy textures of these pairings enhances the overall sensory experience of your meal.
Frequently Asked Questions (FAQ)
Can I use agar-agar instead of gelatin for this recipe?
While you can use agar-agar as a plant-based substitute, the texture will differ significantly from traditional Finger Jello. Agar-agar creates a firmer, more brittle set that lacks the characteristic “bounce” of gelatin. You will need to adjust the ratios and boil the agar-agar with the liquid to activate it properly.
Why did my Finger Jello turn out too soft to pick up?
If your Finger Jello is too soft, you may have used too much liquid or not enough gelatin packets. Ensure you measure the juice precisely and use full packets of unflavored gelatin. Additionally, certain acidic juices or fruits with enzymes, like fresh pineapple, can weaken the gelatin’s bonding power.
Can I make this recipe using flavored gelatin boxes?
Yes, you can use pre-flavored gelatin mixes to make Finger Jello. However, to get the “finger” consistency, you must add extra unflavored gelatin to the mix. The standard boxes are designed to be eaten with a spoon, so the extra structural support is necessary for hand-held squares.
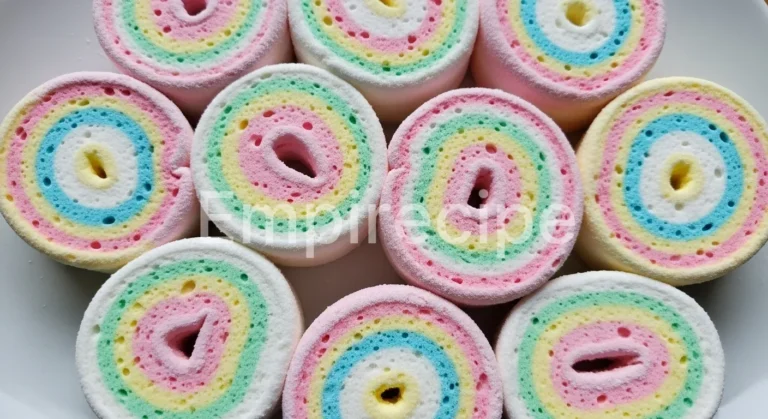
Finger Jello is a popular dessert known for its bouncy texture and vibrant colors, making it an ideal treat for parties and kids alike. This playful dish is a simple blend of fruit juices and gelatin that offers a fun way to enjoy a classic favorite and can even be tailored to fit various dietary preferences, as highlighted in its gelatin base.
Final Thoughts
This Finger Jello recipe embodies the beauty of simple, homemade treats. By choosing high-quality ingredients, you create a snack that nurtures both the body and the spirit. I hope these jiggly squares bring a touch of slow-living magic and bright color to your family table today.
Nutrition Information (per serving)
This nutritional summary provides an estimate based on using unsweetened fruit juice and natural sweeteners. Each square of Finger Jello is a low-calorie, fat-free snack option for all ages.
| Calories | 45 kcal |
| Protein | 2g |
| Carbohydrates | 9g |
| Sugar | 7g |
| Fat | 0g |
Finger Jello
Finger Jello is a fun, colorful treat that features a firm, jiggly texture, perfect for little hands. This easy recipe focuses on vibrant flavors and a satisfying bounce while using simple ingredients to create a wholesome snack.
Ingredients
Method
- Bloom the gelatin by pouring cold water into a large mixing bowl, then sprinkle the gelatin over the surface and let it sit for about five minutes.
- Carefully pour boiling water into the bowl and whisk gently for at least two minutes until all gelatin is dissolved.
- If using, stir in honey or maple syrup while the mixture is still hot.
- Pour in the fruit juice at room temperature and stir well to combine.
- Pour the mixture into a 9×13 inch glass dish and skim off any air bubbles.
- Chill in the refrigerator for at least three to four hours or overnight for the best texture.
- Once set, cut into squares or diamonds and serve.
Notes
For best results, ensure all gelatin is bloomed properly. Use high-quality fruit juices without added enzymes. Store in an airtight container in the refrigerator for up to five to seven days.