The Best Fluffy Pancakes recipe you will fall in love with. Full of tips and tricks to help you make the best pancakes.
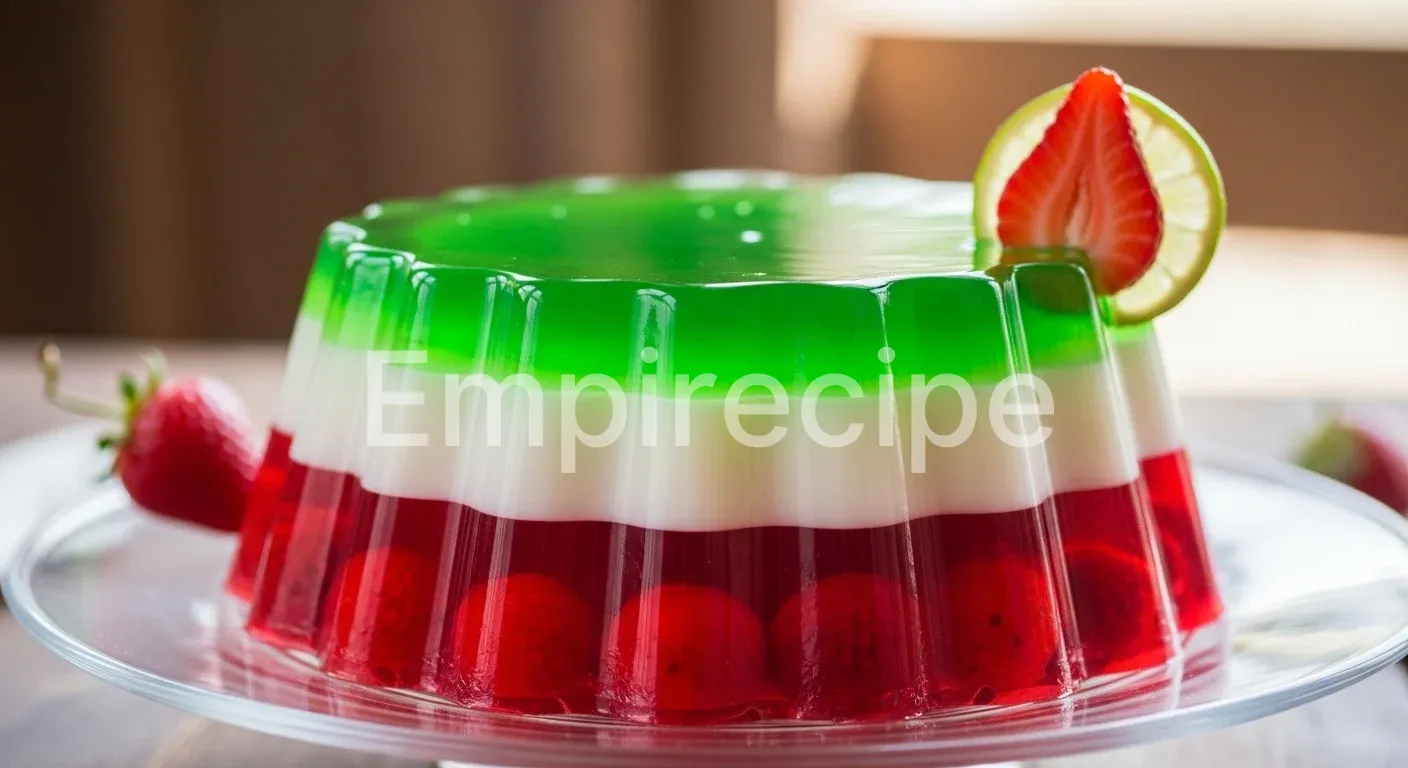
Welcome to my vibrant kitchen! Today, we explore the wobbling wonder of this Tricolor Gelatin Recipe. It balances fruity sweetness with a creamy texture, making it the ultimate crowd-pleaser for any celebration.
You will adore the visual impact of these layered colors and the refreshing, bouncy mouthfeel. Let’s dive into this plant-powered, eco-conscious dessert together!
Table of Contents
Why You’ll Love This Tricolor Gelatin Recipe
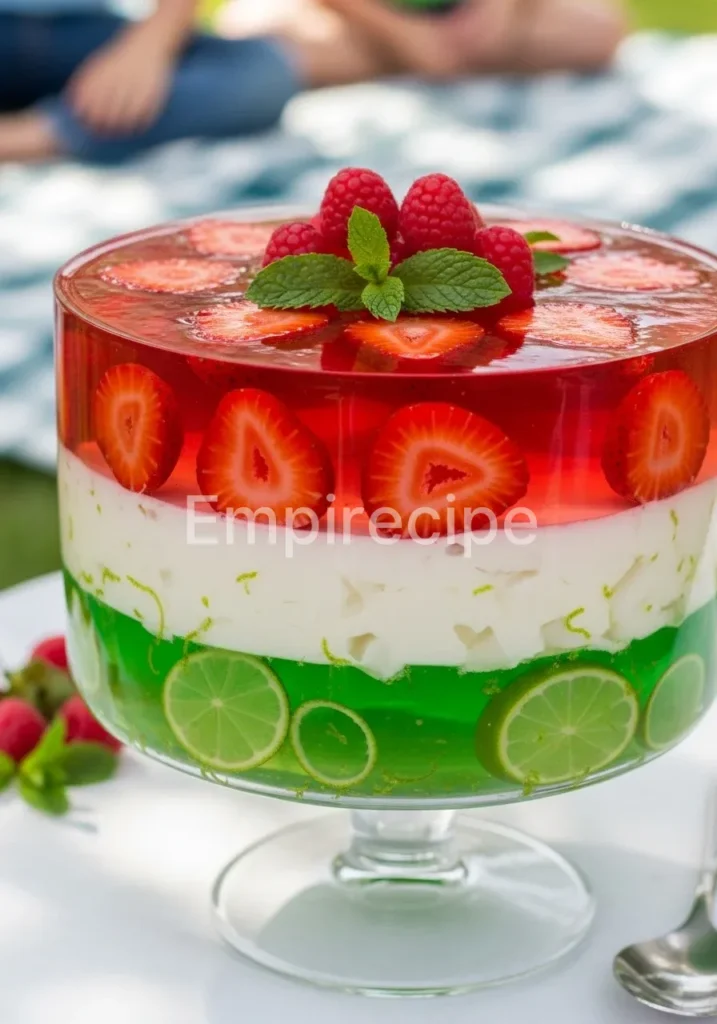
- Visual Masterpiece: The stunning layers create a professional look with minimal effort.
- Vibrant Flavors: Every bite offers a fusion of fruity and creamy sensations.
- Sustainable Choice: This recipe uses plant-based alternatives and natural fruit juices.
- Family Favorite: Kids and adults alike enjoy the playful, jiggly texture.
Ingredients You’ll Need
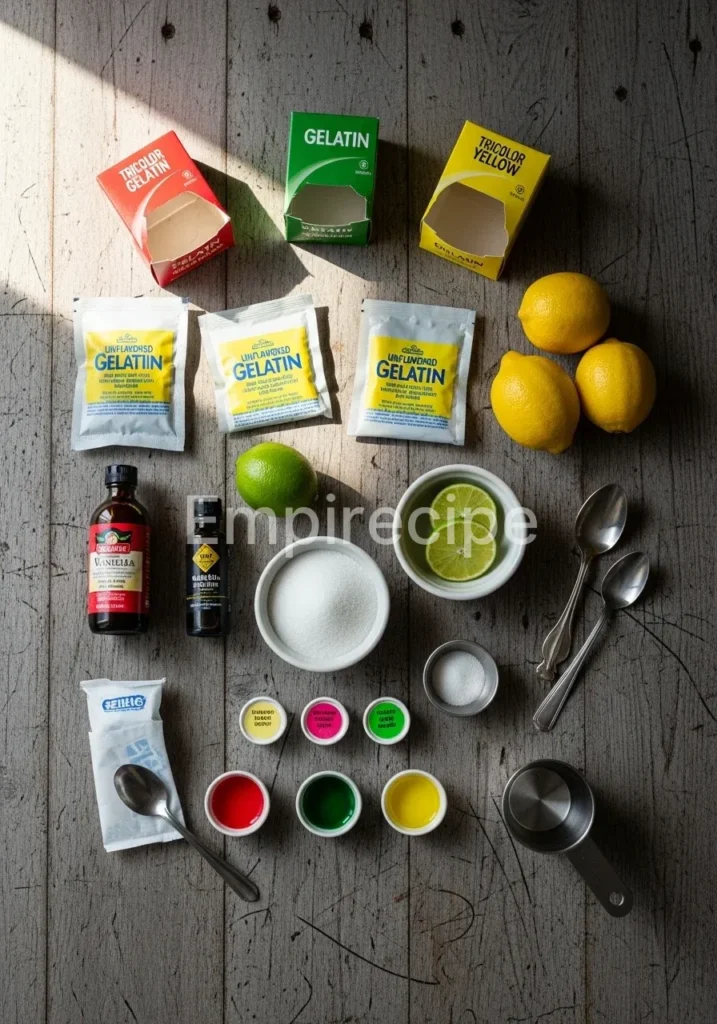
- Plant-based gelling agent: 4 teaspoons of Agar-Agar powder (the eco-friendly hero).
- Sweetener: 1/2 cup of organic agave syrup or maple syrup.
- First Layer (Red): 2 cups of fresh pomegranate or strawberry juice.
- Second Layer (White): 2 cups of full-fat coconut milk for maximum creaminess.
- Third Layer (Green/Blue): 2 cups of kiwi juice or butterfly pea flower tea.
- Extract: 1 teaspoon of pure vanilla bean paste.
- Water: 1 cup of filtered water for dissolving the powder.
Substitutions & Variations
[ra_display_video url=”https://www.youtube.com/watch?v=Zg7F3jsaIFE”]
To keep your Tricolor Gelatin Recipe fresh and exciting, consider using seasonal local fruits. If you cannot find agar-agar, you can use traditional gelatin, though the setting time will change significantly. For a tropical twist, swap the coconut milk for almond milk or a soy-based yogurt mixture to maintain that opaque middle layer.
You can also experiment with natural colorants like beetroot juice for pink or turmeric for a bright yellow layer. Always aim for organic ingredients to reduce your environmental footprint while enhancing the purity of flavor in every bite.
To elevate your Tricolor Gelatin Recipe, incorporating local seasonal fruits can introduce exciting flavors and textures. For a refreshing addition, you can check out our recipe for Quinoa Power Soup, perfect as a light starter.
Equipment You’ll Need
- Large Silicone Mold: A Bundt-style mold works beautifully for a grand presentation.
- Small Saucepan: For heating the liquids and dissolving the agar-agar.
- Whisk: To ensure a smooth, clump-free texture in every layer.
- Measuring Cups: Precision is key for the perfect wobble.
- Level Fridge Space: To ensure your layers stay perfectly horizontal.
Step-by-Step Instructions

- Prepare the First Layer: In a small saucepan, combine the red fruit juice with 1.5 teaspoons of agar-agar. Bring it to a gentle simmer over medium heat. Whisk constantly for about 2 minutes until the powder dissolves completely. Pour the mixture into your mold and let it sit at room temperature for 10 minutes before placing it in the fridge.
- Setting the Foundation: Allow the first layer of your Tricolor Gelatin Recipe to set in the refrigerator for approximately 20 to 30 minutes. It should be firm to the touch but still slightly tacky on the surface so the next layer adheres properly.
- Cook the Creamy Middle: While the first layer sets, combine the coconut milk, vanilla paste, and another 1.5 teaspoons of agar-agar in the saucepan. Heat gently, ensuring it does not boil over. Whisk until smooth and fully integrated.
- Layering with Care: Once the white mixture is warm (not boiling), carefully pour it over the back of a spoon onto the red layer. This technique prevents the heat from breaking the first layer. Return the mold to the fridge for another 30 minutes.
- Create the Final Color: Repeat the process with your third chosen liquid and the remaining agar-agar. If using butterfly pea tea, ensure you strain it well before mixing. This final layer adds the “tri” in your Tricolor Gelatin Recipe.
- The Final Chill: After adding the final layer, let the entire dessert set in the refrigerator for at least 4 hours, or ideally overnight. This ensures the structure is stable enough for unmolding.
- Unmolding the Magic: Gently pull the edges of the gelatin away from the mold with clean fingers. Place a serving plate upside down over the mold and flip it quickly. The dessert should slide out with a satisfying wiggle.
As you prepare the layers for your Tricolor Gelatin, precision is key for perfecting the texture and taste. After enjoying this dessert, consider making our Honey Pepper Chicken Pasta Made Simple for a delightful meal.
Pro Tips for Success
To master this Tricolor Gelatin Recipe, temperature control is your best friend. Never pour a boiling hot mixture directly onto a set layer, as it will melt the surface and cause the colors to bleed together. Instead, wait for the liquid to cool slightly until it is warm to the touch.
If your agar-agar mixture starts to set in the pan while you wait, simply reheat it gently. Additionally, always use a whisk to avoid lumps. For a crystal-clear finish, skim off any foam or bubbles that form on the surface before the liquid sets in the mold.
Storage & Reheating Tips
This dessert stays fresh and delicious for up to 5 days when stored in an airtight container in the refrigerator. Do not freeze this Tricolor Gelatin Recipe, as the freezing and thawing process destroys the delicate cell structure of the agar-agar, resulting in a watery, mushy mess. Keep it away from strong-smelling foods like onions or garlic, as the gelatin can absorb unwanted odors.
Since this is a cold dessert, reheating is not recommended. If you are serving it at a party, keep it chilled until the very last moment to maintain its firm, bouncy integrity.
Storing your Tricolor Gelatin well ensures that it maintains its tantalizing texture and flavors. If you’re curious about other food combinations, try learning what truly distinguishes sushi rolls for your next culinary adventure.
What to Serve With This Recipe
This Tricolor Gelatin Recipe pairs beautifully with a side of fresh, macerated berries or a dollop of coconut whipped cream. To balance the sweetness, serve it alongside a crisp, zesty citrus salad with fresh mint. If you are hosting a brunch, it complements roasted vegetable skewers or a light quinoa salad. The contrast between the soft gelatin and crunchy elements like toasted pistachios or shaved coconut adds a wonderful sensory dimension to your dessert presentation.
Frequently Asked Questions (FAQ)
Can I make this Tricolor Gelatin Recipe vegan?
Absolutely! By using agar-agar instead of traditional gelatin, this recipe is naturally vegan and plant-based. Agar-agar is derived from seaweed, making it a sustainable and cruelty-free alternative that sets much faster and more firmly than animal-based products.
Why did my layers separate when I unmolded the dessert?
Layer separation usually happens if the previous layer was too cold or too firm before the next one was poured. To prevent this, make sure the surface of the set layer is still slightly “sticky” or tacky. You can also lightly score the surface with a fork to help the new layer grip better.
Is it possible to use fresh pineapple or papaya in this recipe?
Fresh pineapple, kiwi, and papaya contain enzymes (like bromelain) that can break down proteins and prevent traditional gelatin from setting. However, agar-agar is more resistant to these enzymes. If you use agar-agar, these fruits should work fine, but it is always safer to briefly cook the fruit juice first to deactivate those enzymes.
Tricolor gelatin is a visually stunning dessert that combines different layers of jelly made from natural fruit juices, creating a vibrant presentation. This unique dessert not only tastes delicious but also offers a playful texture, often enjoyed at parties and celebrations; learn more about its cultural significance in gelatin preparations.
Final Thoughts
This Tricolor Gelatin Recipe brings joyful colors and sustainable sweetness to your table. By choosing plant-based gelling agents and seasonal fruits, you nourish both your body and the planet. Share this wiggling delight with loved ones and celebrate the vibrant art of mindful, creative cooking!
Nutrition Information (per serving)
| Nutrient | Amount |
|---|---|
| Calories | 145 kcal |
| Total Carbohydrates | 22g |
| Protein | 1g |
| Fat | 6g |
| Fiber | 2g |
| Sugar | 18g |
Tricolor Gelatin Recipe
A vibrant, plant-based Tricolor Gelatin dessert featuring layers of fruity and creamy flavors using agar-agar as a gelling agent.
Ingredients
Method
- In a small saucepan, combine the red fruit juice with 1.5 teaspoons of agar-agar. Bring it to a gentle simmer over medium heat, whisking constantly for about 2 minutes until the powder dissolves completely. Pour the mixture into your mold and let it sit at room temperature for 10 minutes before placing it in the fridge.
- Allow the first layer to set in the refrigerator for approximately 20 to 30 minutes until firm but slightly tacky.
- While the first layer sets, combine coconut milk, vanilla paste, and another 1.5 teaspoons of agar-agar in the saucepan. Heat gently while whisking until smooth.
- Once the white mixture is warm (not boiling), carefully pour it over the back of a spoon onto the red layer. Return the mold to the fridge for another 30 minutes.
- Repeat the process with your third liquid and remaining agar-agar. Ensure any butterfly pea tea is strained well.
- After the final layer, let the dessert set in the refrigerator for at least 4 hours, ideally overnight.
- To unmold, gently pull the edges away from the mold, place a serving plate upside down over it, and flip quickly.
Notes
Ensure layers are slightly sticky before adding the next. Use a whisk to avoid lumps. Store in an airtight container for up to 5 days. Do not freeze.